Remove old sealant
When caulking has begun to show signs of wear, replacing it can help prevent water infiltration from getting behind the veneer and into the wall cavity. These areas include, but are not limited to, windows, doors, plumbing & mechanical penetrations, flashings, plank, and vertical siding, trim connections, and in some cases, between plank joints, stucco joints, etc.
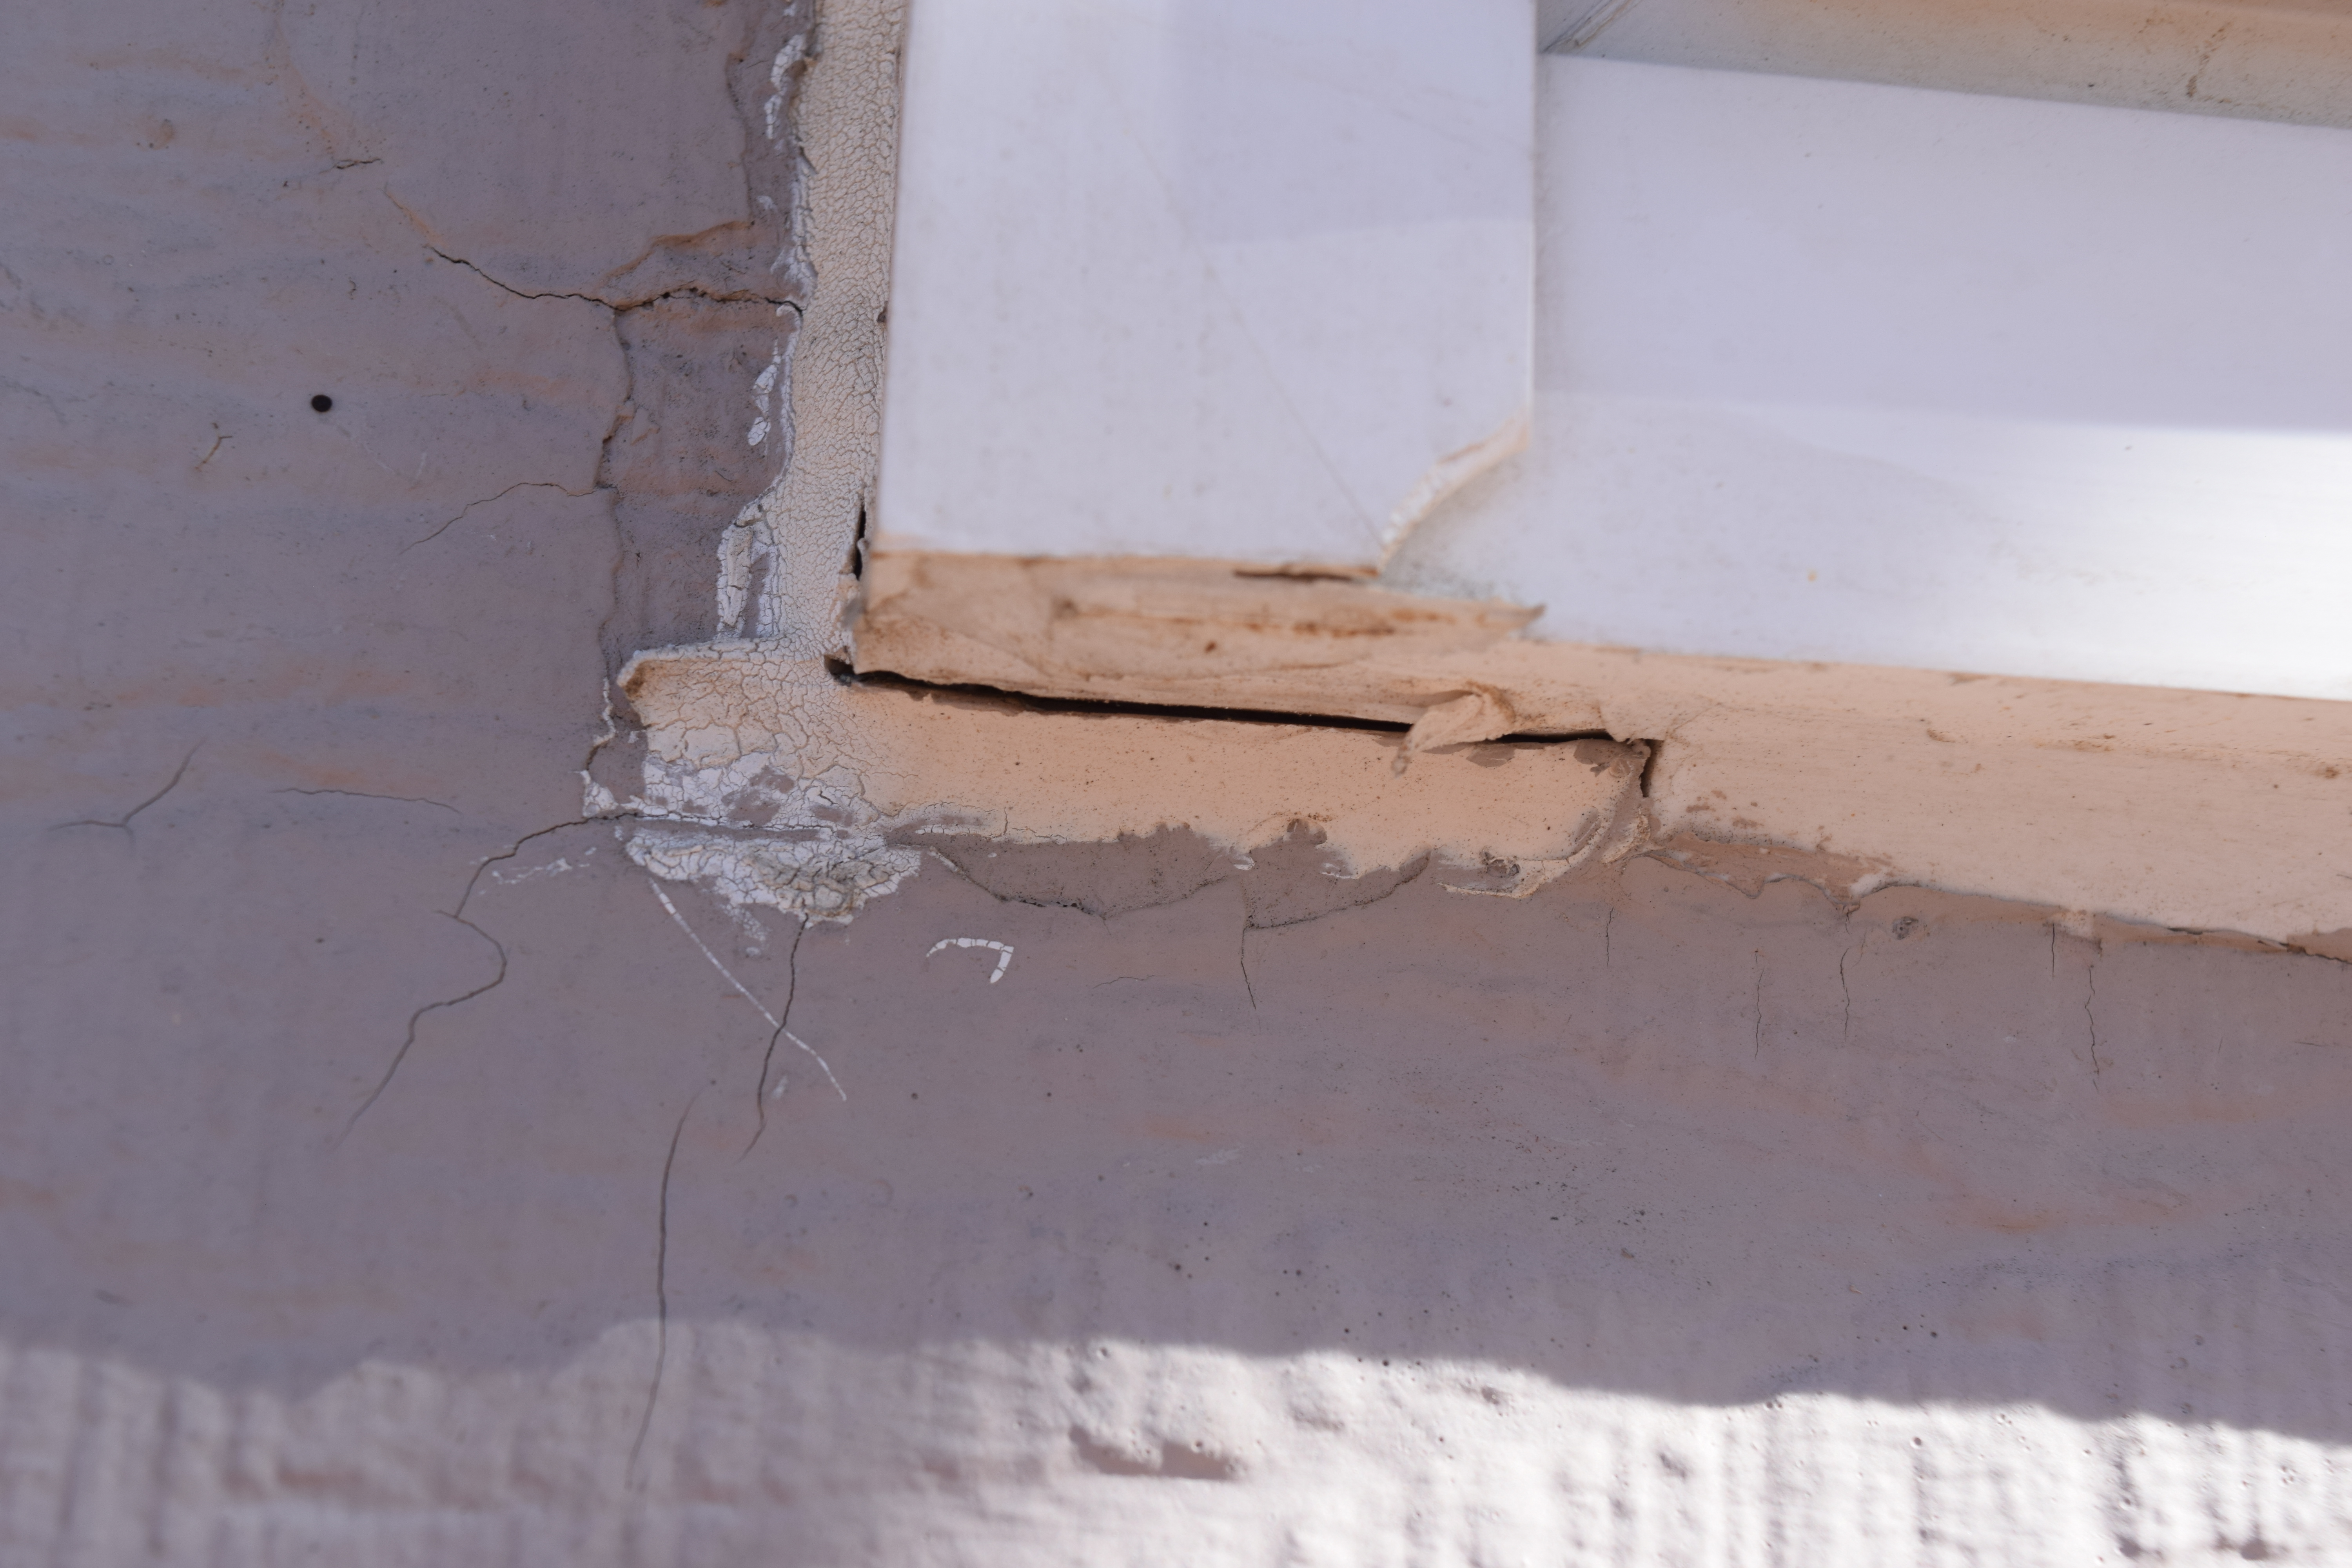
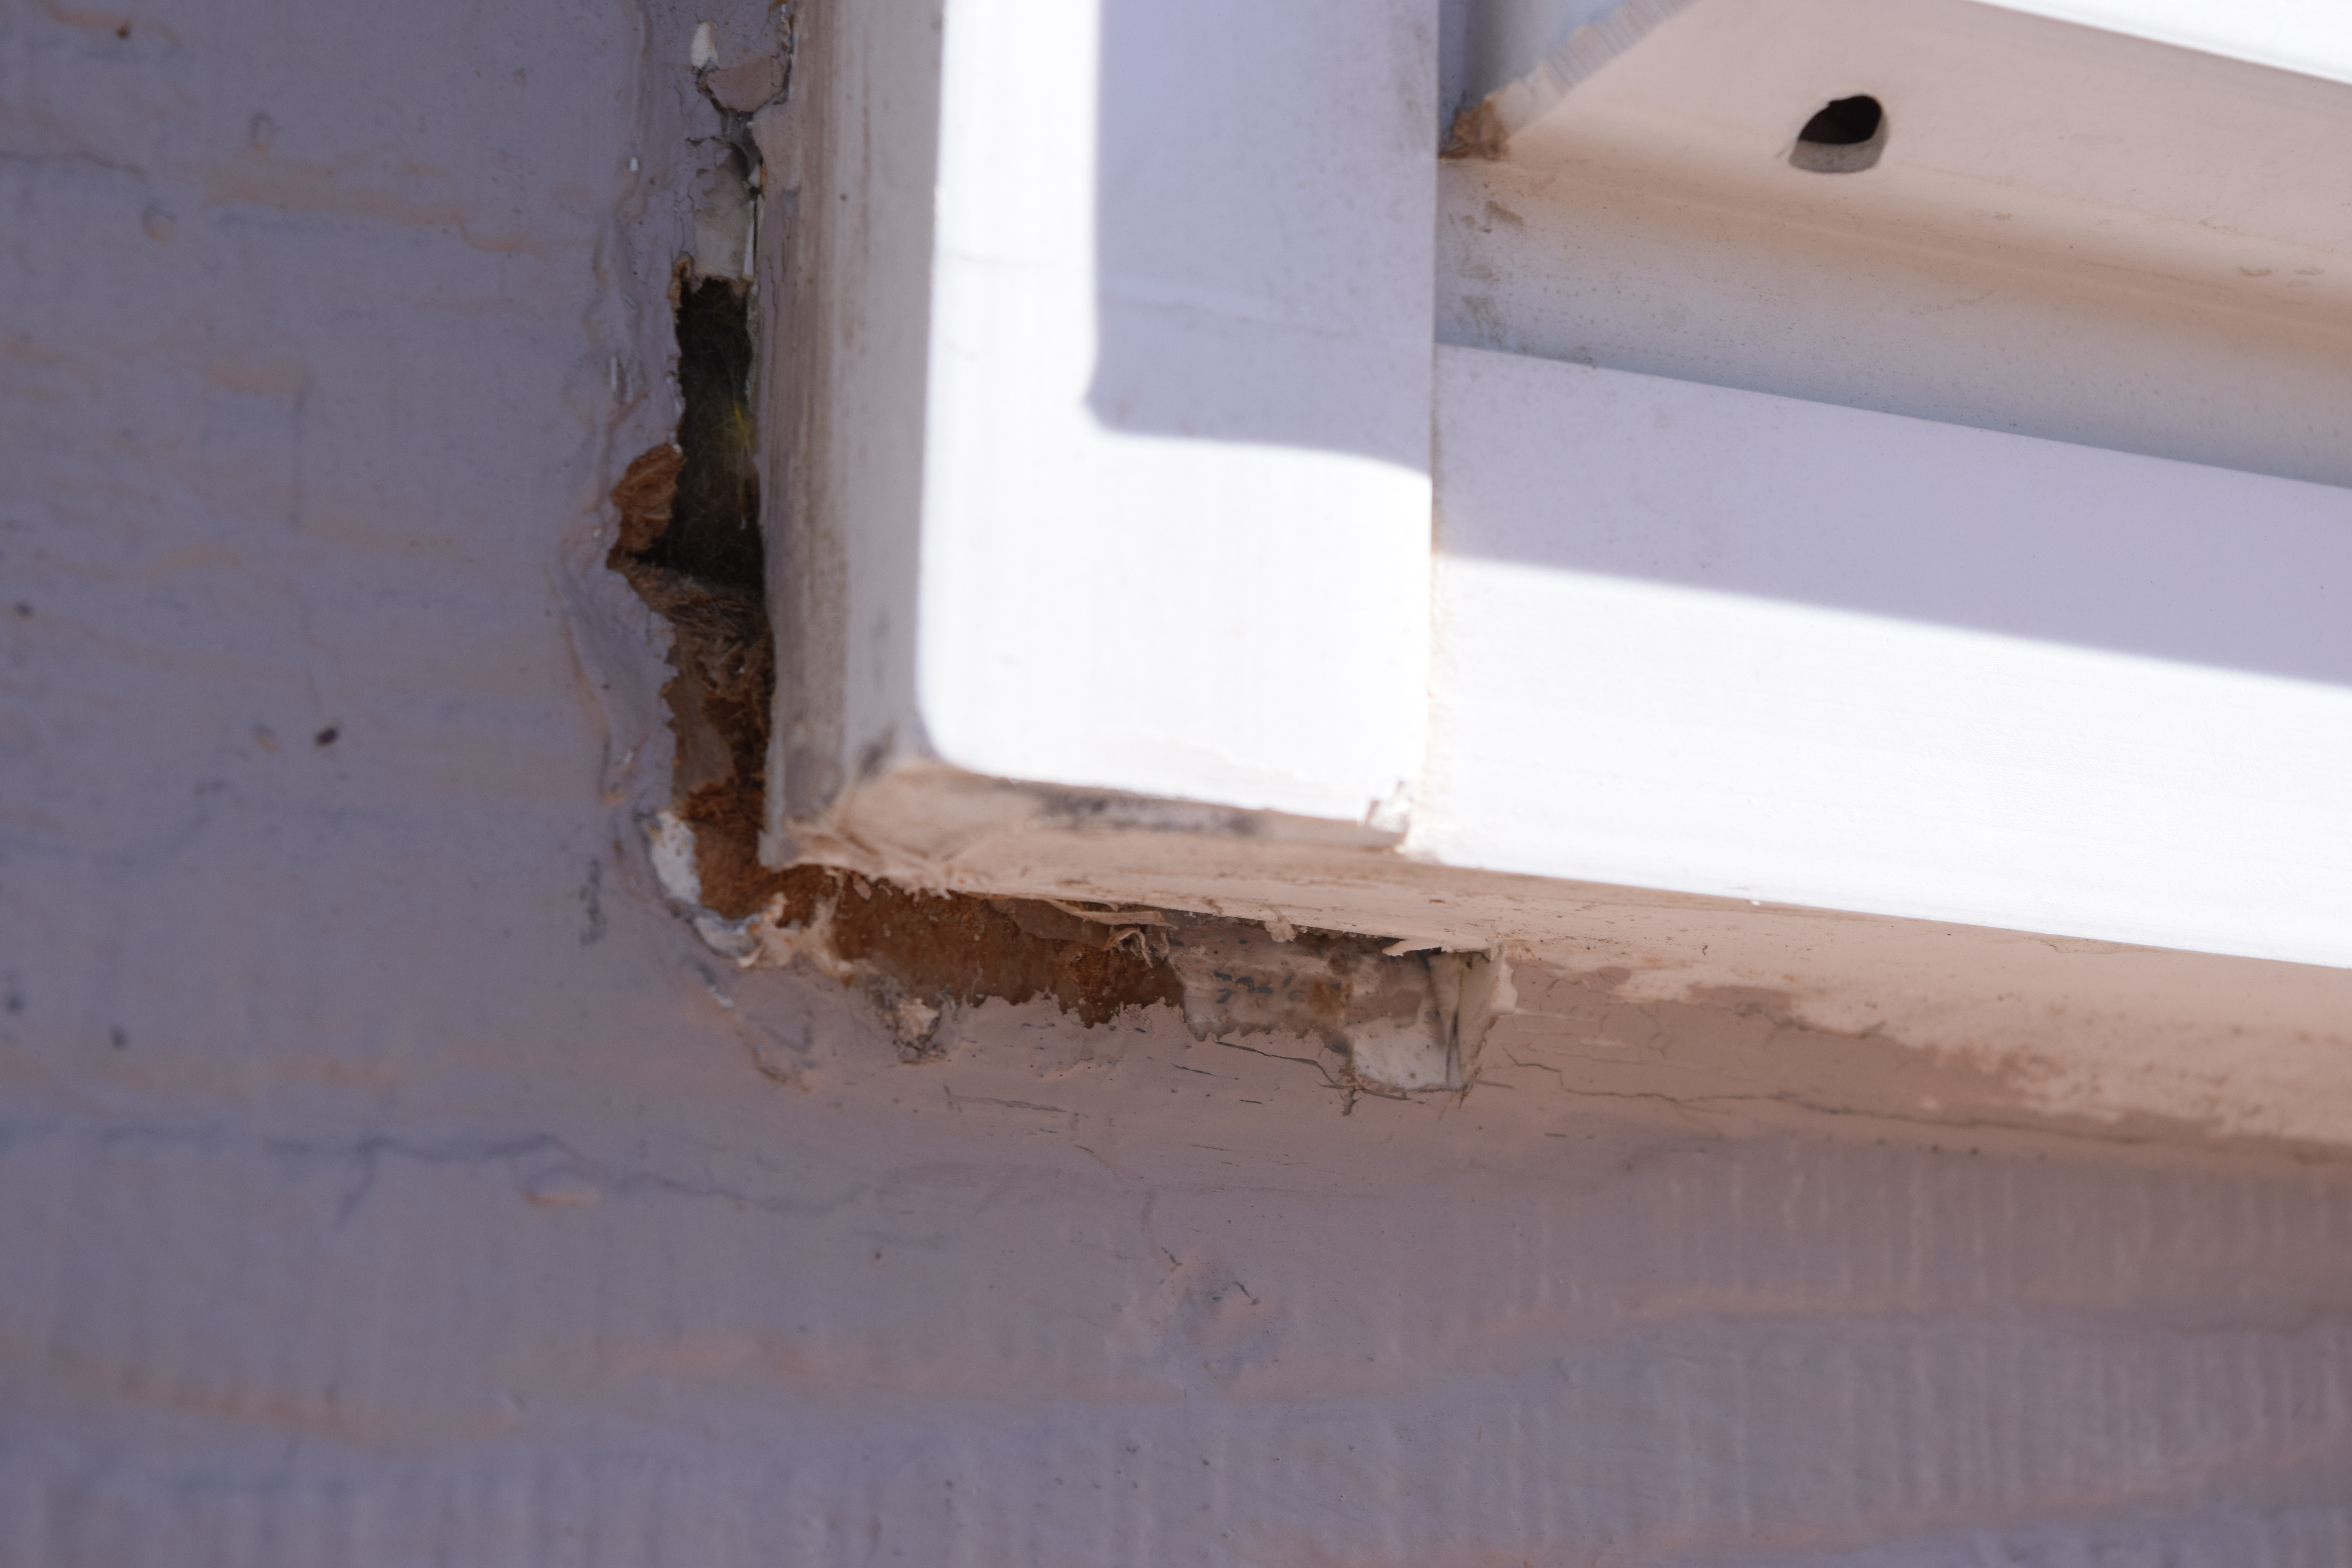
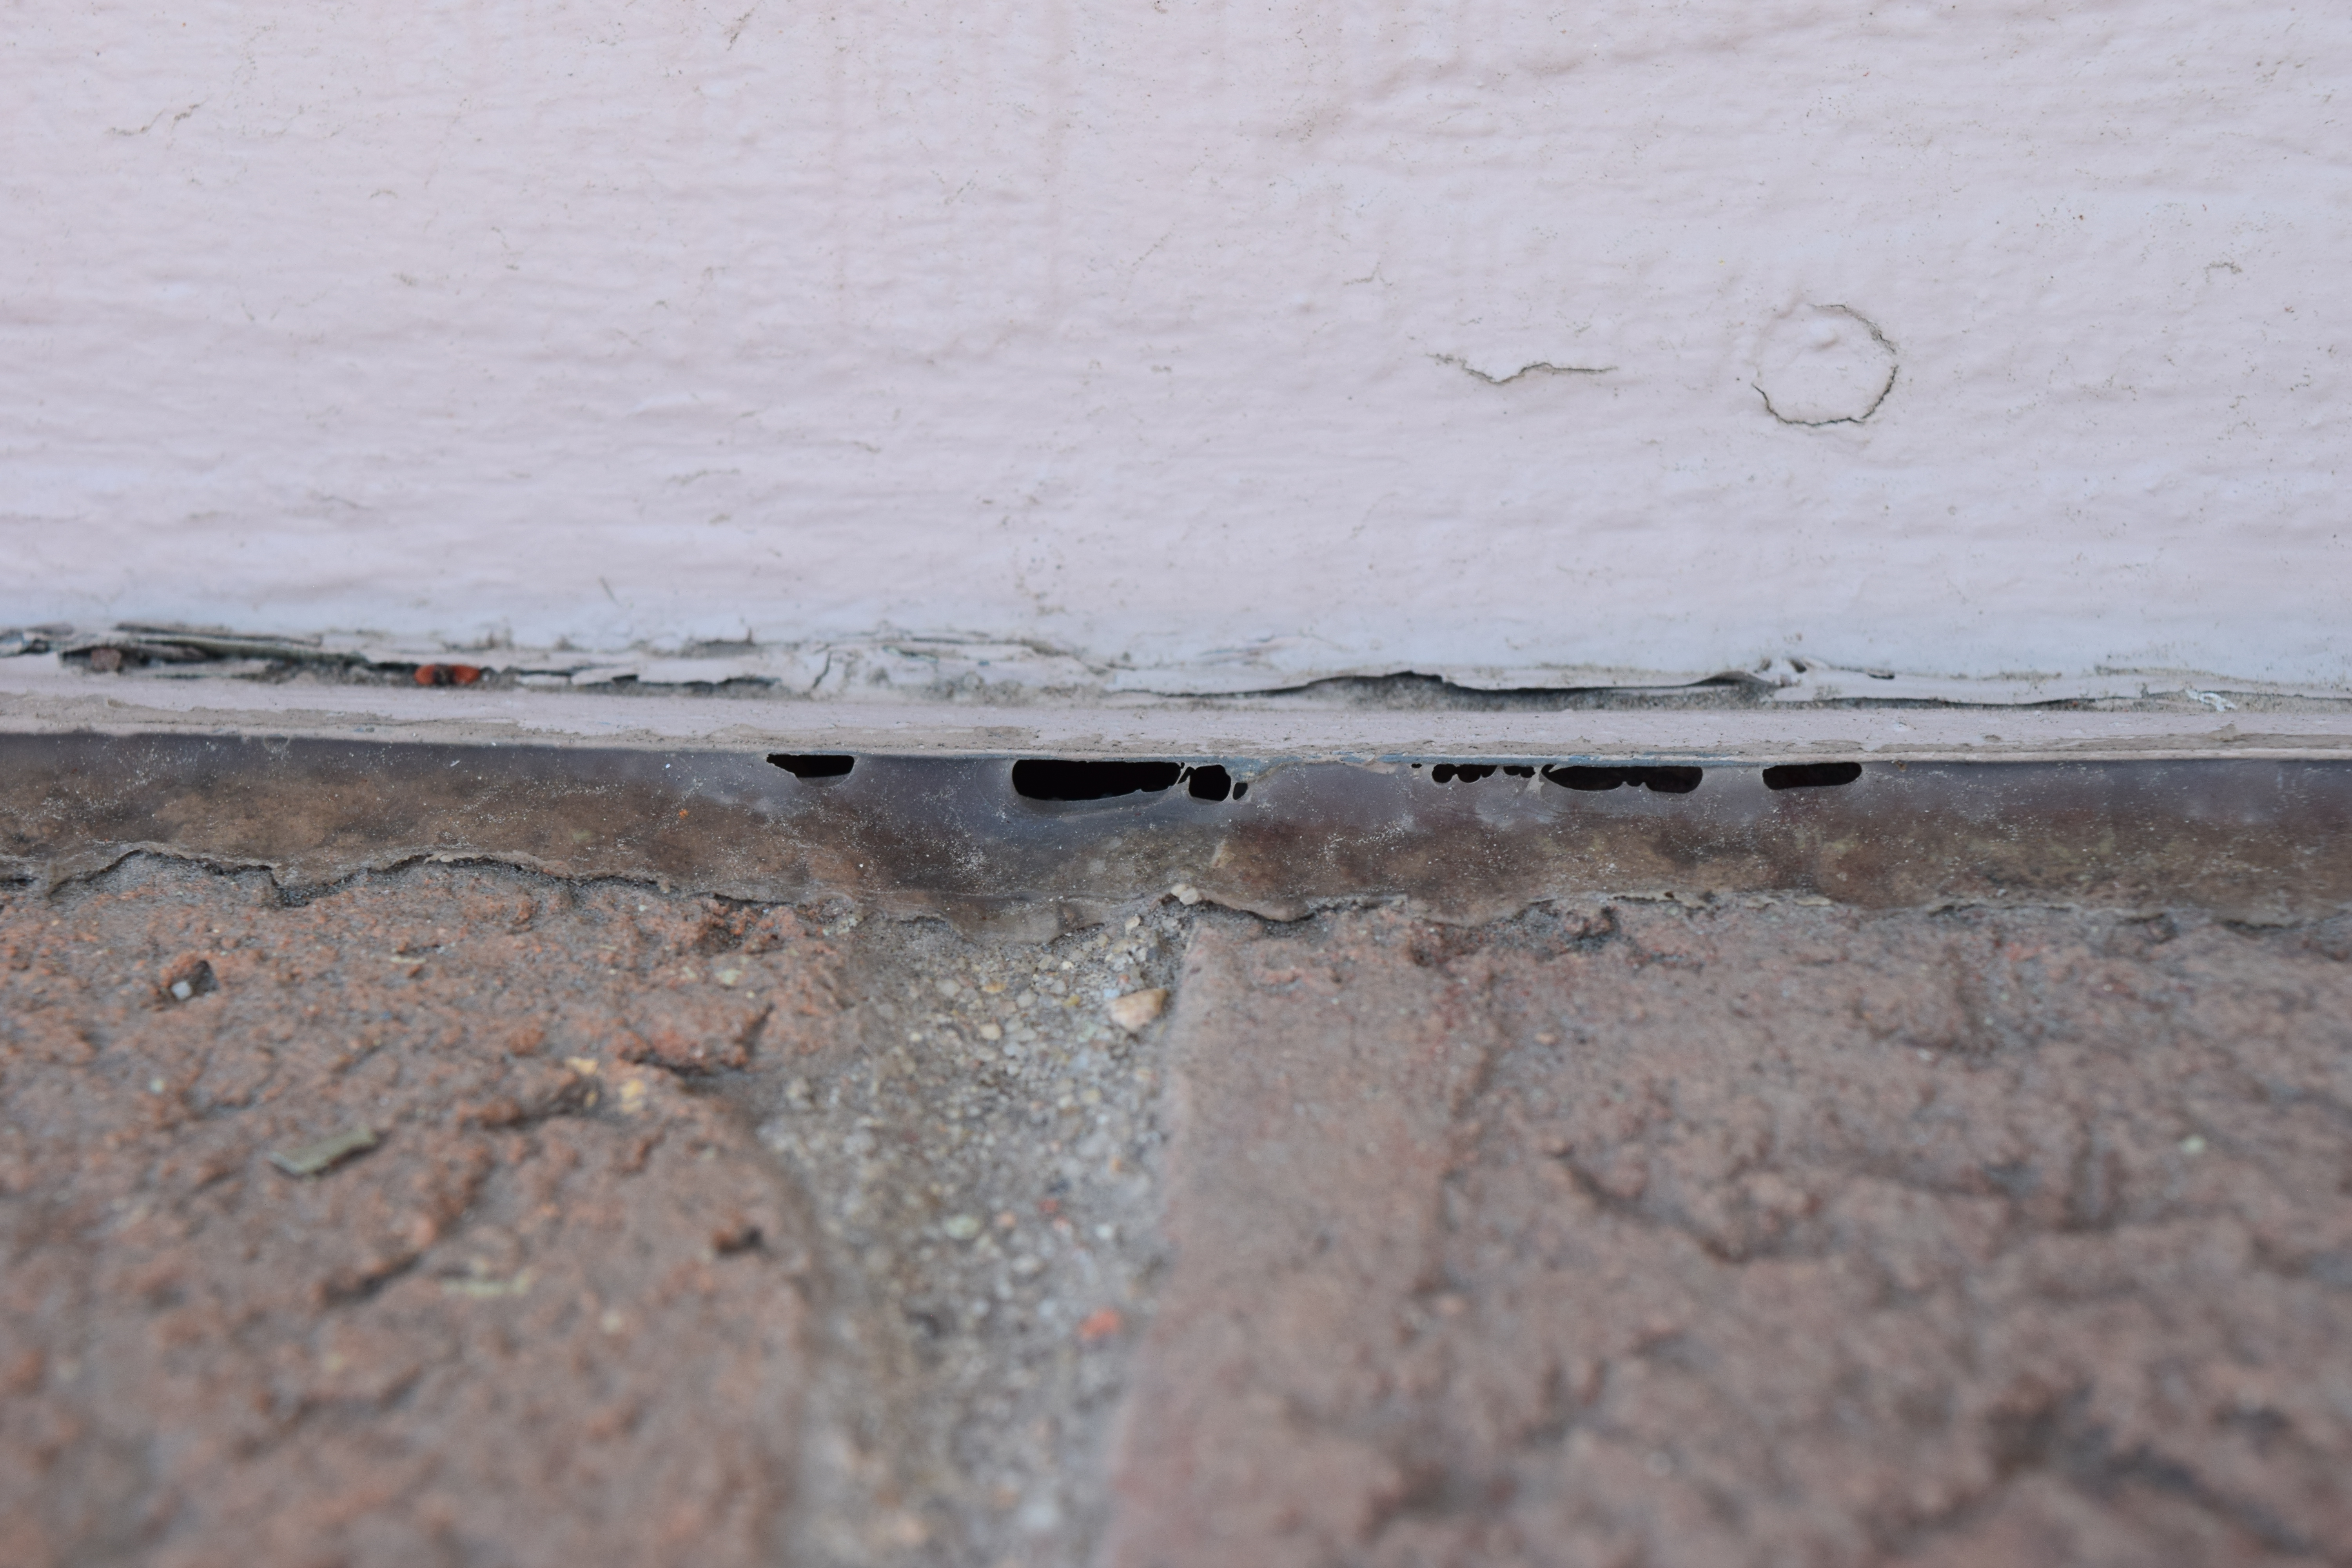
Caulking cracked, pulled away from the window frame
If you are sealing the windows of a brand-new building, there is no need to worry about removing old sealants. However, if you are re-sealing a window, door, siding joint, etc., you’ll need to remove ALL traces of the old sealant before applying the new product.
Old sealant can sometimes be very dry and difficult to remove. To make the task easier, you can try to soften it by heating it gently with a heat gun. Then, make an incision at the sealant to the surfaces with a utility knife (X-Acto or similar). Many times you will be able to grasp the end of the sealant and pull it out in one piece.
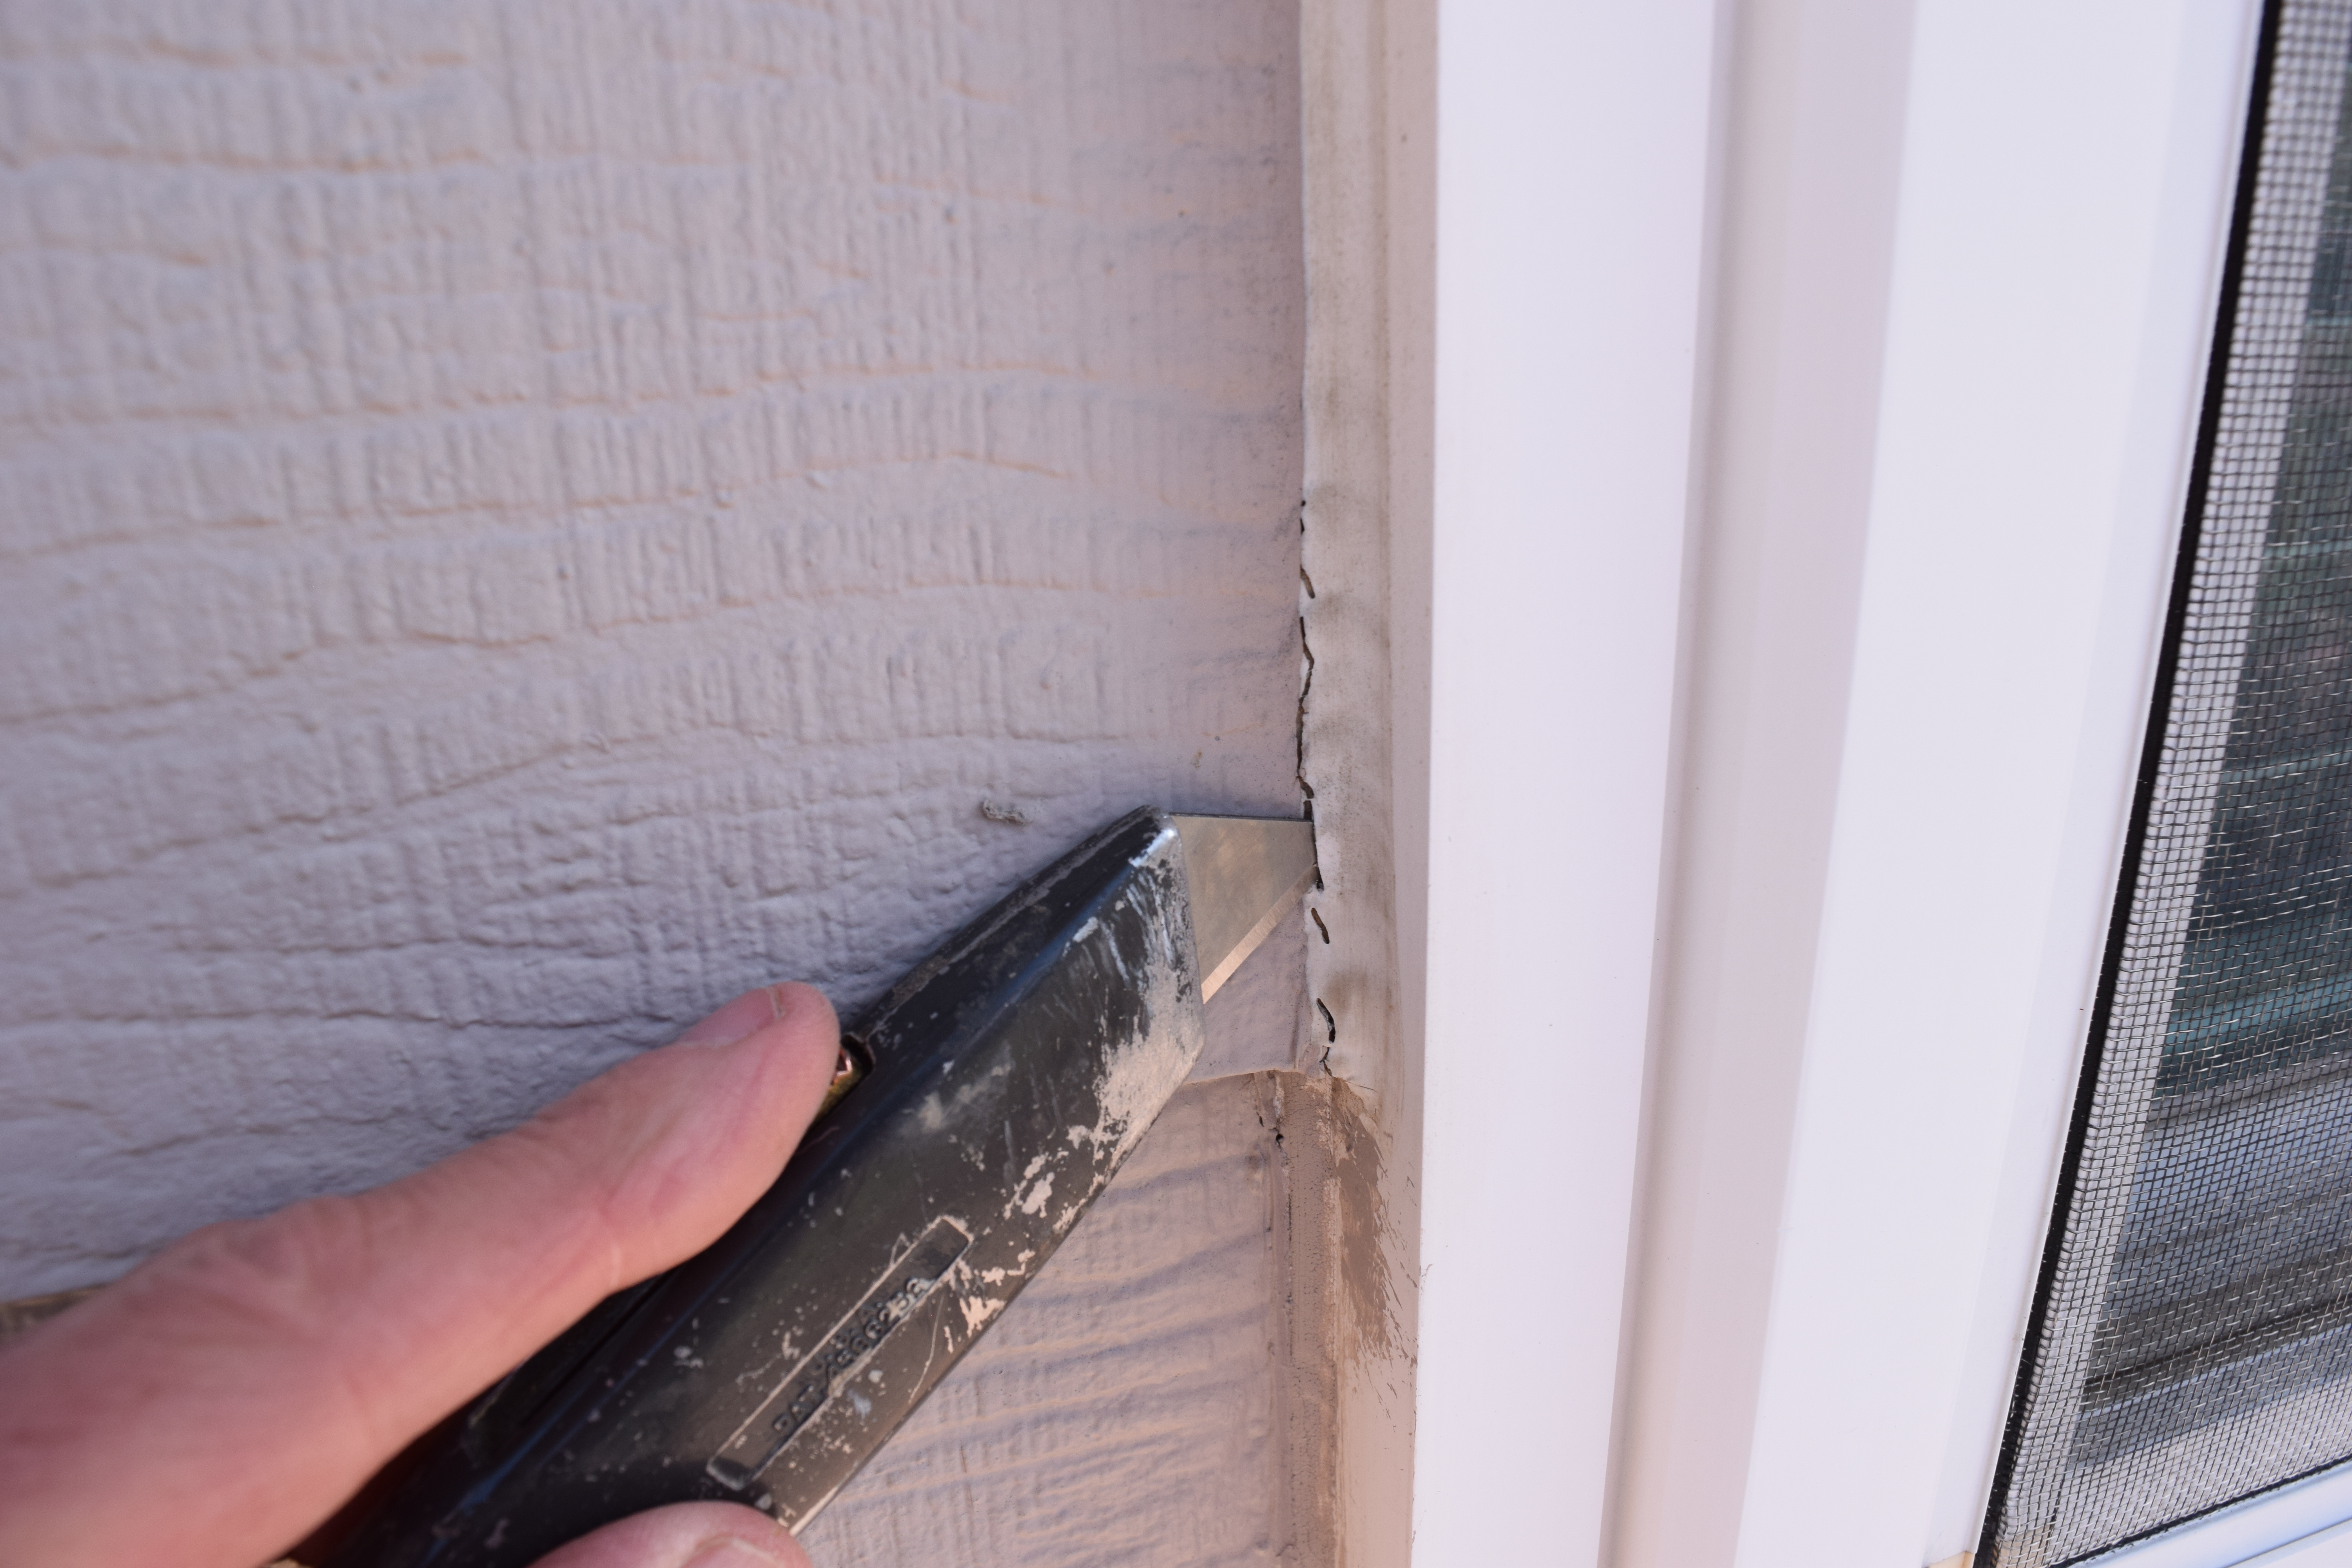
Finally, use a flexible blade to scrape away any sealant that is still stuck on, taking care not to damage the surface(s).
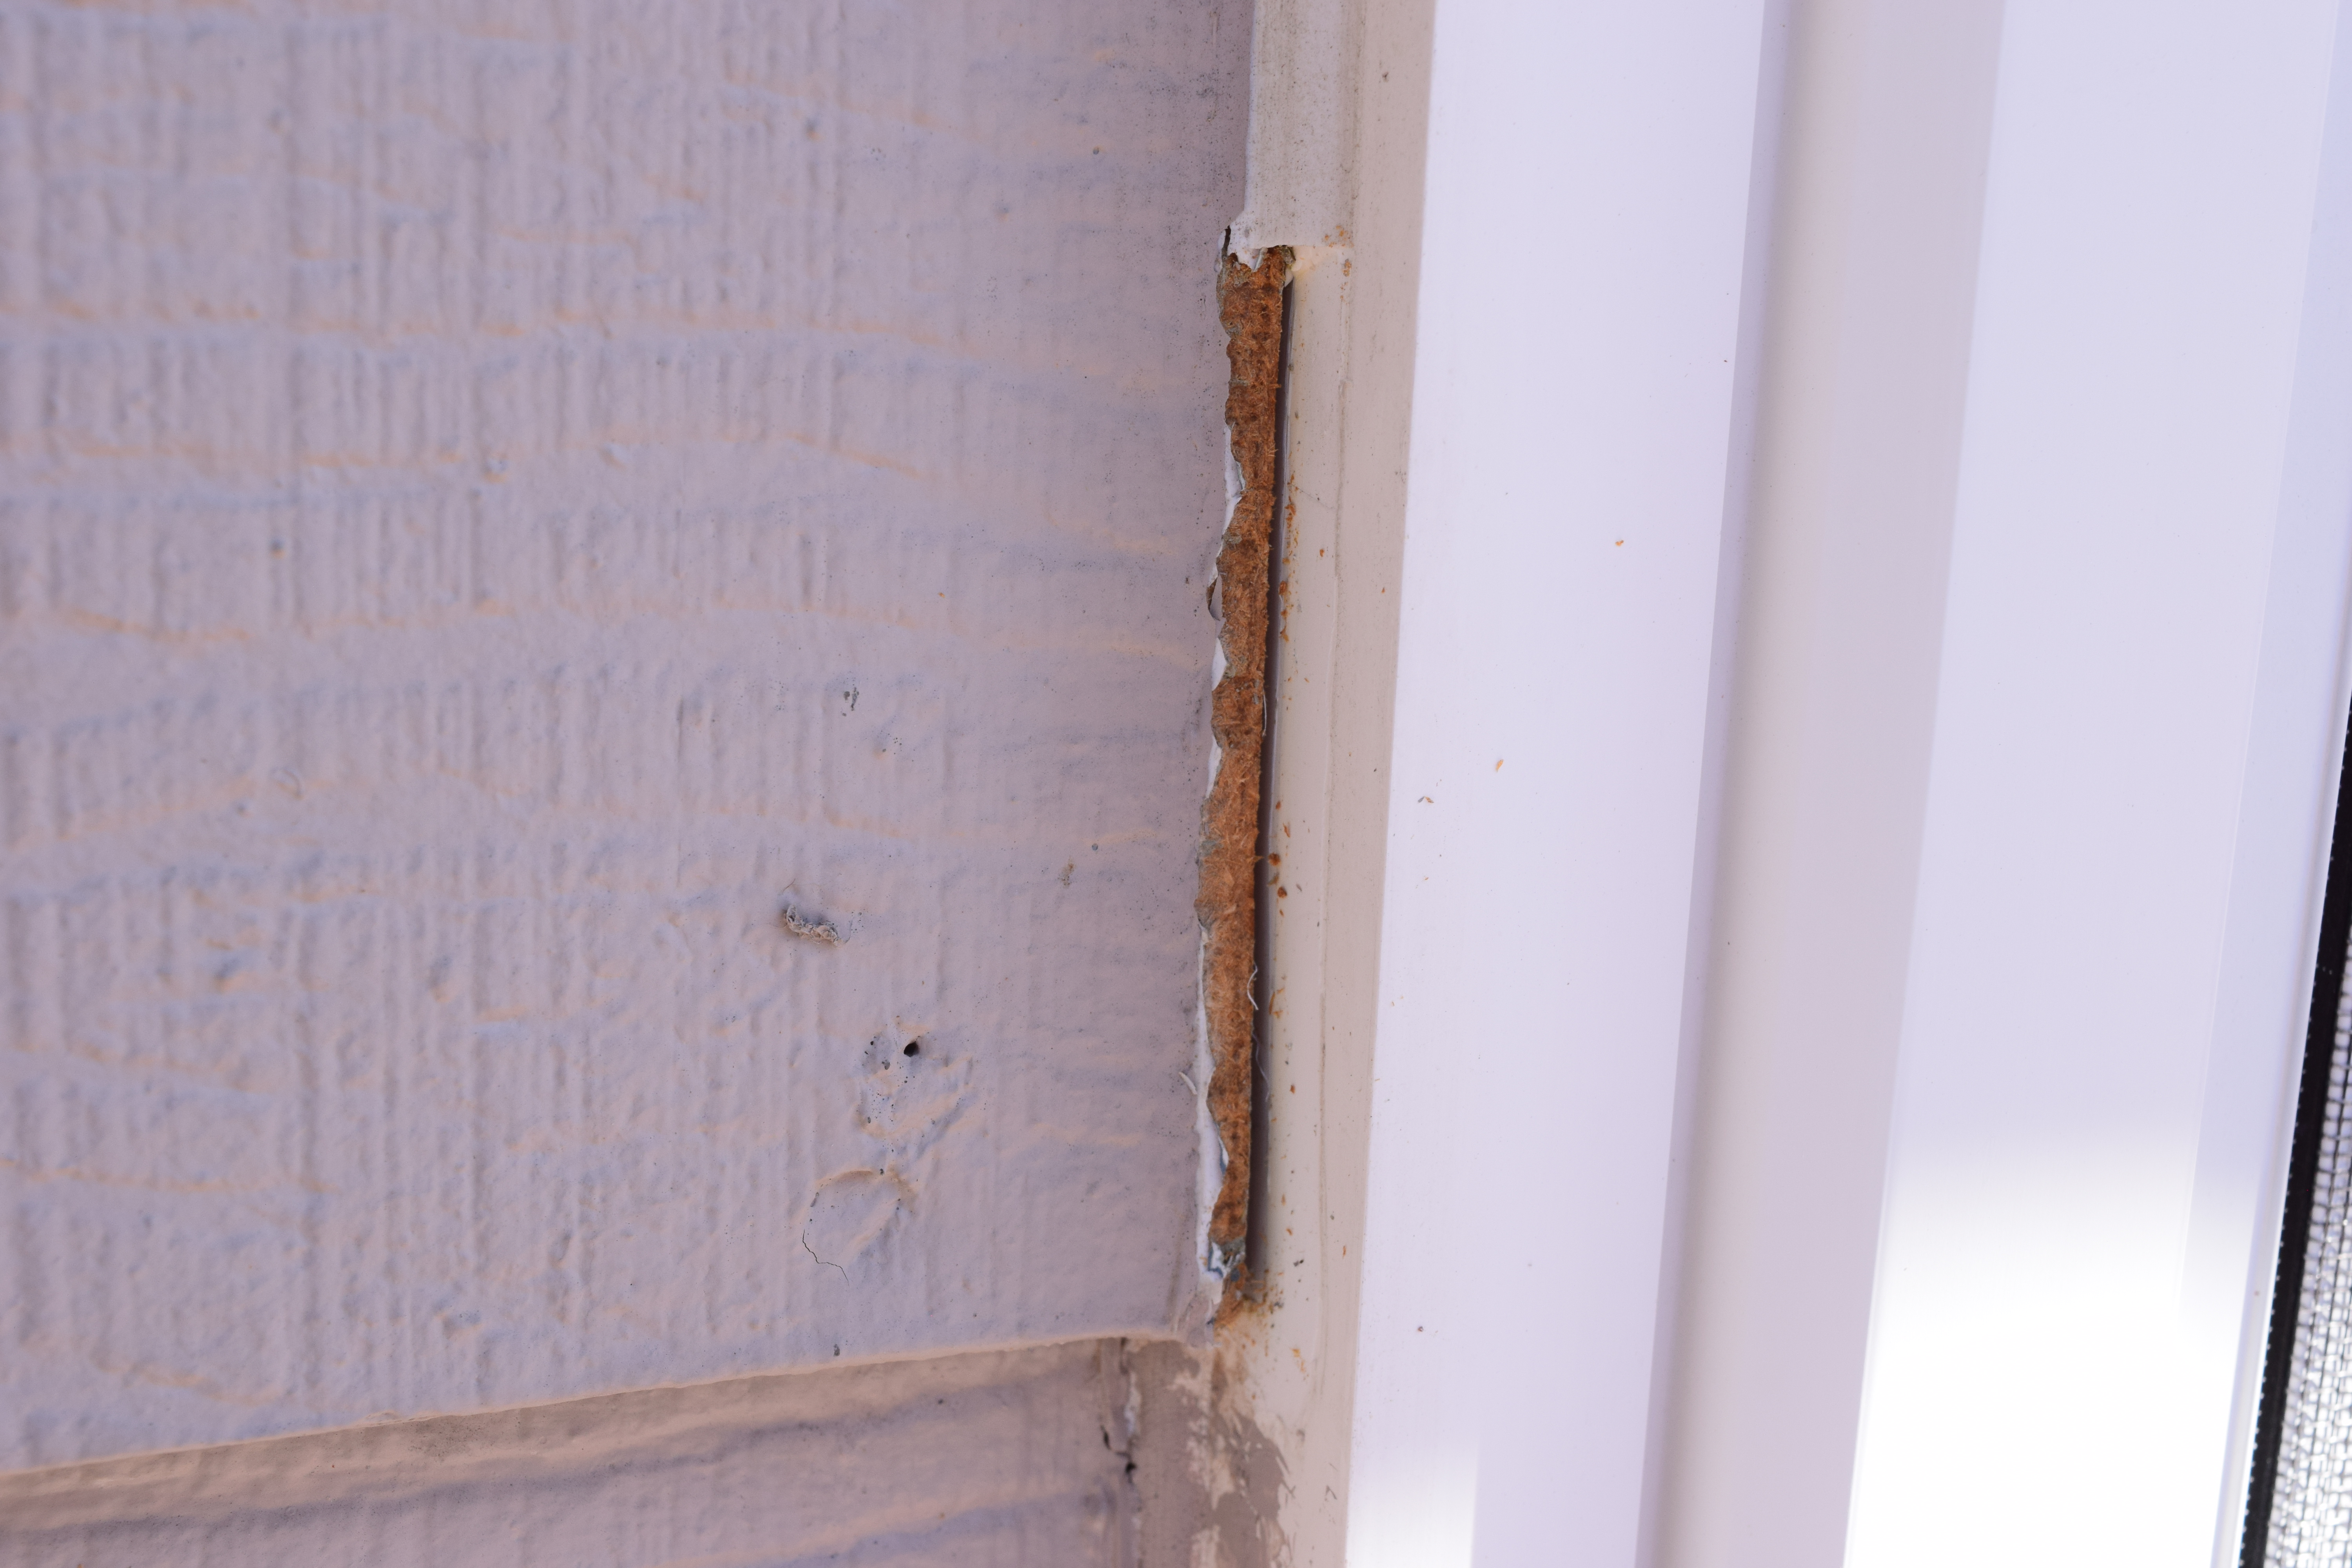
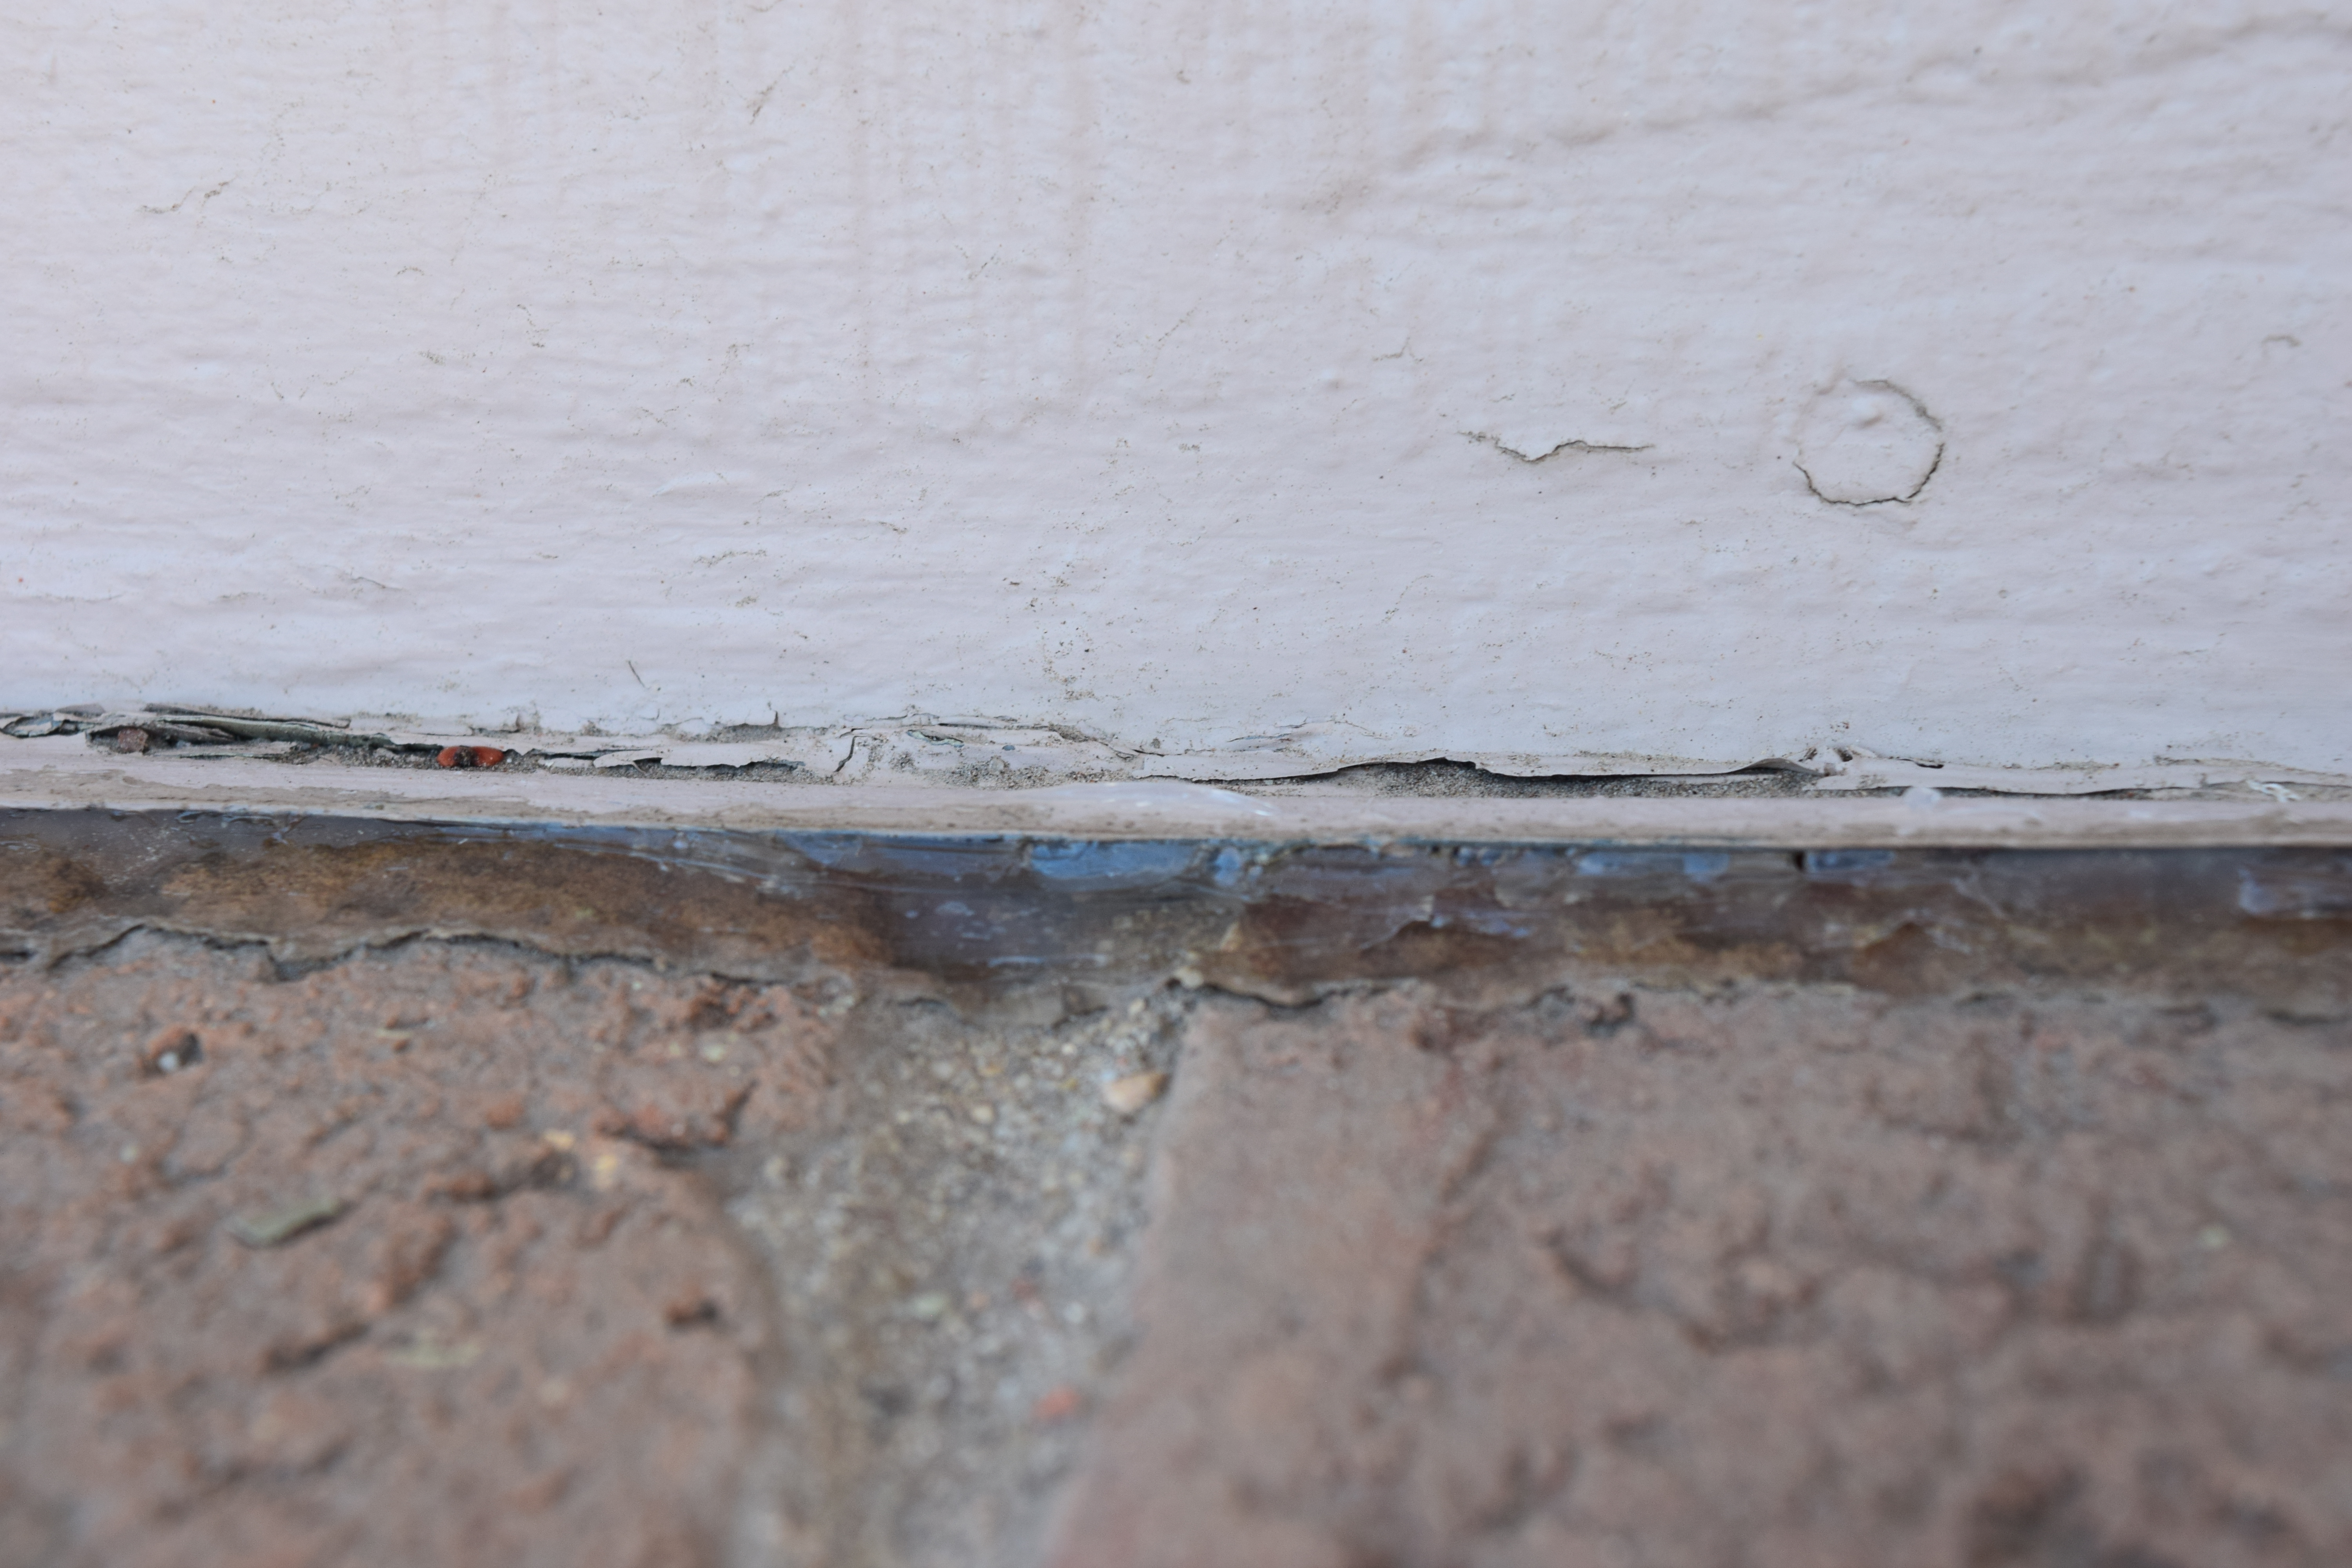
Caulking removed
Clean the surface before sealing it
Once the old sealant has been removed double-check to make sure it is clean. You can also clean the adjacent surfaces with a cloth soaked in an alcohol-based cleaning product. The alcohol will act as a solvent, breaking down the last of the old sealant and making it less sticky and easier to wipe off.
Let the surfaces dry for at least 20 minutes, and take the opportunity to vacuum the gaps around the window to remove any last bits of old sealant that might have gotten lodged in during cleaning.
Apply sealant primer (optional)
One of the secrets to a really strong seal is to apply sealant primer to the surface once it’s clean. This extra step will make the sealant adhere better to surfaces that are more difficult to stick to.
Always make sure the primer is compatible with your sealant and remember that primer should not be used as a replacement for preparing and cleaning the surface.
Use backer rods if necessary
If the gap between your window frame and siding is wider than a quarter of an inch (about 6.5 mm), don’t hesitate to insert closed-cell backer rods to bridge the gap before sealing it. Closed-cell backer rod will not absorb moisture so be sure to purchase the correct type of foam rod.
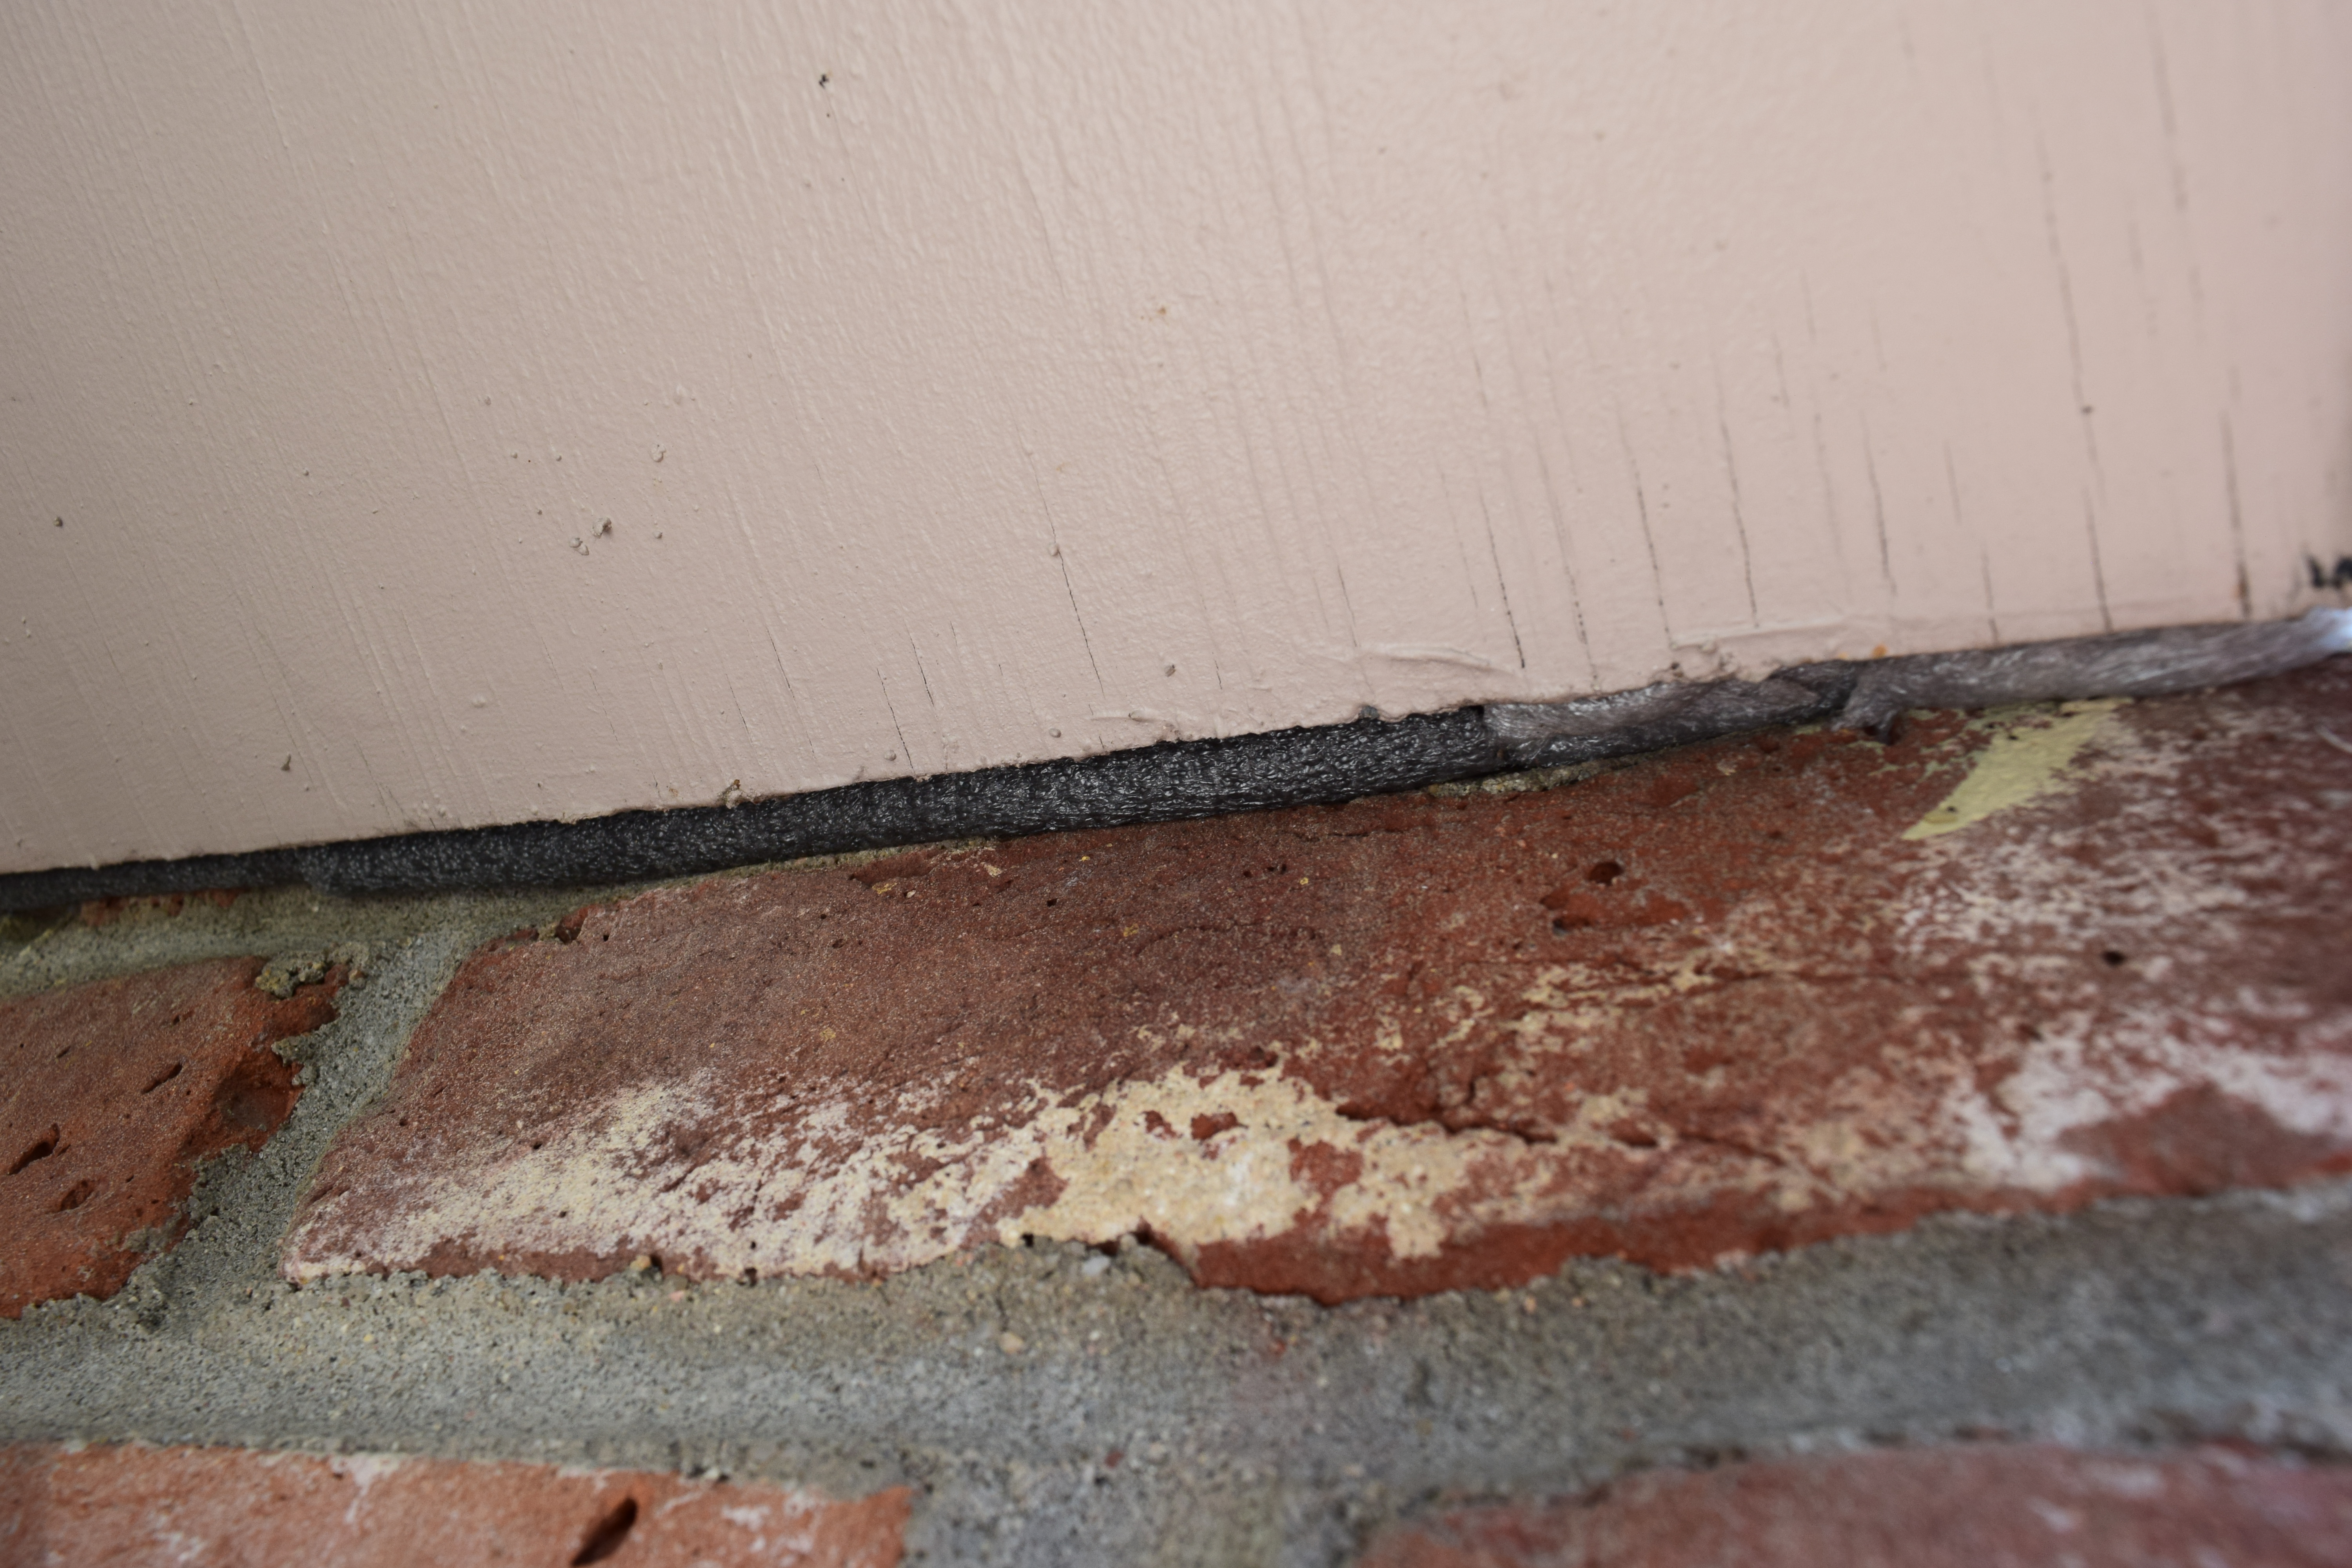
Backer rod installed
These small, compressible foam logs are used to control the depth of joints and help the sealant assume the optimal hourglass shape while filling any gaps and spaces that are too deep. They are available in multiple sizes at most hardware and home-building product stores.
Apply the sealant
While it’s possible to make sealant joints without a gun, using a caulking gun is practically a necessity for large projects like sealing exterior windows, doors, and most other joints.
Once you have your caulking gun, insert the sealant cartridge and cut the tip at a 45-degree angle. The closer you cut to the base of the cartridge, the wider the line of sealant will be. So cut the tip small at first as you can always cut off more to make a larger bead if necessary. Use a sharp object to break the seal inside the nozzle.
Start by applying a line of sealant somewhere that is not very visible, just in case you make a mistake. Hold the nozzle opening parallel to the exterior wall and apply a 2- to 3-foot line of sealant, maintaining consistent pressure on the trigger so the product spreads evenly.
It’s important to only apply 2 to 3 feet of sealant at a time since you’ll need time to shape it before it starts to cure. If you make a mistake, quickly scrape off the freshly applied sealant, wipe the surface clean and start over.
Insert Caulking window video.mov
Shape the joints
You’ll need to shape your joints to remove any excess sealant and give them a professional look. An easy way to do this is to use a joint shaping tool (sealant knife) that is wide enough to cover the gap the sealant is going to fill. The tool will help you obtain the ideal thickness and shape. You can purchase tools for this specific purpose but they can be expensive. We recommend using an old spoon or you can purchase cake decorating knives, that have different sizes of rounded ends, available at most hobby and craft stores. Some applicators will use painter's tape on either side of the joint to avoid over-application on the adjoining surfaces.
Position the shaping tool at an angle that makes it easy to slide and move it gently in a straight line. You can also use the tip of your finger to smooth the joint. Be sure to clean off any excess sealant on the surfaces away from the joint. Using painter's tape as mentioned above helps to avoid this and gives the joint a clean look.
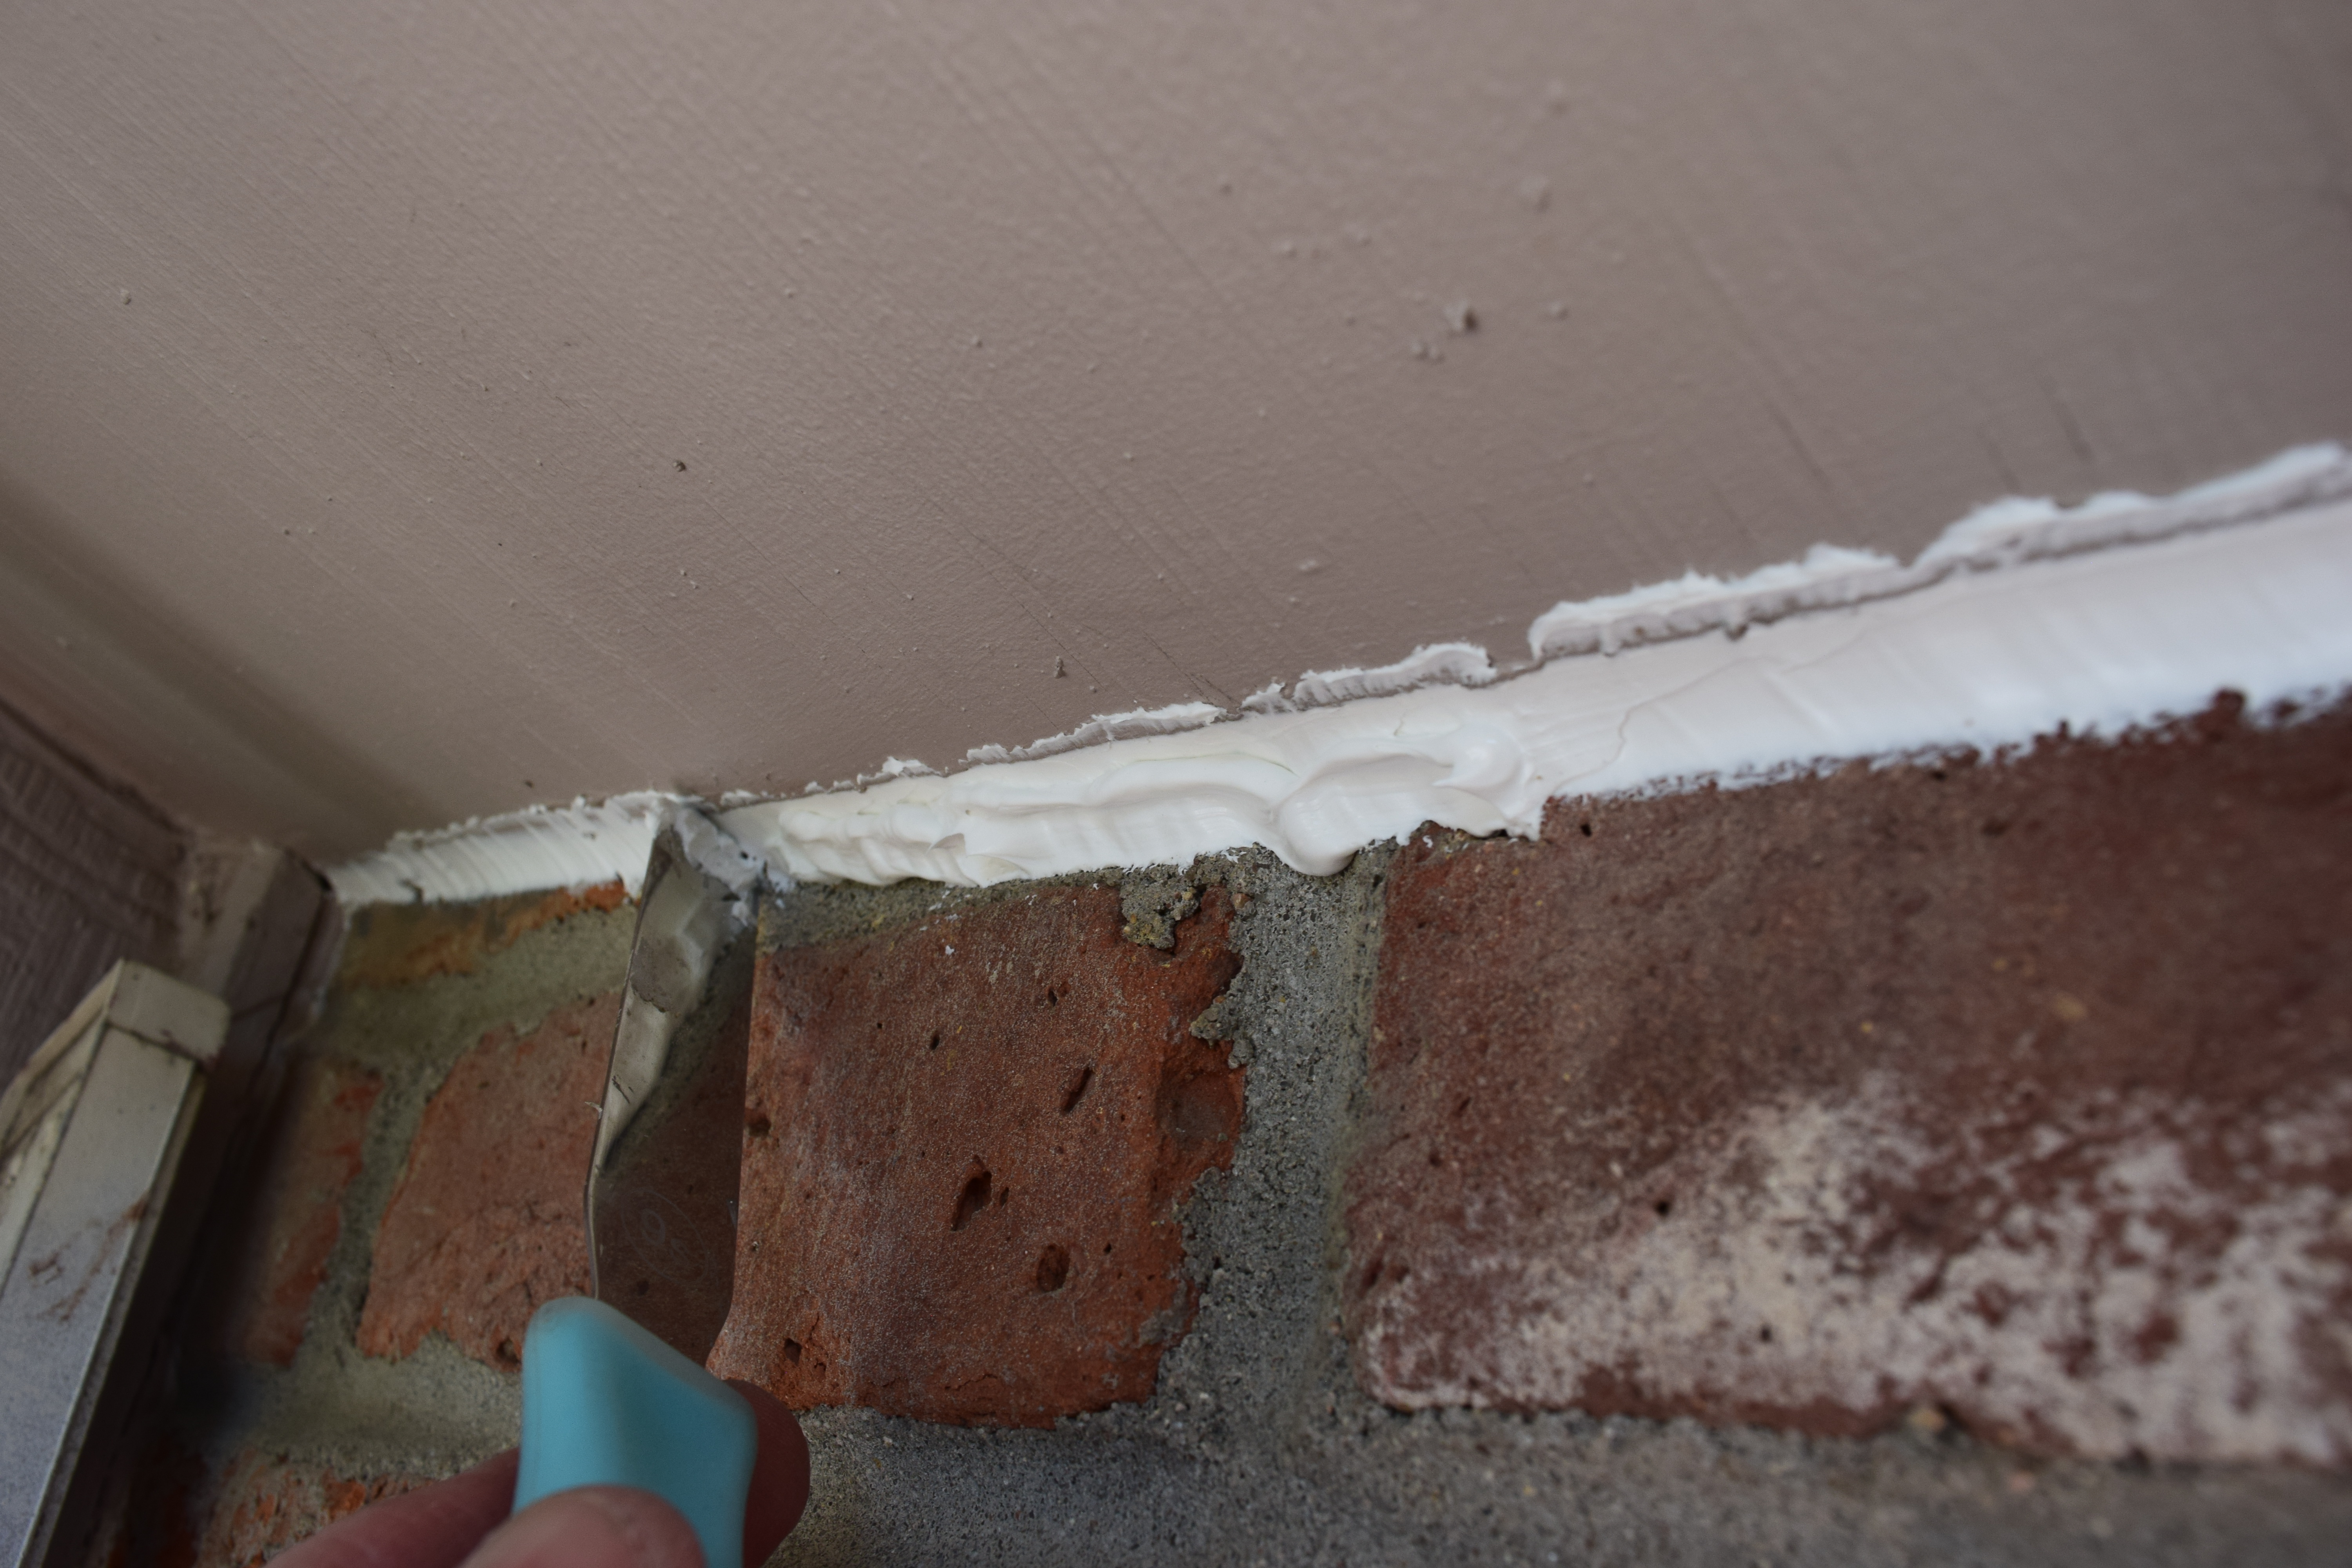
Tooling the joint
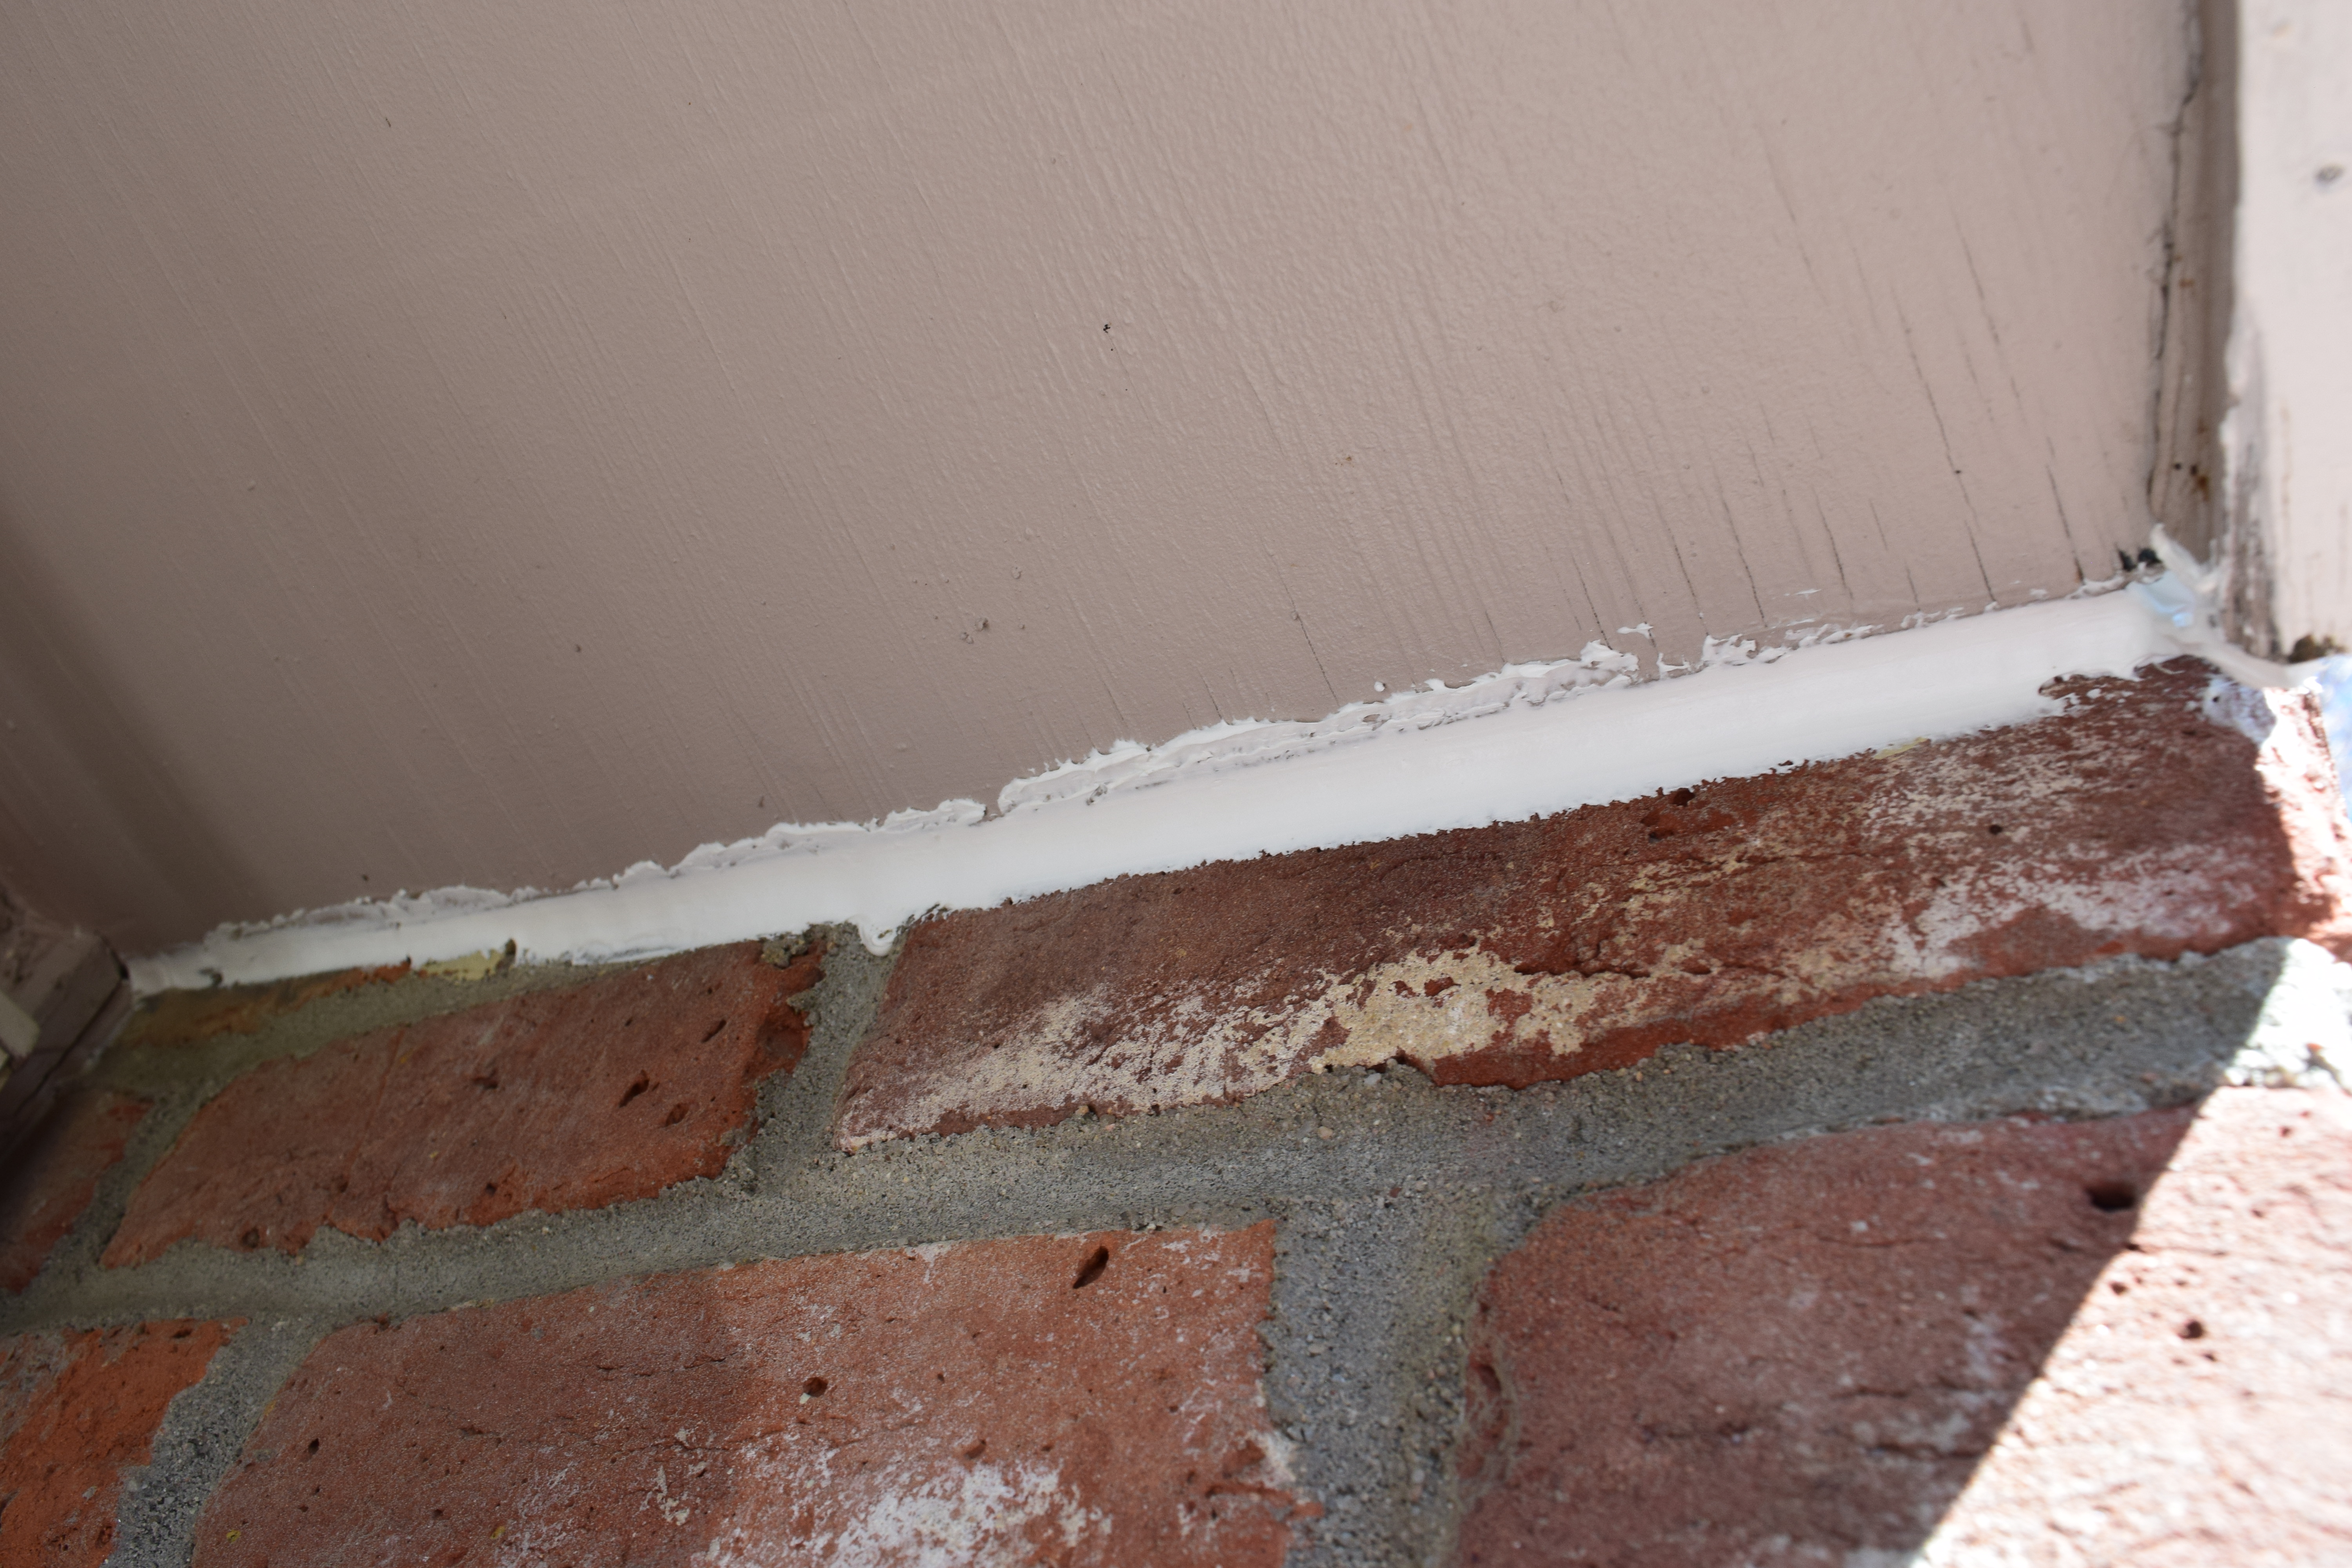
Sealant joint tooled
Other Wall Sealant Areas
Check any metal flashings that may be installed between veneers, i.e., brick to siding, stucco to brick or siding, etc. These areas are frequently neglected by homeowners. The same rules apply...remove the old and replace. Also, check your siding for any cracks, over-driven fasteners, loose boards, etc., and repair or replace as needed. Here are some examples.
Horizontal flashing between brick and siding before and after

Over-driven fastener at siding lap needs sealant
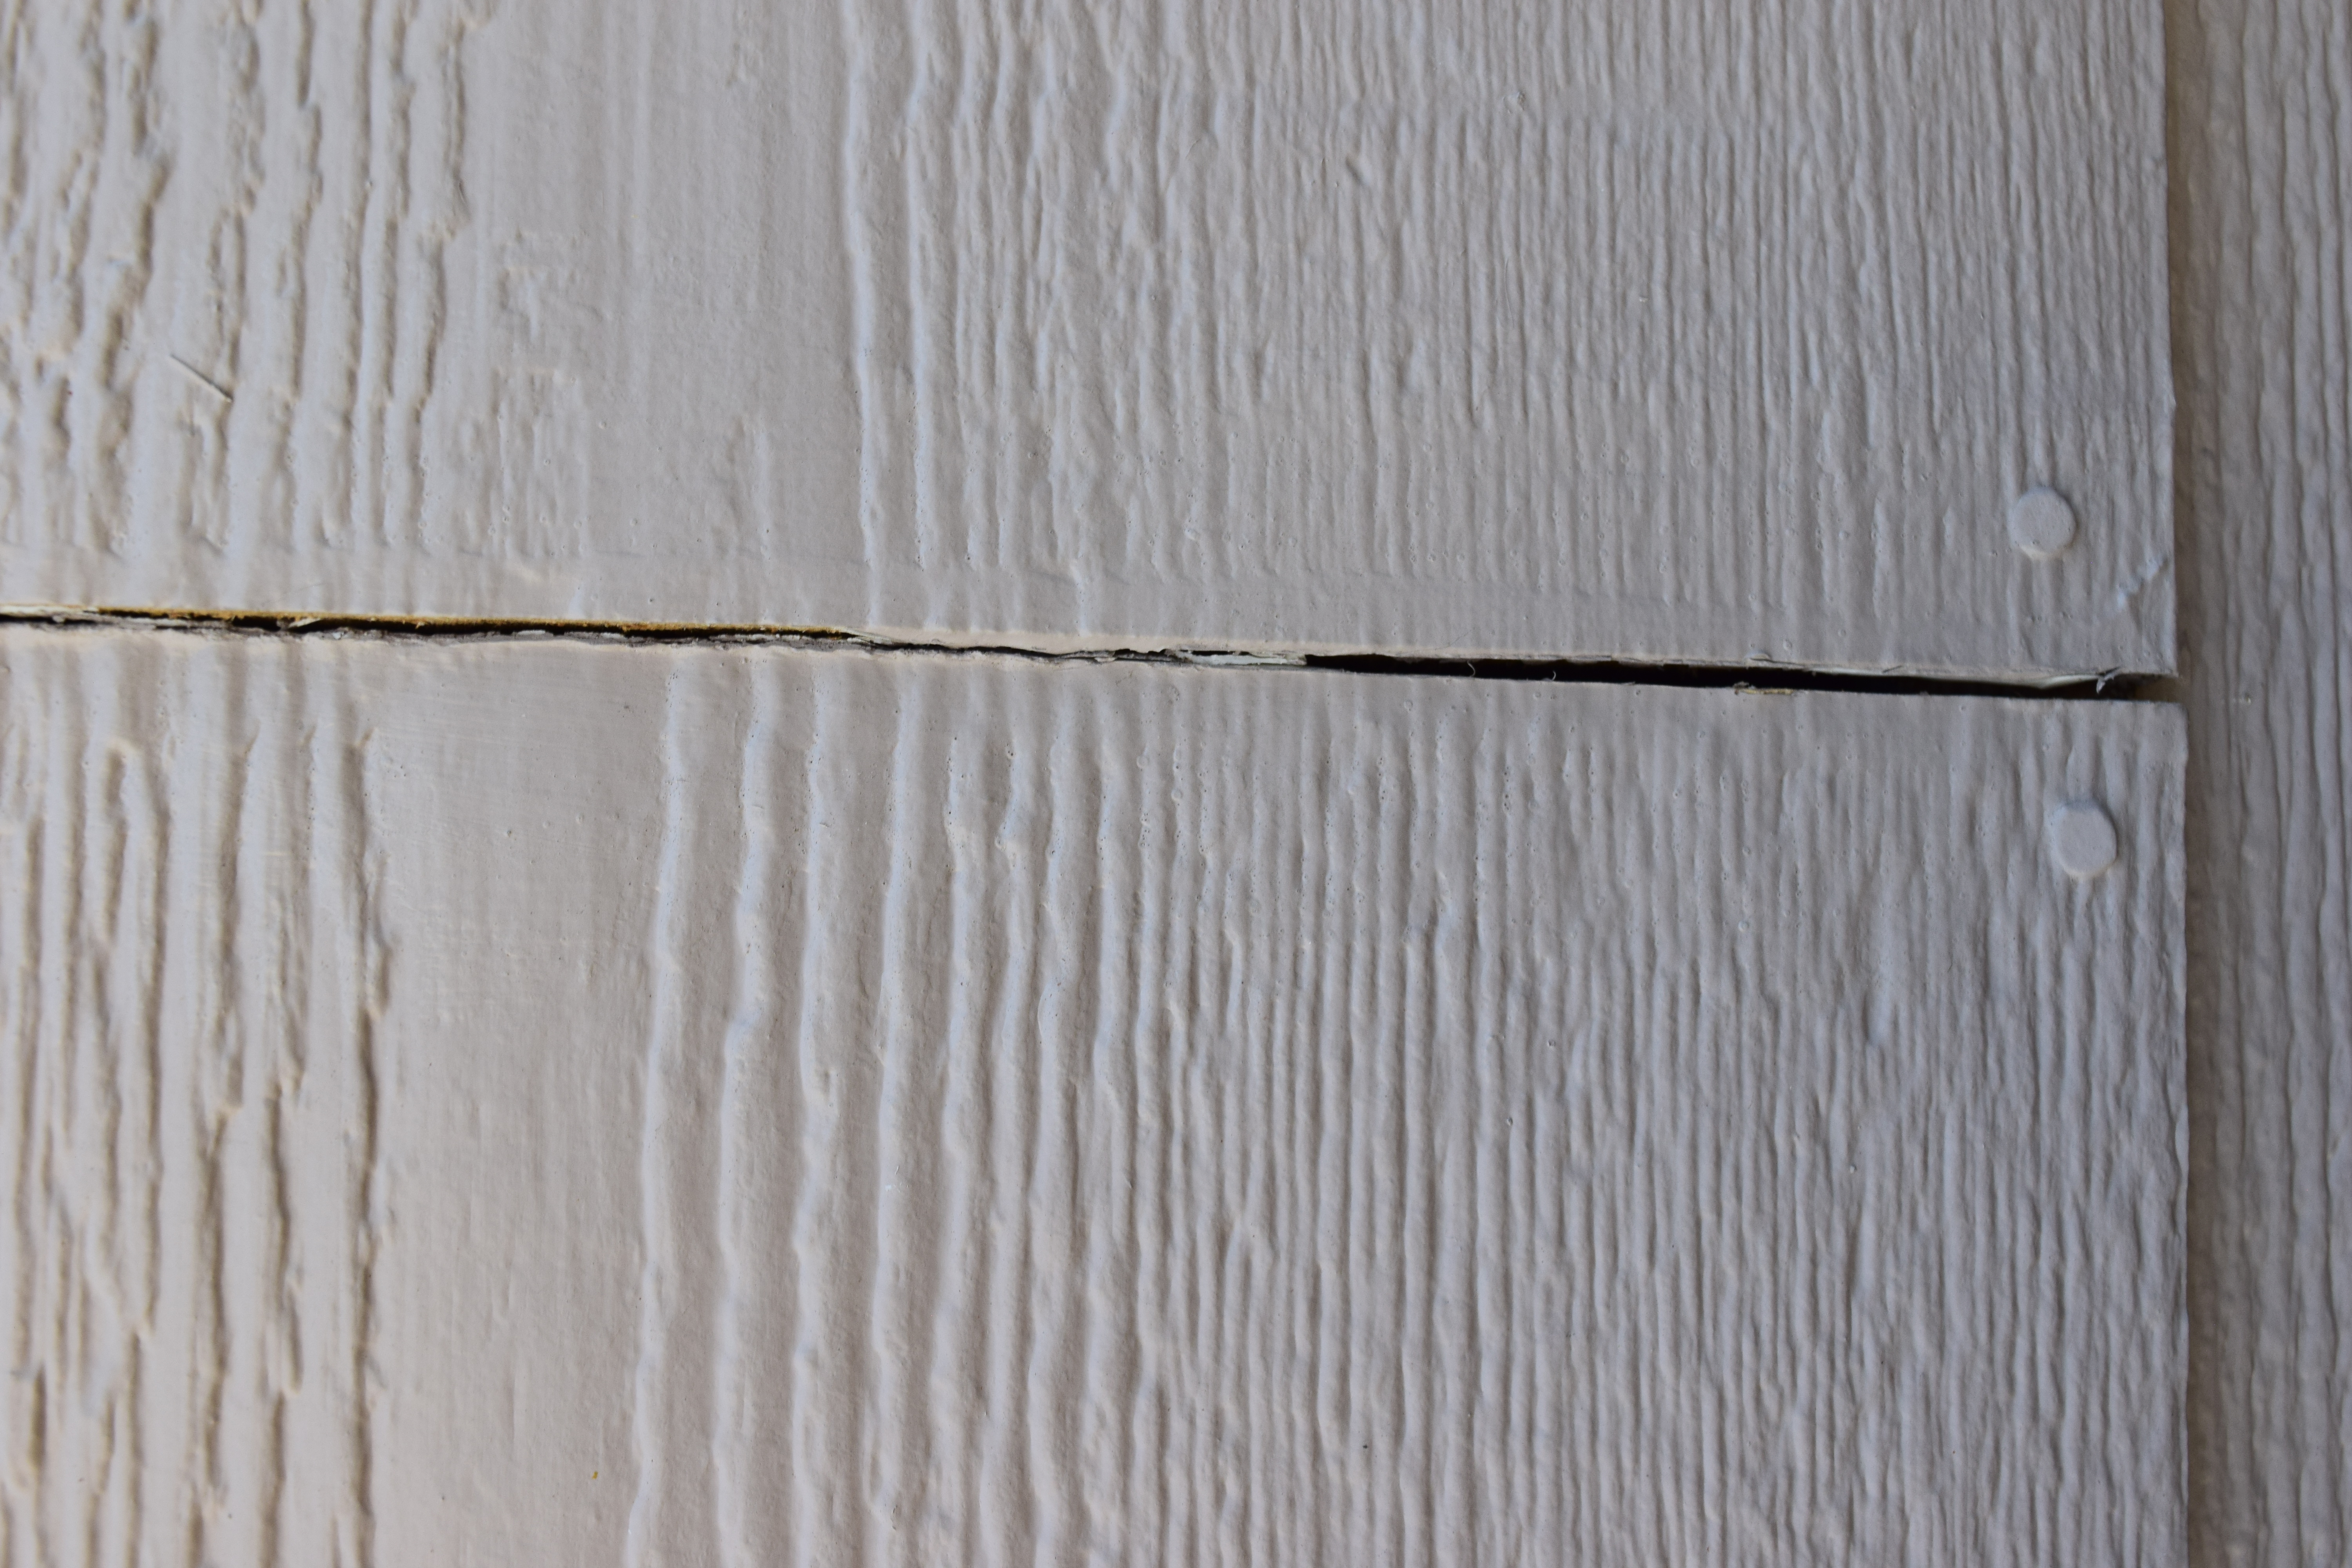
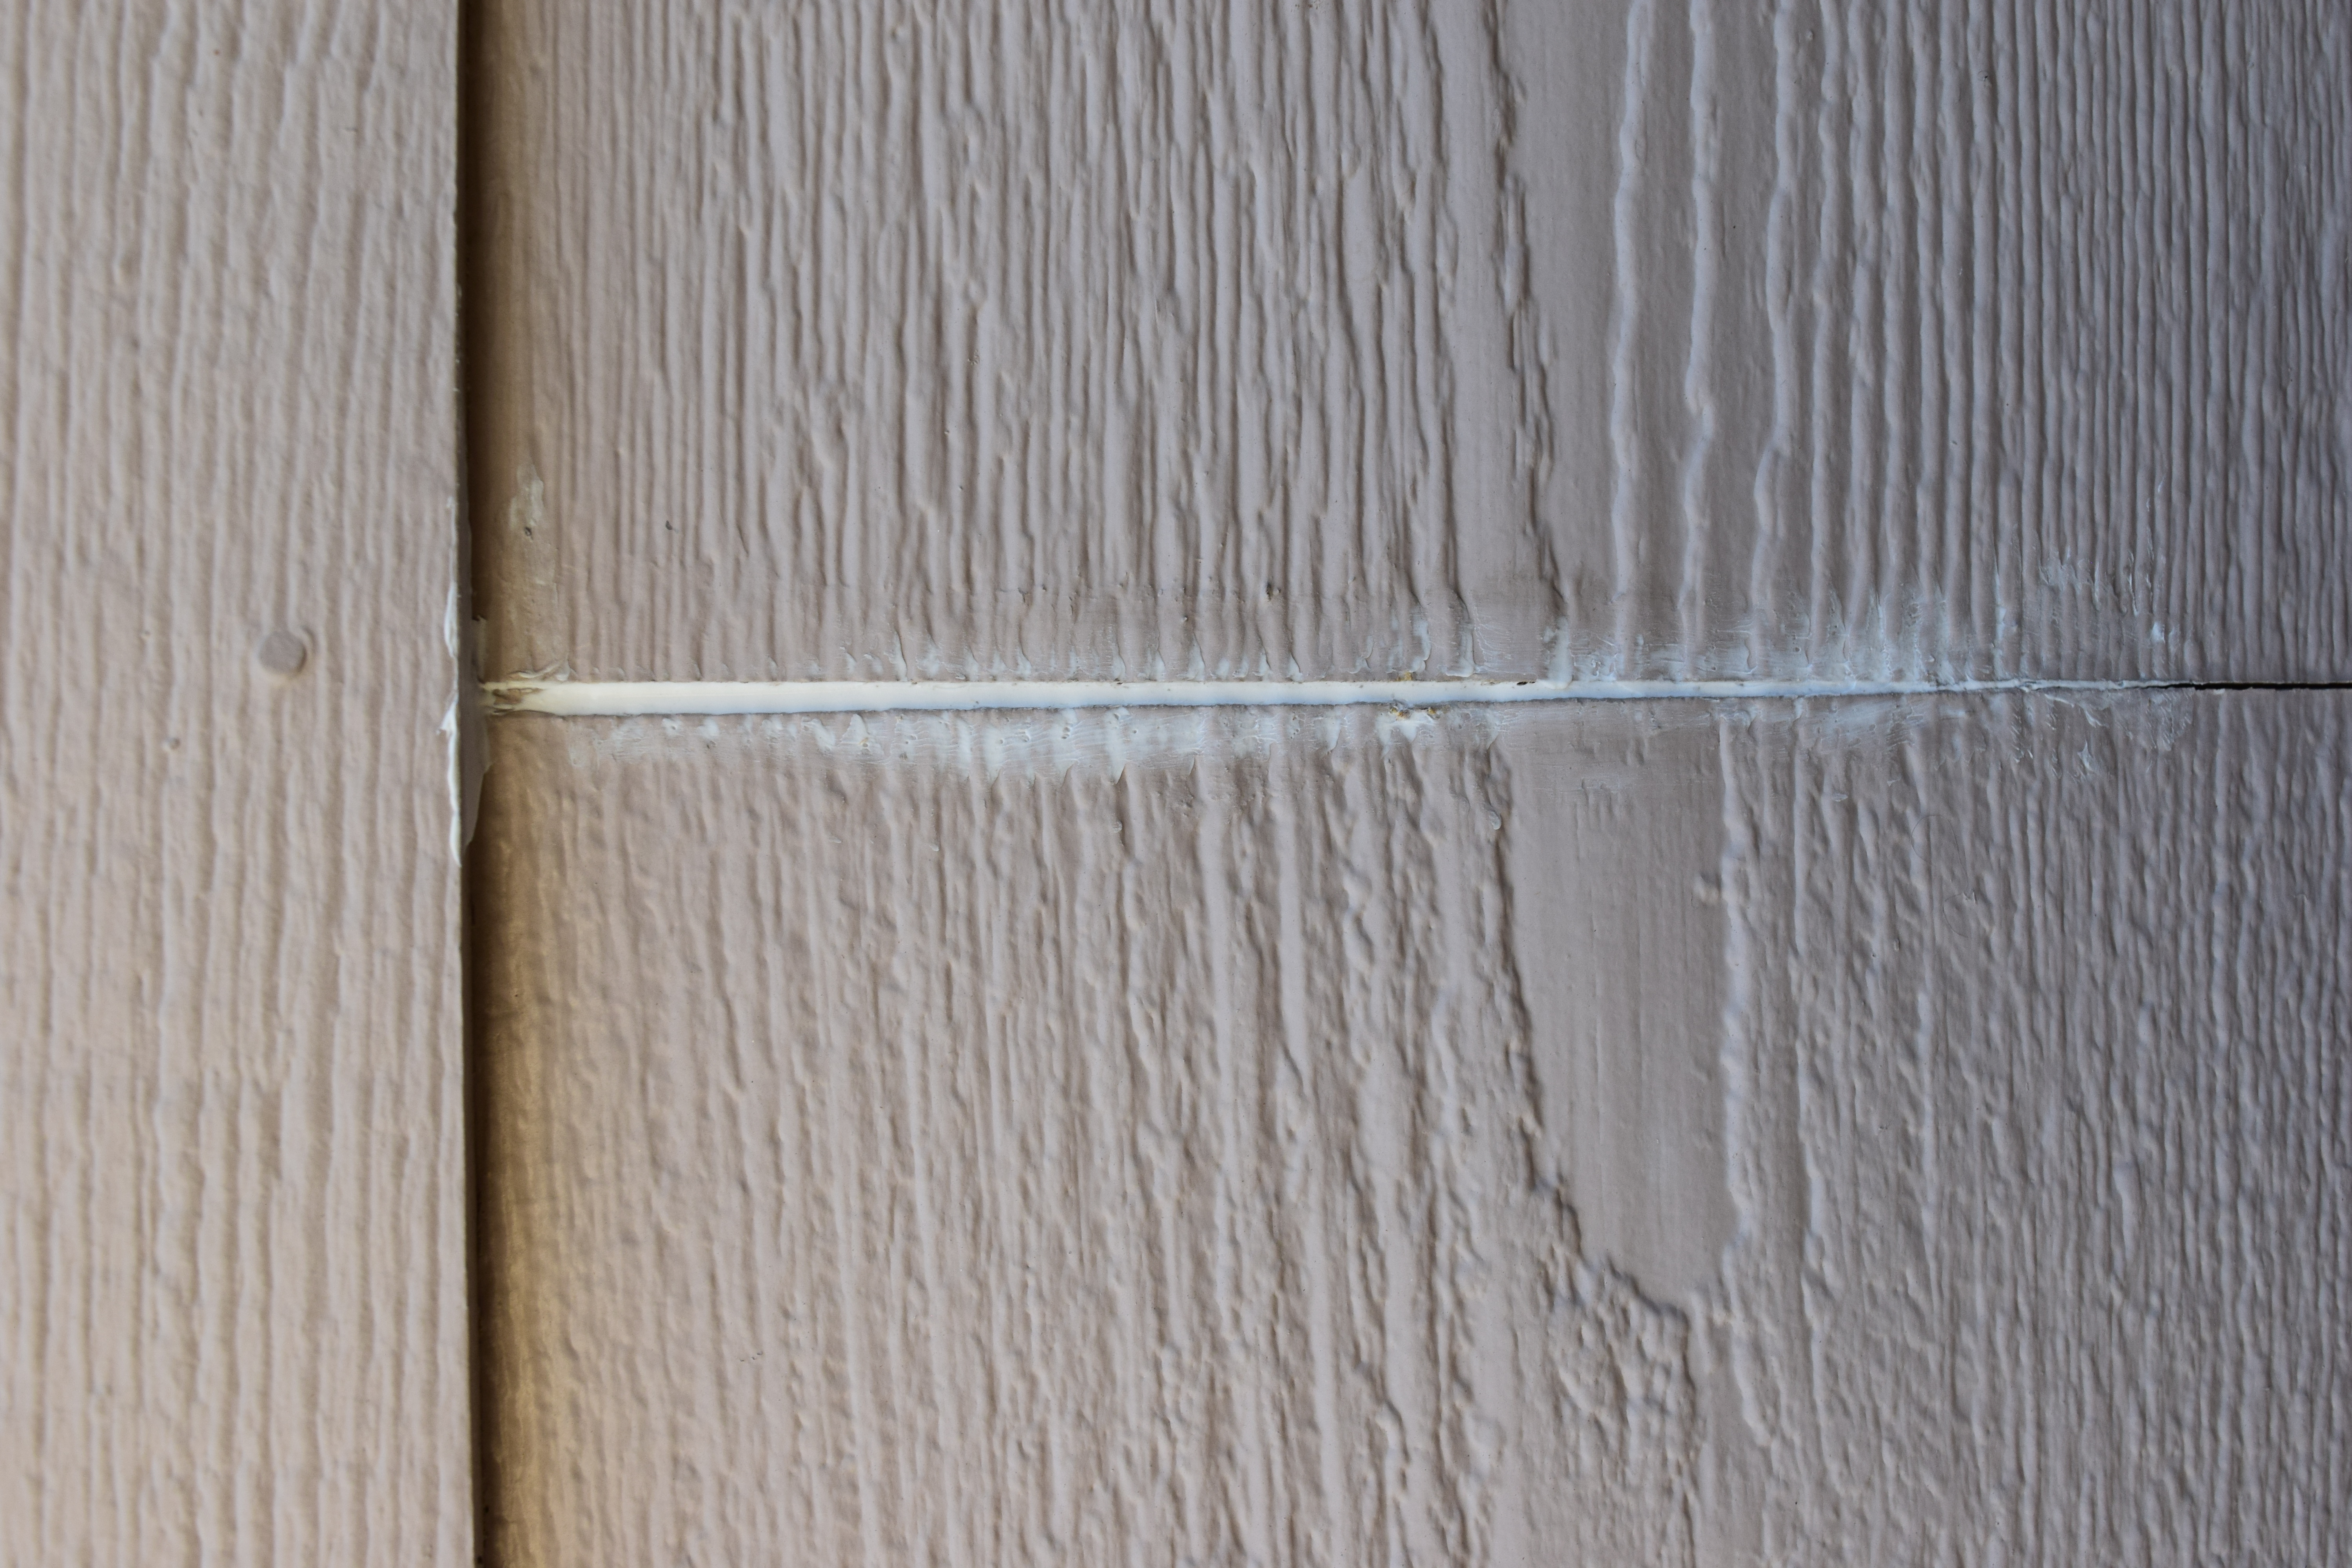
Joint sealants - Gap at siding butt joint before and after
Common Mistakes
1. Not selecting the right caulk - When it comes to caulking, you get what you pay for. For long-lasting protection around your windows, choose a high-quality paintable caulk.
100% silicone caulk or a mix of silicone and latex, is waterproof, flexible, shrink-proof, and will last over 20 years. It is also commonly found in hardware stores and building centers. The downside of silicone caulk is that most cannot be painted and can give off a strong odor as it dries.
Polyurethane caulk will last from 10 – 20 years, some can be painted over, and adheres well. This is a common option for exterior windows, doors, and joint caulking.
Less expensive options such as butyl rubber or oil or resin-based caulk are not generally as flexible and won’t adhere to surfaces for as long. Resist the urge to save money on caulking and sealants.
Selecting a none paintable sealant when you will be painting over the area.
2. Leaving on old caulk - Caulk tends to harden as it ages, usually breaking away from its surface allowing moisture to accumulate beneath. Without sufficiently preparing the surface by removing old caulk you risk leaving the old products on the surface. Use a putty knife or sharp tool to remove all of it.
To remove extra-hard caulk, you may choose to apply a caulk remover gel. Leave it on for 2–3 hours to loosen the caulk before scraping. Then clean the surface with a household cleaner or rubbing alcohol and ensure the surface is clean and dry before caulking.
3. Not using the right applicator - The cartridge of caulk you buy from the hardware store isn’t designed to double as a tool for direct application. You’ll need a good quality caulking gun and a tooling knife to dispense and finish it properly. When shopping for a caulk gun, look for a model that has a comfortable grip and a smooth plunger rod. Battery-powered caulking guns are available but more expensive than ratcheting plunger manual ones.
Inexpensive guns that use a ratcheting plunger tend to apply caulk unevenly for inexperienced homeowners, making the job look messy. Cut the nozzle of the caulk cartridge to your desired bead size, pierce the inside seal, then insert it into the caulking gun. Seal cracks with caulk at an even, consistent pressure, holding the gun at a 45-degree angle.
4. Applying too much product - If the crack you’re sealing exceeds 1/2 inch wide or 1/2 inch deep, don’t be tempted to simply add more caulk. Instead, fill the gap with a closed-cell backer rod (a small segment of foam rope), to fill the gap before caulking over. The backer rod prevents excessive product application, and 3-point adhesion, and provides the proper shape and depth of the joint.
5. Skipping tooling - Tooling is the process of smoothing out caulk after it’s been applied. This important step ensures your job is effective and looks neat and professional. Your finger can be used for this process. After applying a bead of caulk, run your finger along the bead to ensure it fills the gap and is in contact with both sides of the joint. Dip your finger in soapy water before tooling to make sure your skin doesn’t grab the caulk or use an ice cube. Using a tooling knife is always the best option.
Summary
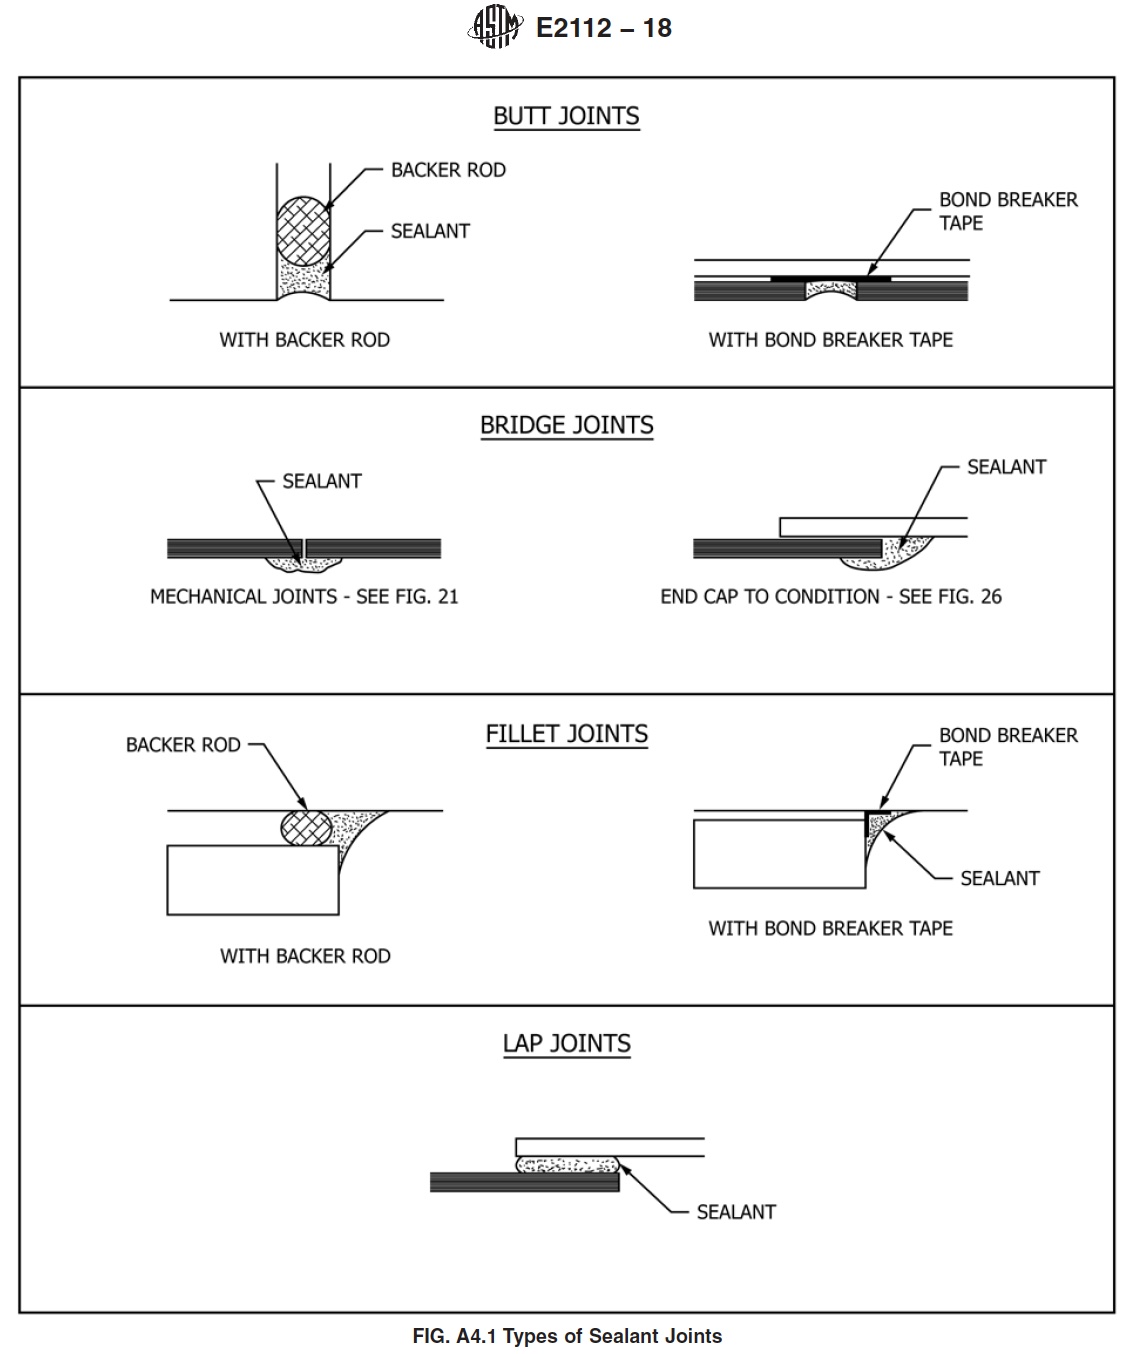
Types of Sealant Joints from ASTM
Maintaining the exterior of your home is one way to ensure your home stays in peak condition through the seasons. Be sure to read Part 1 of this series for the proper types of caulk or sealant to use for your project and specific condition.