A roof system is a big investment for homeowners and may represent a significant portion of construction costs. Maintaining your roof is very important when it comes to owning a home. Not only is it expensive to replace and repair, but if it suffers from any damage then the insides of your home are at risk of damage as well. Inspections should be performed twice a year; in spring and fall and after any significant weather event.
Insert link to Roof Inspection video
The life expectancy of a shingled roof?
The life of your roof depends on the region of the country. The Internation Association of Home Inspectors on Life Expectancy of Home Components states that asphalt shingles should last 20-30 years. The weather, sun, and UV exposure take a toll on the shingles. The higher in elevation you live the more intense the UV is. For those of us here in Colorado, our roofs will not last as long as those in lower elevations. We have rarely seen asphalt shingles last 20 years. With the elevation here combined with the hail storms and snow, shingles seem to get replaced more frequently. Roofing systems seldom last as long as manufacturers advertise.
(Note - the maintenance and inspection of wood shingles and tile roofs are similar.)
What causes damage to a roof?
Some common examples include:
- Exposure to the elements (sunlight (UV), wind, rain, hail, snow, trees)
- Biological growth (blue algae, tree, or plant debris) in moist climates. Streaks and stains on shingles are typically caused by algae, moss, or lichens, which grow in humid climates.
- Often mistaken as mold or mildew, the black discoloration and streaks visible on many roofs across the United States and Canada are actually algae. The algae can form where moisture tends to dwell on roof surfaces. Coastal or humid climates create the most conducive conditions for algae growth. The most common type, gloeocapsa magma or blue-green algae, protects itself from damaging ultraviolet rays by producing a dark pigmented sheath. The algae discoloration typically begins as small spots and then quickly transforms into streaks on the roof plane. By the time the algae is visible, it likely has been present for several months or longer. Algae and moss growth on roofs, at a minimum, is an unsightly nuisance. Moss build-up can lead to roof damage or shingle blow-off if left unchecked. (Asphalt Roofing Manufacturers Assoc.)
- Poor installation technique
-
Inconsistent maintenance or repairs
- Inadequate maintenance of sealants and flashing leads to leaks
- Change in building use (leading to increased humidity or imbalanced ventilation)
- Inadequate attic ventilation
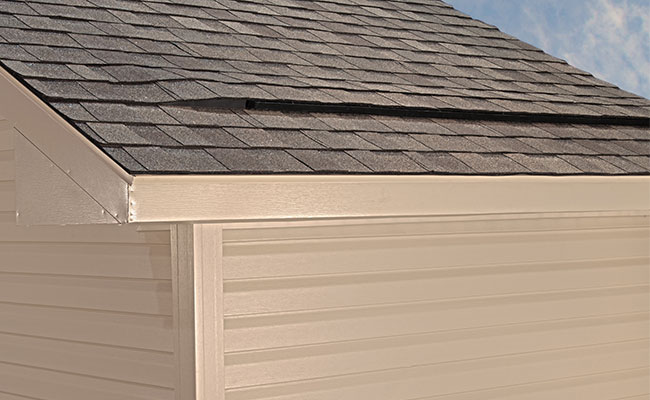
Pay attention not only to shingles, sealants, and flashing but other key components of the roof system, such as gutters, downspouts, installations of skylights, vents, chimneys, solar panels, and ventilation.
Safety First!
When you inspect your roof, be sure to always use a ladder safely. In ideal conditions, you should use proper safety gear and tie yourself off when walking on a sloped surface and standing near the edge. If you feel uncomfortable with the tasks listed in this article, contact a competent roofing contractor to perform the inspections.
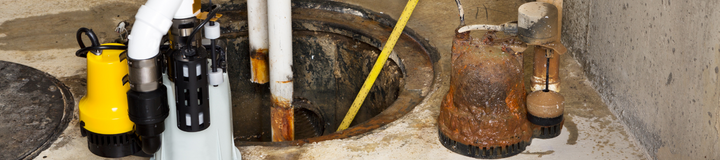
Unclog Your Gutters
Gutters help guard the structural integrity of your house by channeling water away from its foundation, but they also protect your eaves and edge flashings. Gutters keep water flowing away from the edge of the roof, protect the foundation, and help prevent ice dams, which form when the snow melts on the upper levels of your roof and freezes as it runs down the colder shingles — an issue that is as bad as having standing water on your roof.

Proper gutter maintenance is one of the most important ways to prevent serious water damage to your home. Fortunately, most homeowners can fix gutter clogs, the most common gutter problem. If your gutter is clogged, water may sit on the edge of the roof and cause leaks. It is a good idea to check gutters twice per year and after significant weather events. Click the link for our Gutter Maintenance article on the Neaternest blog.
If your home has a chimney, it’s important to inspect any areas where the mortar (the substance that keeps bricks together) has begun to erode from weathering. If left unmaintained, deteriorated mortar can cause one or more bricks to fall out and cause major problems. Even a fall from a short distance onto your roof could cause sufficient damage. If your chimney is wider than usual and located on a downward slope, we recommend installing a chimney cricket. Shaped like a triangle on the high side above the chimney, these crickets divert water around the base of the chimney. Inspect any metal flashings on top of the chimney or the chimney counter-flashings at the base.

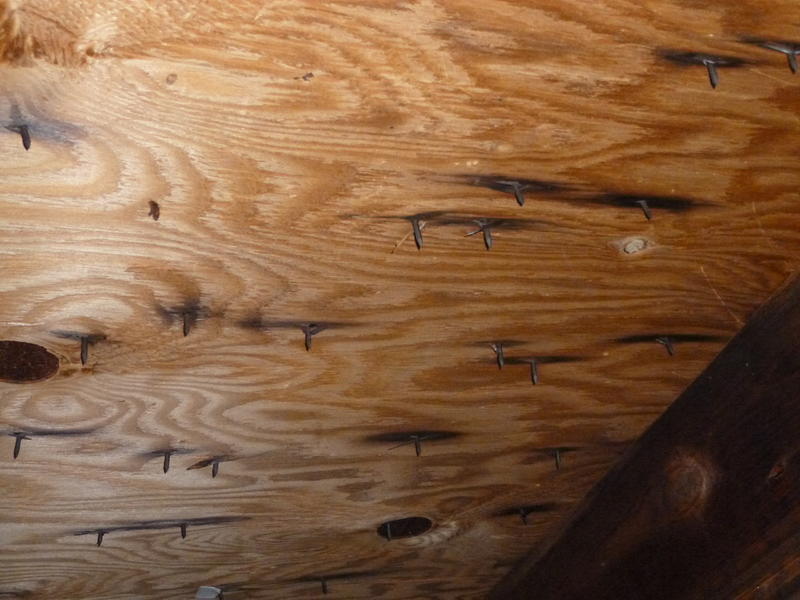
Inspect the Attic
While it’s not always possible to spot leaks while you’re standing on the roof, once you are in the attic, it will be obvious. In the attic, look for water stains and other signs of damage on the bottom of the sheathing and on the rafters.
We recommend inspecting your attic on a cool sunny day, as you will be able to see holes and other defects. Be sure to wear protective clothing and a ventilator mask in case there are hidden toxins in the air. Moving around in the attic will stir up dust and allergens. If you are uncomfortable in confined spaces, contact a competent professional for this inspection.
Improper fasteners
It is important to check the framing and tips of the exposed shingle nails in the attic. Check to make sure the nails are not rusty. If they are there might be a leak or the attic space has too much moisture and is not being ventilated properly.
Wildlife damage
This kind of damage includes tears, droppings, scratches, chewed food, feces, trampled insulation, ripped ducts, and more. Determine the location the wildlife is entering the attic and repair it immediately. Wildlife has been known to chew through wiring and other components in attics and create significant issues.
Water Damage, Leaks, and Holes
Long-term leakage often encourages mold growth and can cause severe decay. You can also use a moisture meter to check stains for elevated moisture content - anything below 20% is optimal.
Insulation & Poor Ventilation
One of the best things you can do for your home and in your attic is to make sure the attic is well insulated and has proper air ventilation. If your attic is poorly insulated, an abundance of heat will escape through it. In the winter, this will cause snow accumulations to melt and refreeze repeatedly, which can cause ice dams and significant damage to your structure. Adequate and correctly installed insulation will reduce your heating and cooling bill. Airvent.com
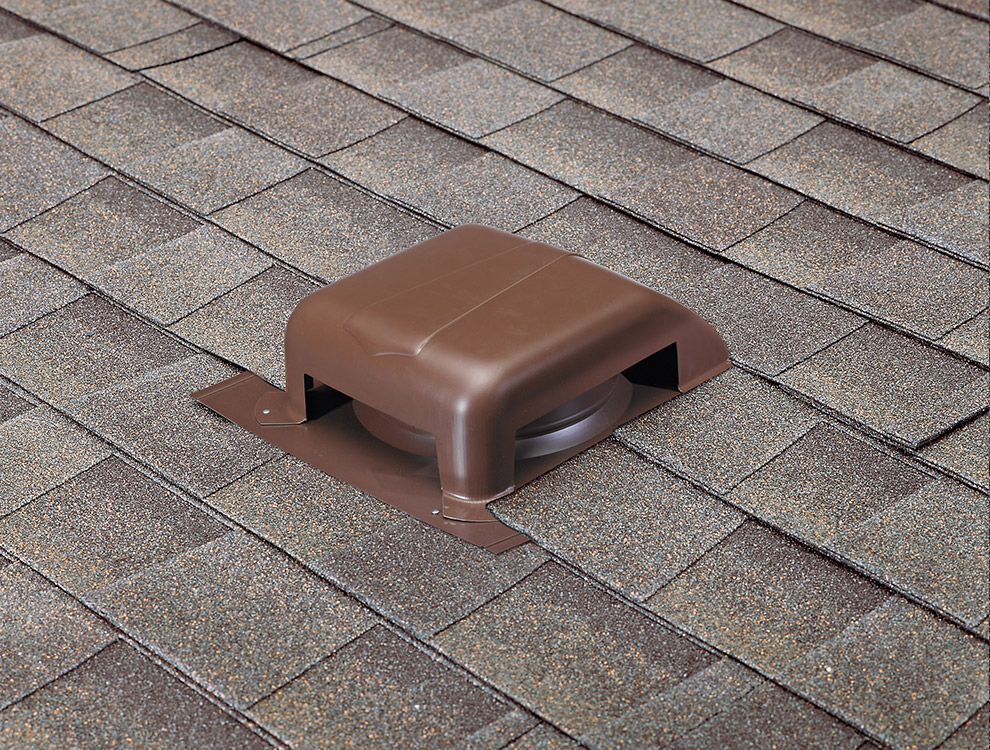

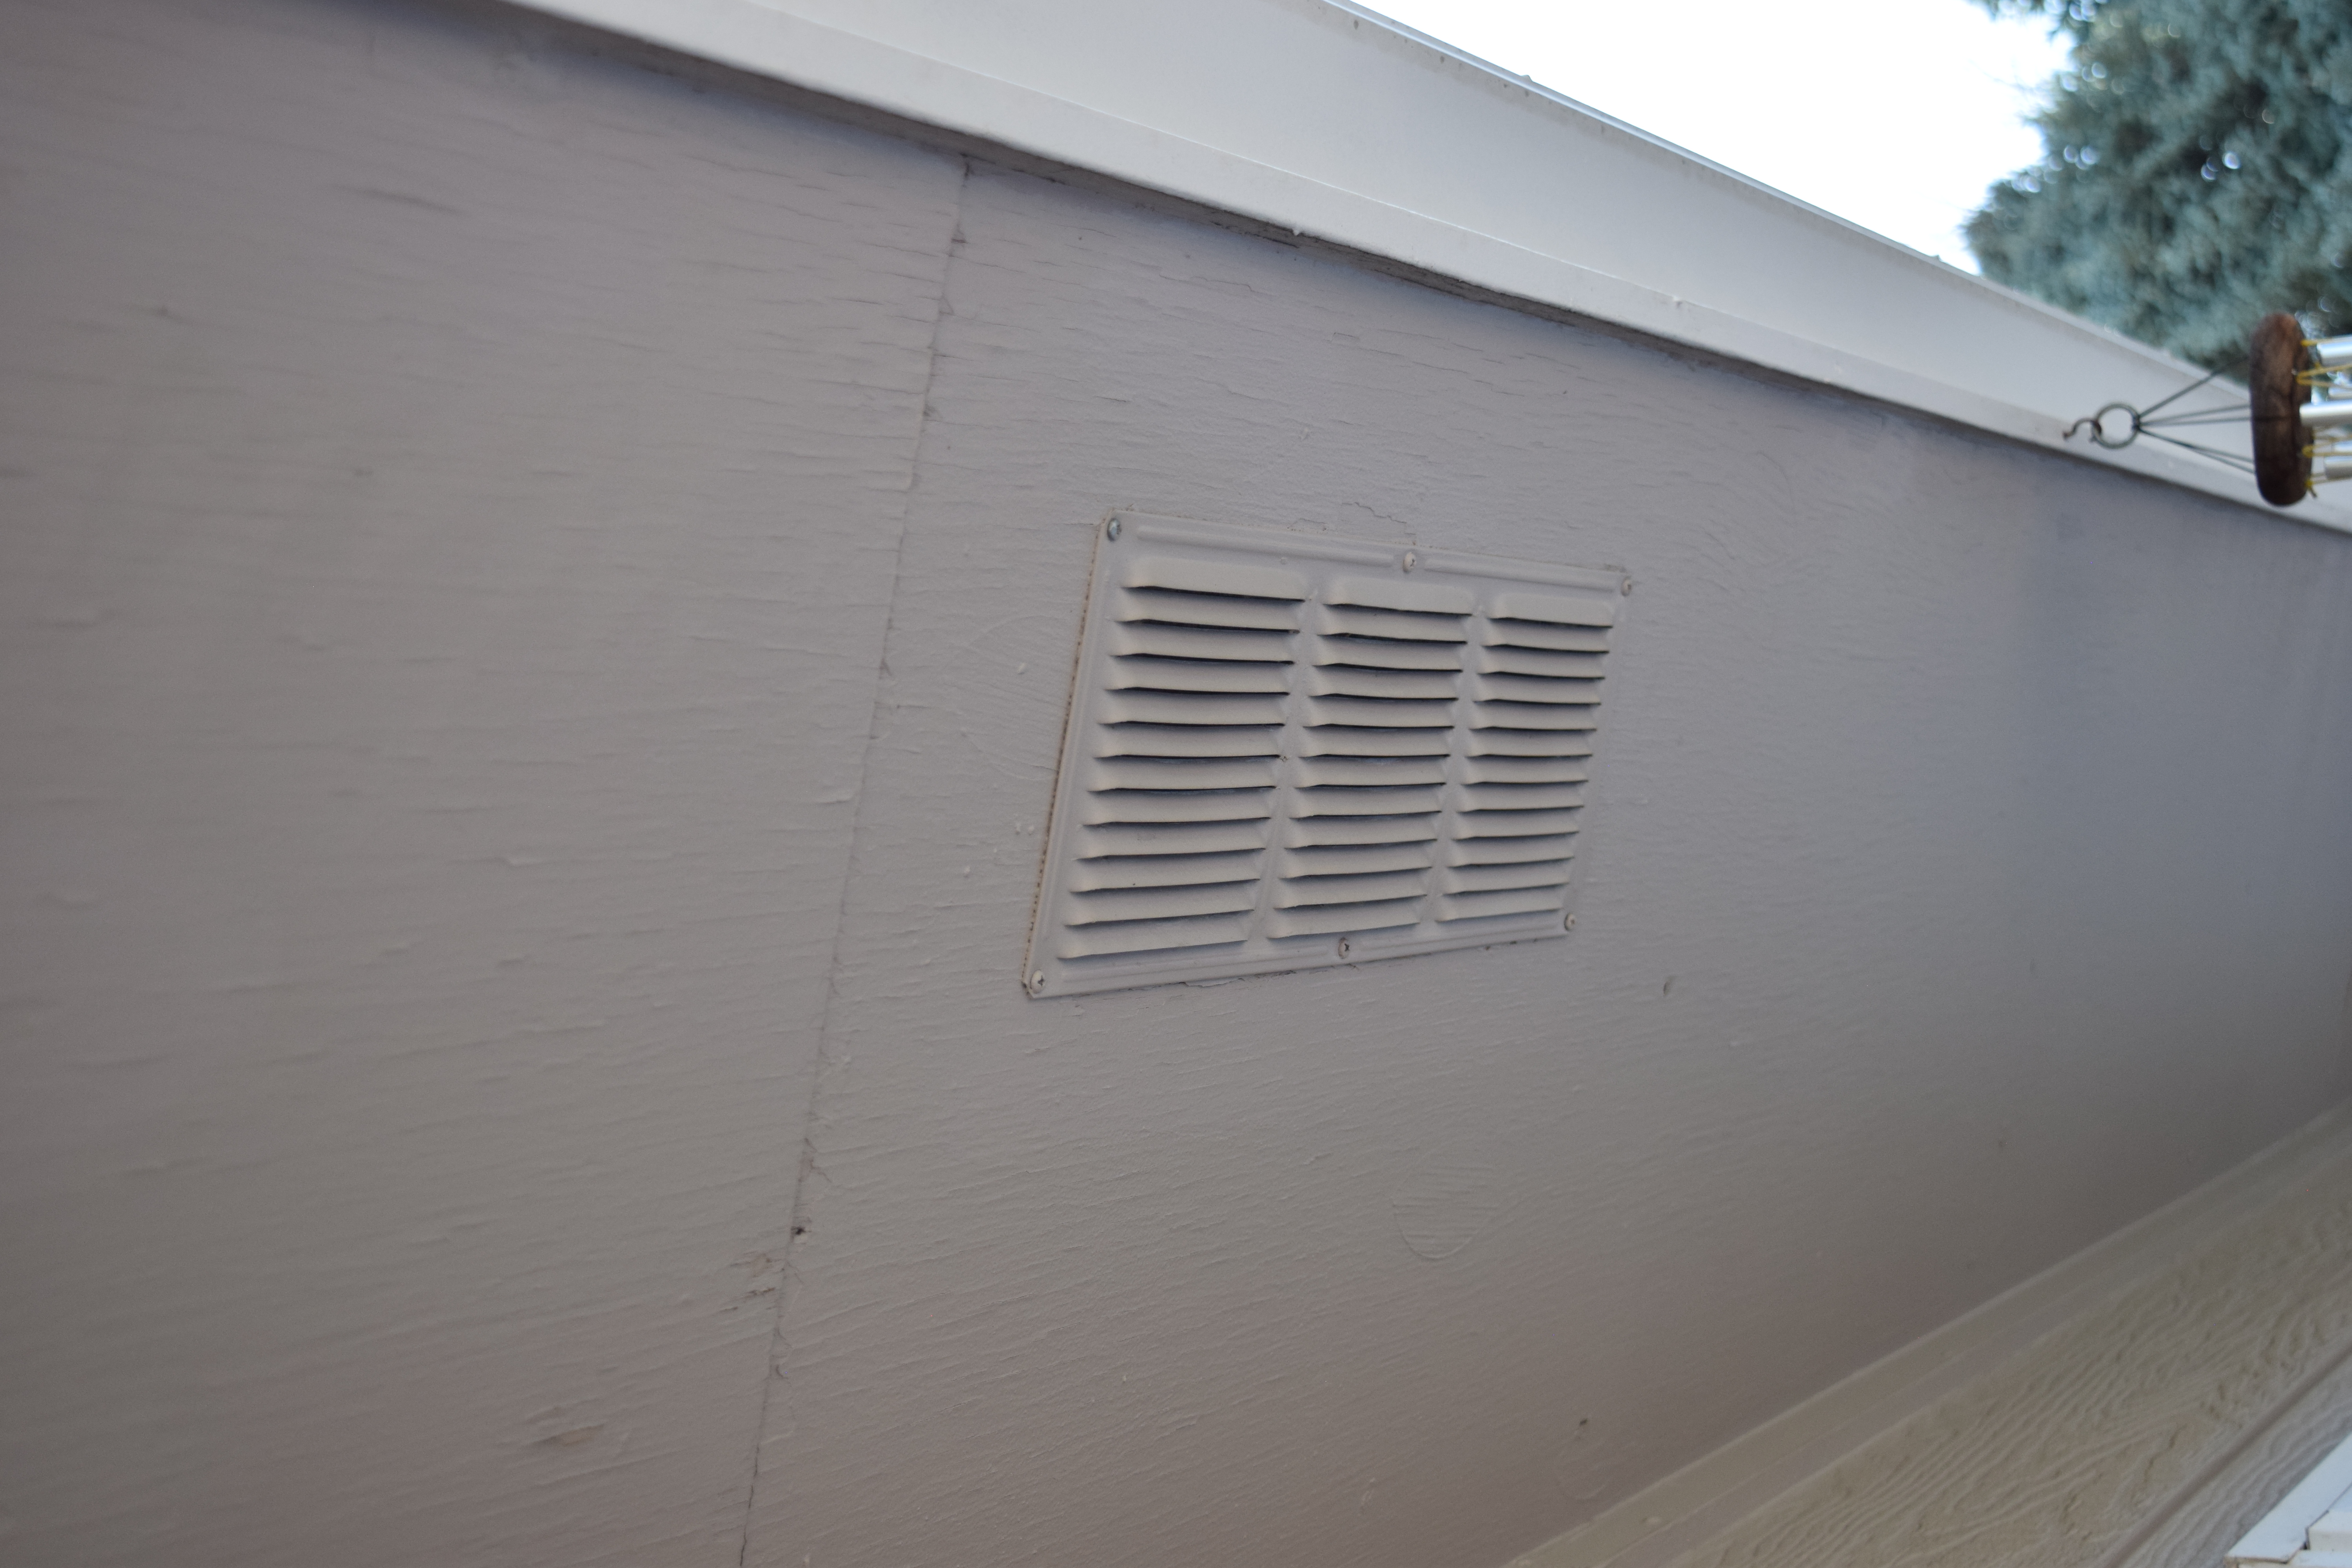

Soffit eave vent and Gable Vent
Ensure that the insulation in the attic isn't blocking the eave intake vents. Baffles should be installed at the outside edge of the attic adjacent to each eave vent. Blown-in insulation can work its way down and plug the vents, which will eventually block the air from entering the attic space. Attic ventilation needs to have an intake and an exhaust. Typically you will have an eave vent in the soffit and an upper surface vent or ridge vent higher up to provide proper circulation. If your home does not have eaves or eave vents, low roof vents may have been installed in the lower portion of the sloped roof. Fire-resistant vents are available if you live in an area prone to wildfires.
 Attic Baffles at the outside wall
Mold and mildew
Having enough insulation (both intake and exhaust) is also very important in the prevention of mold and mildew. Rodents and insects can make their way into the attic through vents and open spots. It’s important to hire a qualified specialist, who will make sure that ventilation and insulation are up to code.
Valley Flashing
Valleys are created where two slopes meet. Valleys are especially vulnerable to leakage for two reasons: first, the combined runoff from both roof slopes is concentrated in the valley; and second, the roof-covering materials are interrupted by the change in direction. There are two basic types of valleys: Open and Closed.

Open Valleys
Open valleys don’t depend on the covering materials to keep runoff from penetrating the valley. Instead, the valley is lined with metal flashing. The covering material is held back 2 to 6 inches from each side of the centerline, so some of the valley flashing is visible.
Closed Valleys
Closed valleys are those in which no flashing is visible in the valley. In a truly closed valley, the roof-covering material is continuous across the valley and protects it from moisture intrusion.
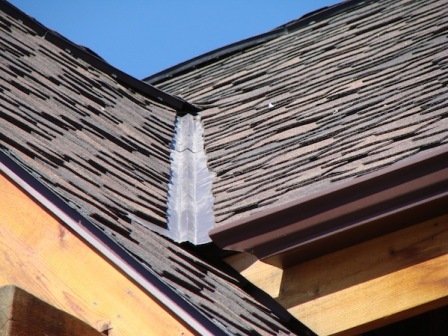
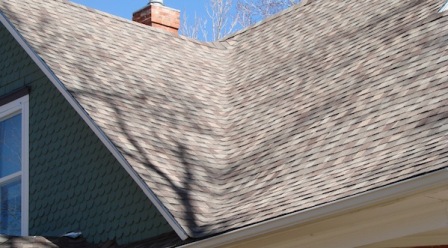
Open valley with flashing exposed vs. Closed valley
Replace Sealants
Replace the sealants as needed with a compatible sealant for the specific material/area you are sealing. Inspect every area where there is a sealant and identify any signs of cracking or wear and tear. If present, you will need to remove the old sealant completely and apply a new sealant in each area. Areas to inspect include: Exposed Fasteners, Sidewall and Headwall Flashings, Plumbing, and Mechanical Vent Flashings.
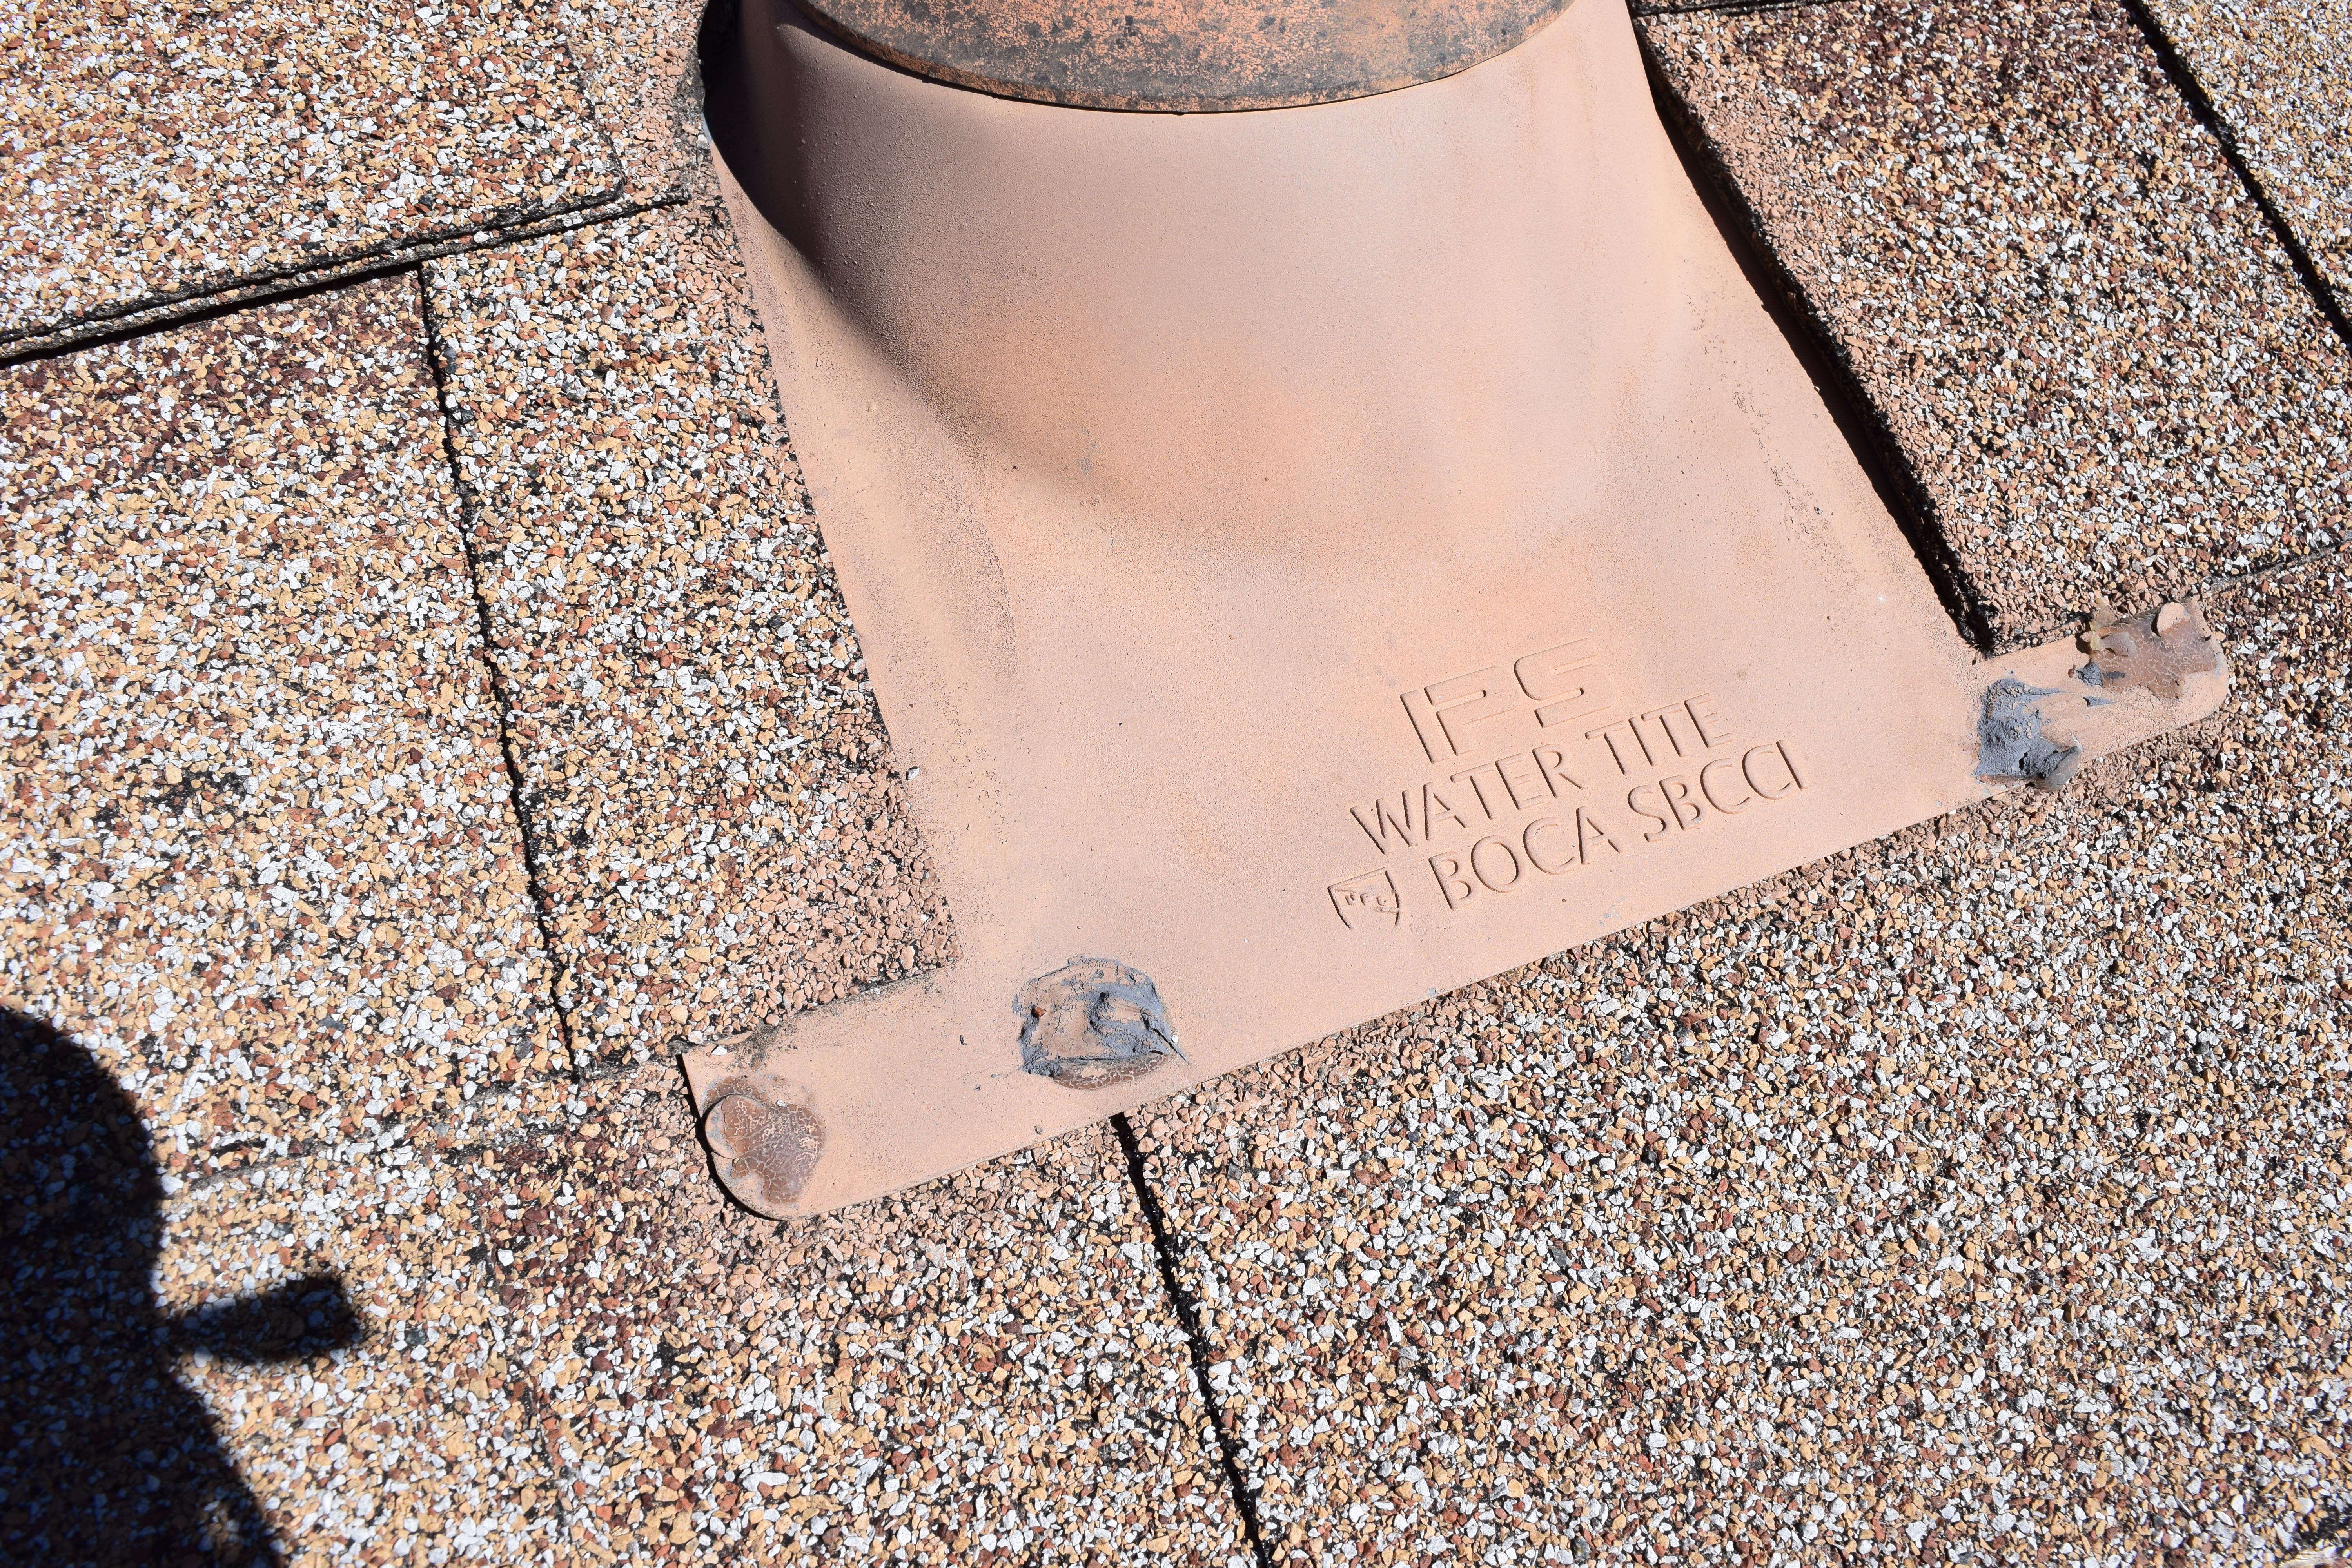
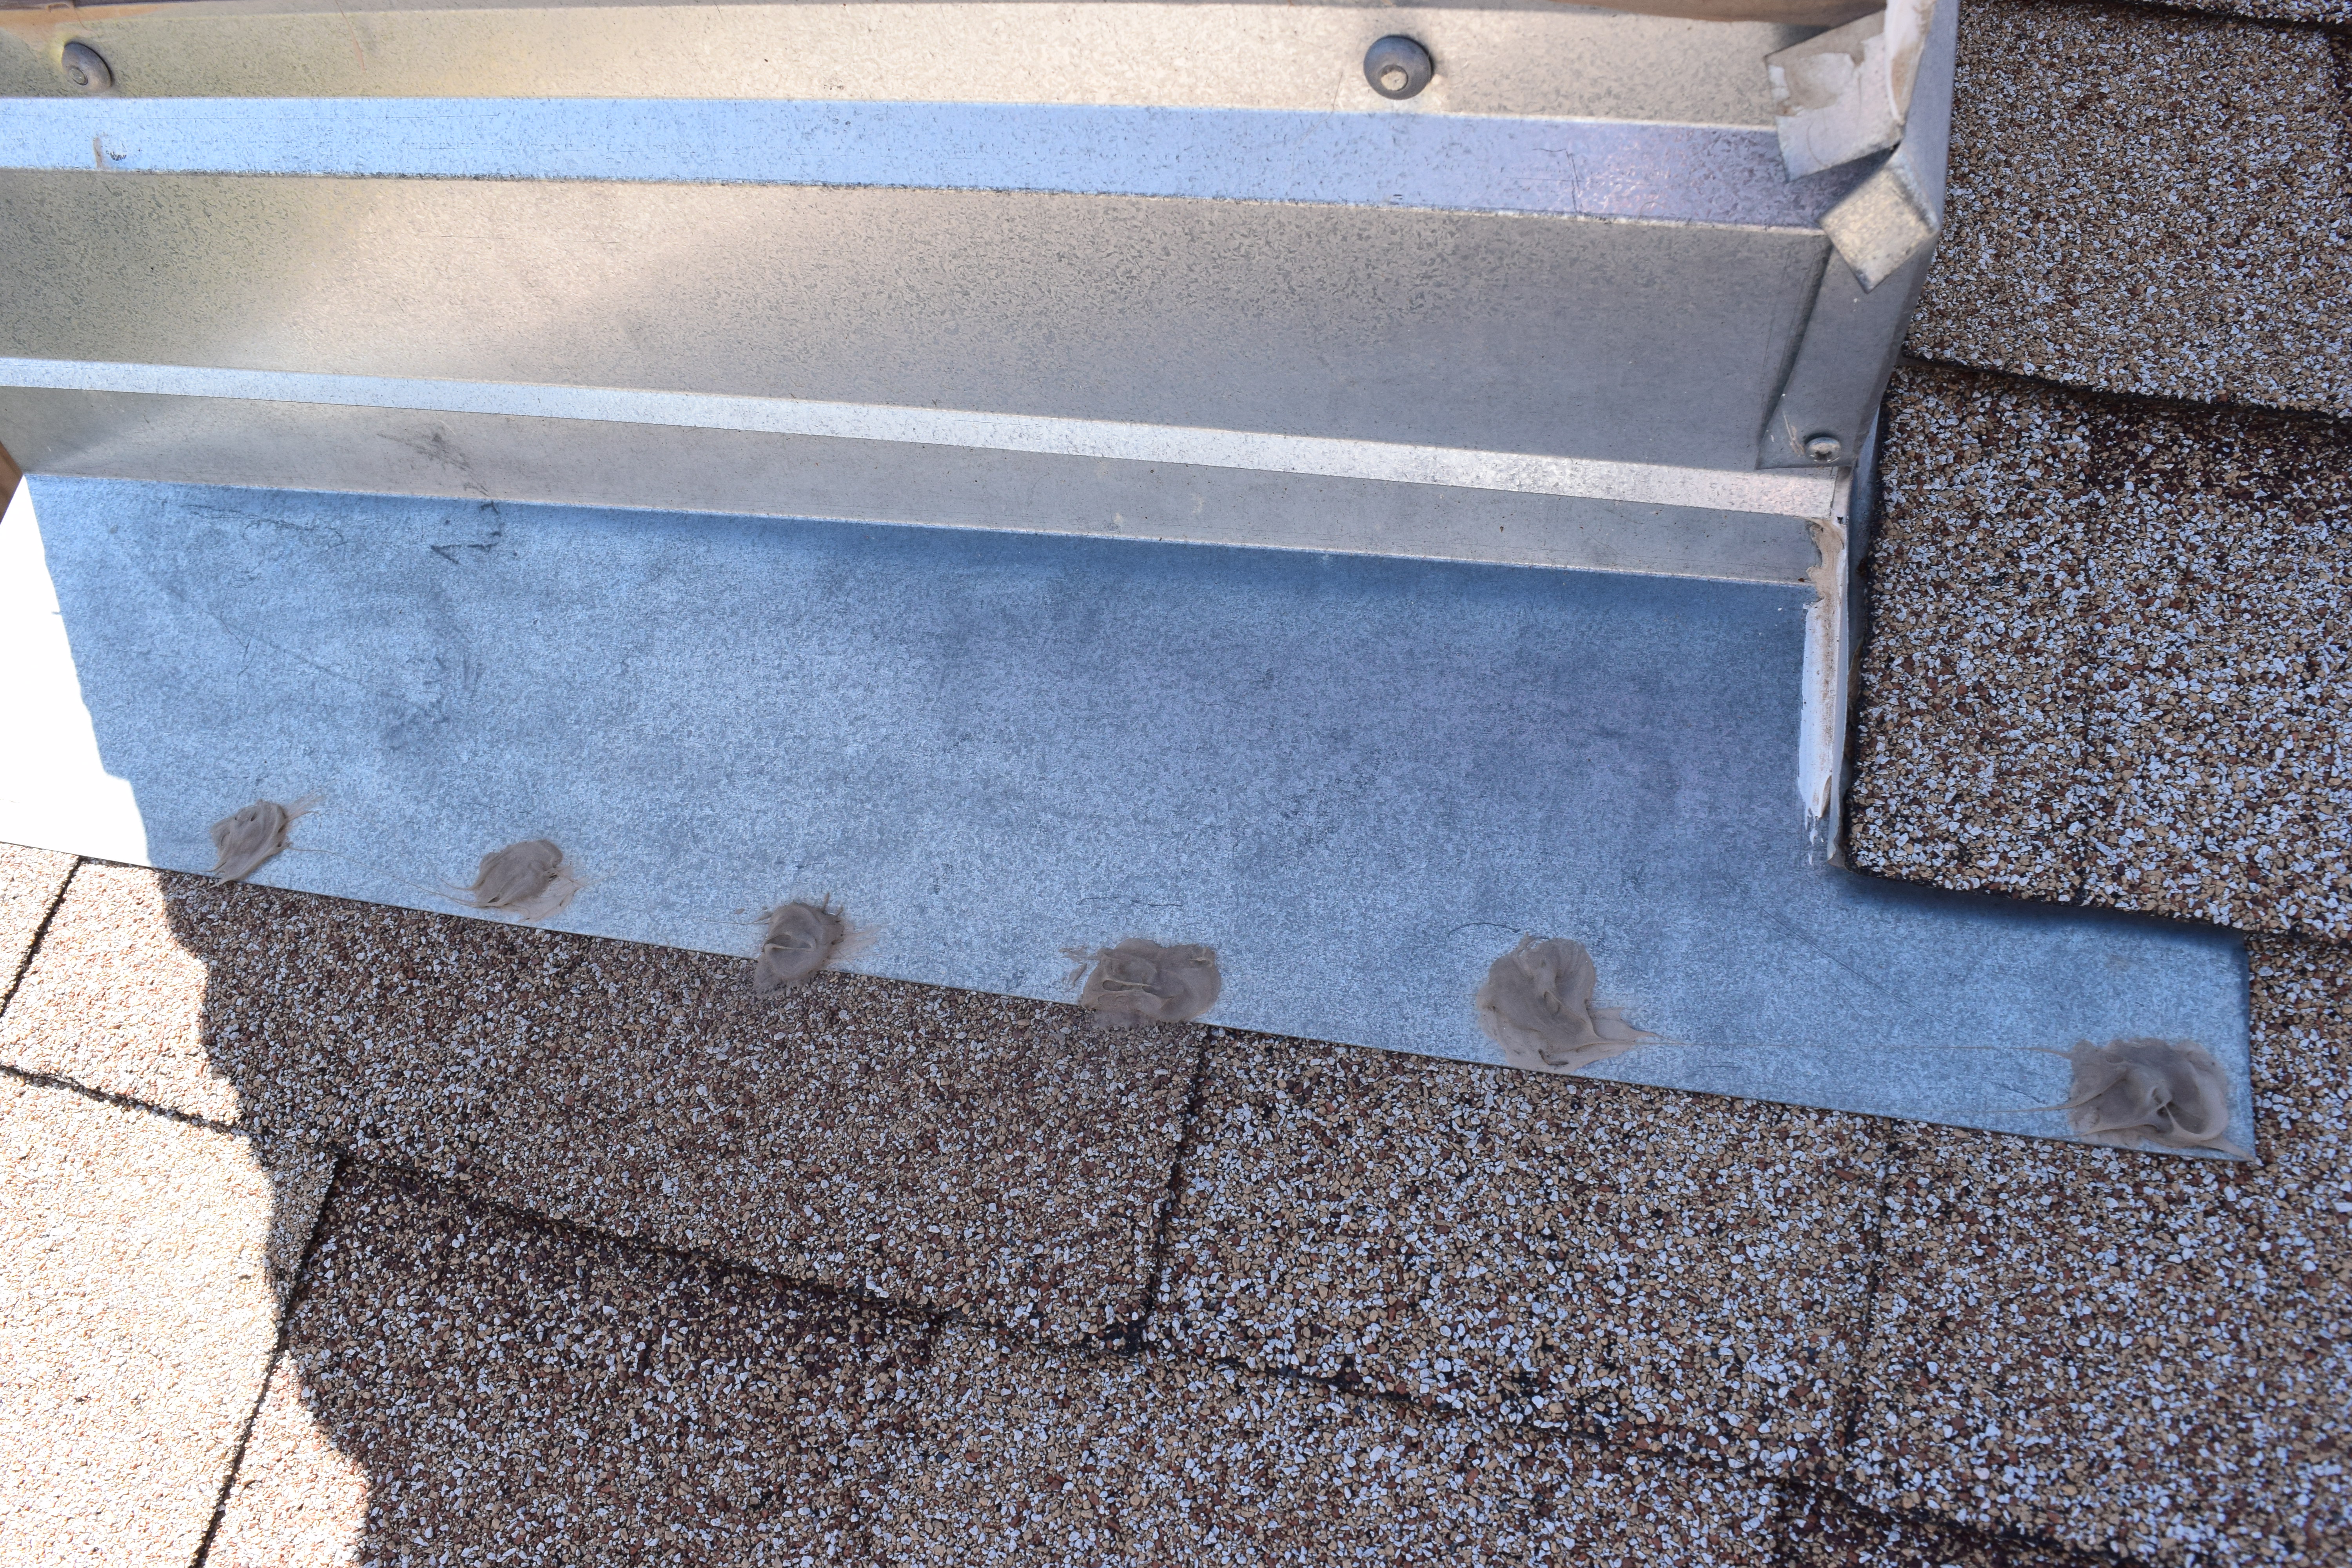
Exposed fasteners are covered with a sealant

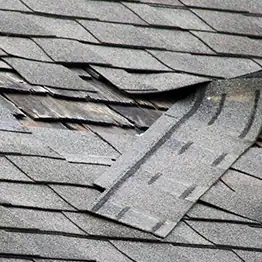
Replace Missing or Damaged Shingles
Inspect the shingles for any damage or missing shingles. Any missing shingles should be replaced as soon as possible. Damage from wind, trees, or animals can sometimes be repaired. Replace as needed.
Trim tree branches
Tree branches touching the surface will damage the shingles. Check the branches in the spring when leaves are not present and in the summer after the leaves have formed. Consider winter time too, as snow will weigh the branches down. Trim or remove any branches that could touch in any condition.
Prevent Ice Dam Formation
Ice dams may be pretty to look at, but they can severely damage your home as they build up, and repairing damage from ice dams is costly. Be sure to take steps to insulate your house to keep your roof cool and at the same temperature as the external environment. This will keep snow closest to the roof from melting into water and freezing onto the colder parts of your roof. If you have ice dams on your roof you should contact a qualified contractor and discuss the options to eliminate them. Sometimes adding heat tape at the roof edge is the best option. Roof heat cable system

The sequence of an Ice Dam

Summary
Semi-annual checkups will lengthen the life of your roofing materials, preventing leaks that lead to damage, costly repairs, and the necessity for a complete roof replacement.- Inspect the roof shingles; repair or replace as needed.
- Trim any tree branches near or touching the roof.
- Clean and unclog the gutters.
- Check that the roof vents are clear and screened.
- Prevent Ice Dams from forming.
- Replace any roof sealants on flashings and exposed fasteners.
- Clean algae or mold from the roof. The most effective method of cleaning algae and moss from a roof is with a 50:50 mix of laundry strength liquid chlorine bleach and water.