Owning a house requires maintenance, and one of those annual tasks involves getting up on a ladder and cleaning out the gutters. We were tired of gutter cleaning several times a year due to the trees in our yard. Because of age, climbing ladders in the future will not be safe, and purchasing from a local company and professional installation was too expensive. So we decided to DIY this simple task. In this article, I will walk you through my experience so you can get an idea if this is something you want to try and tackle yourself.
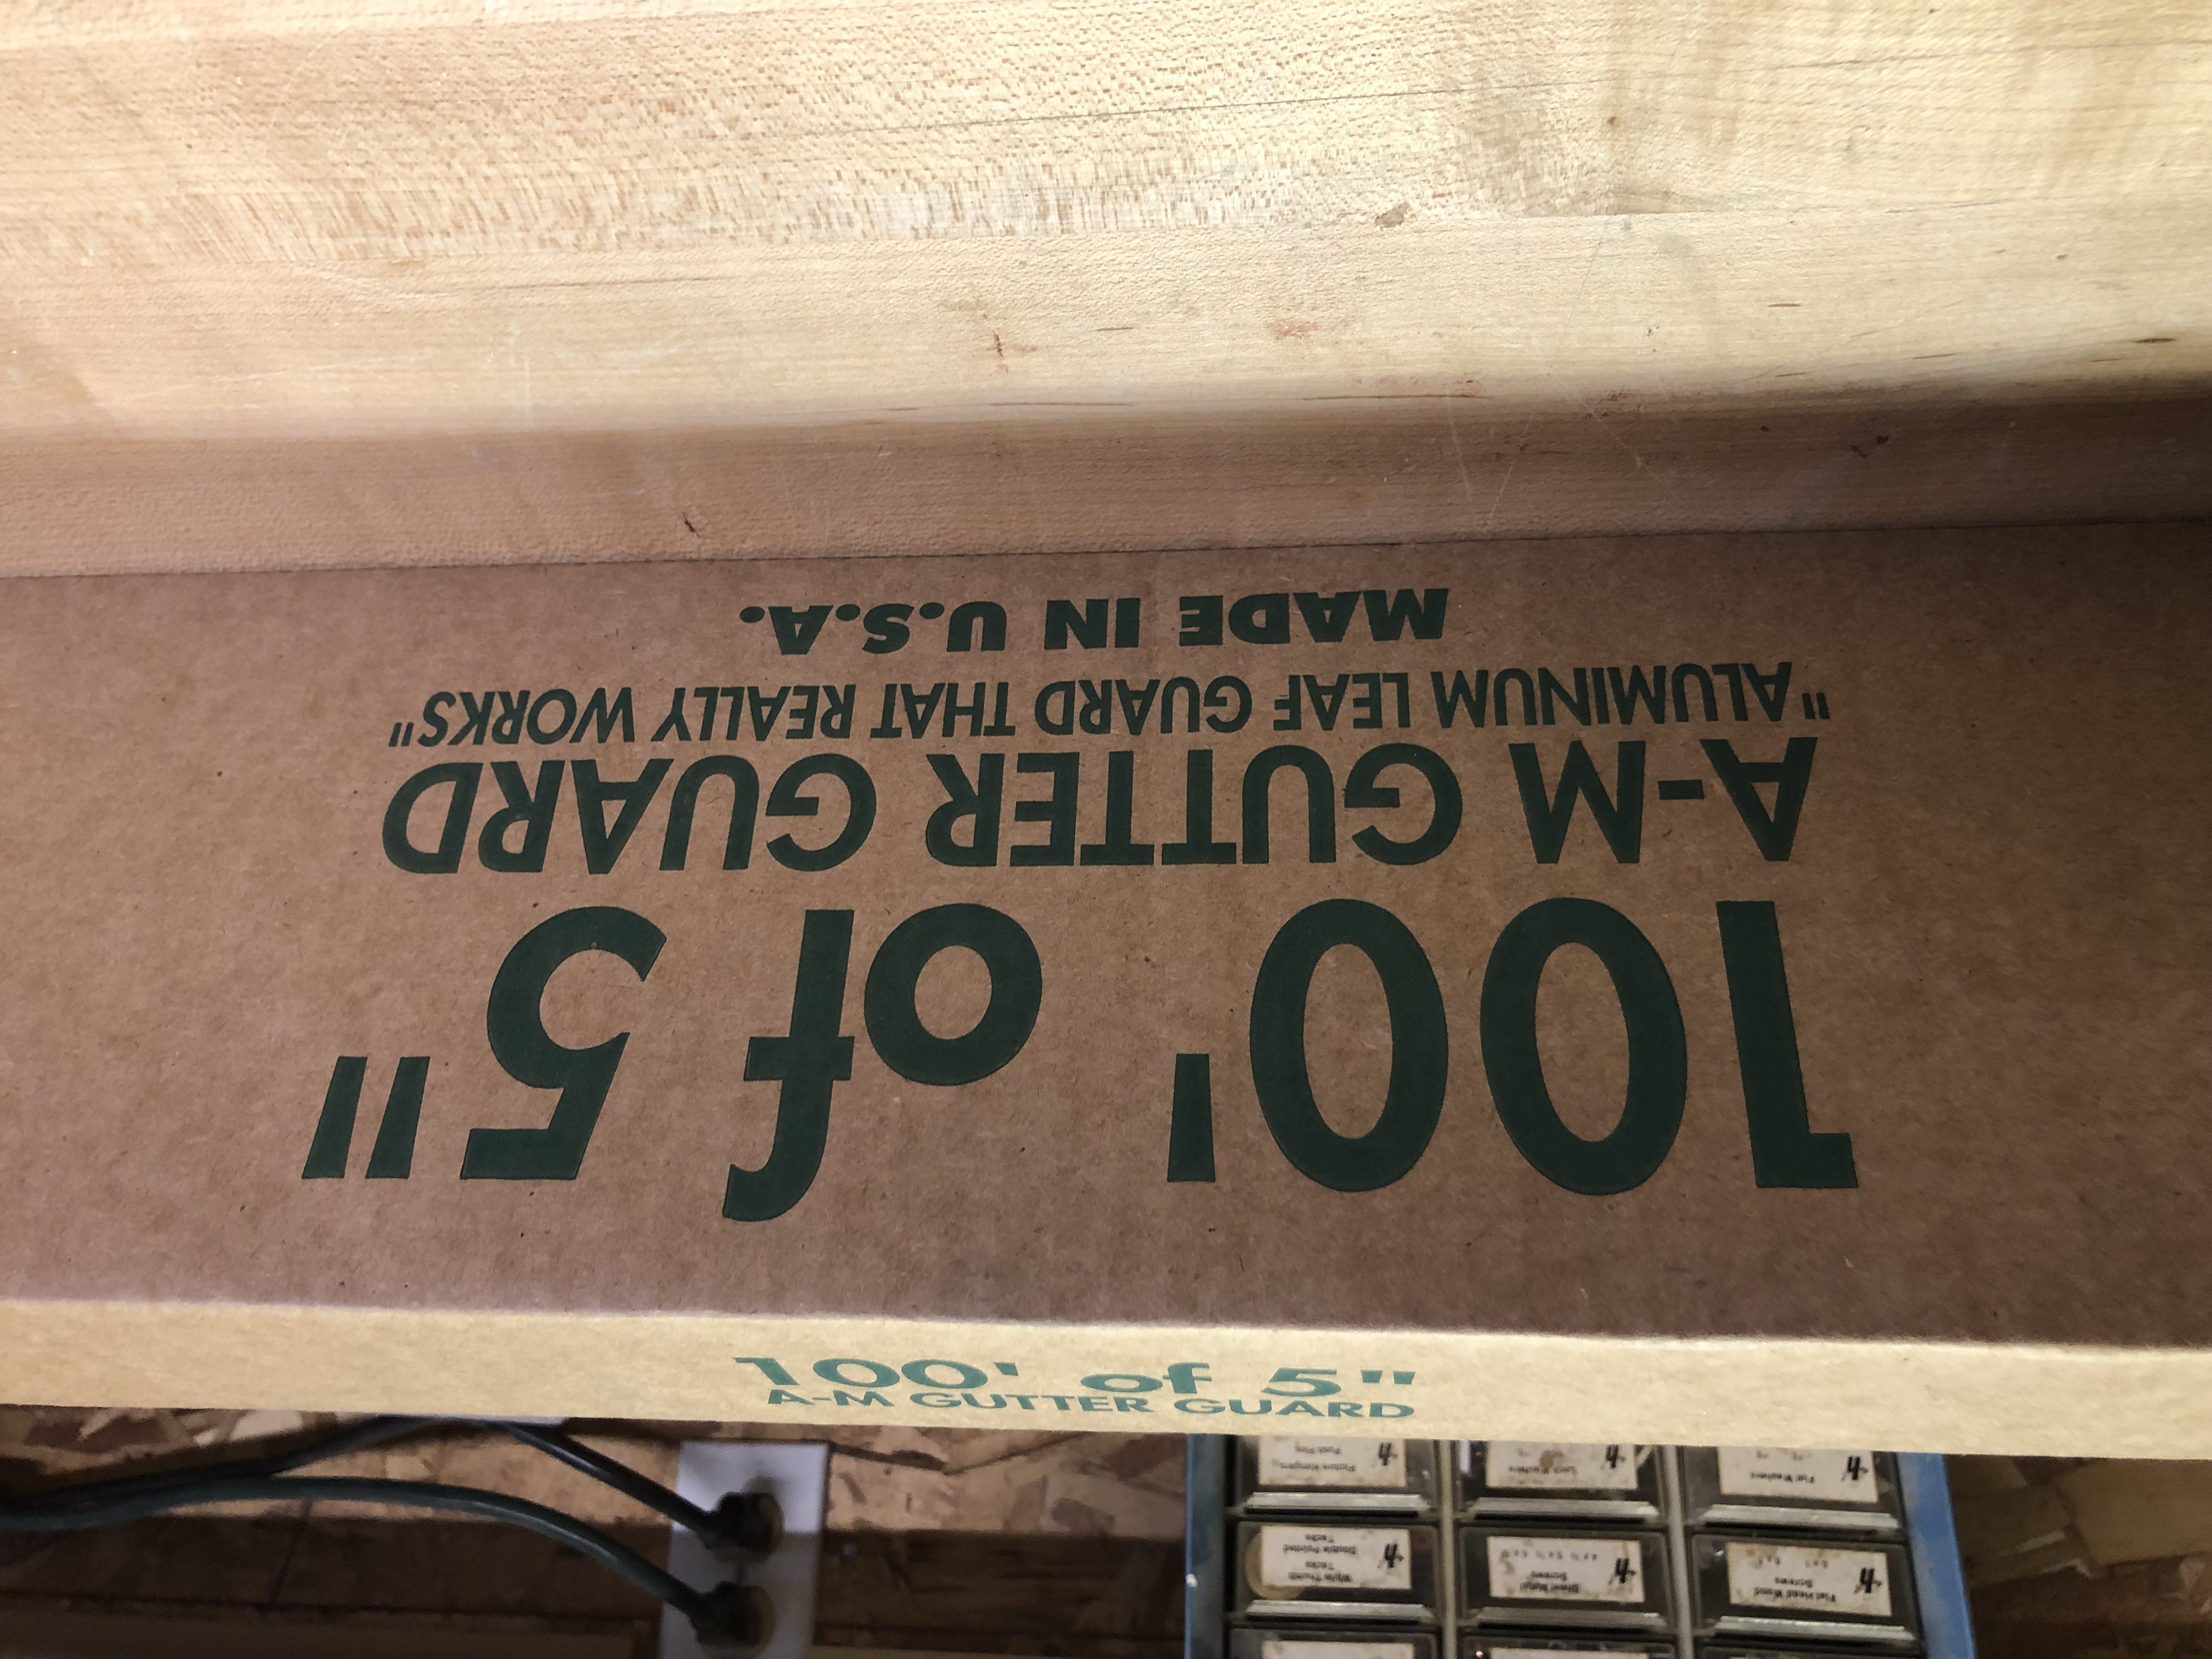
Gutter Guard Packaging
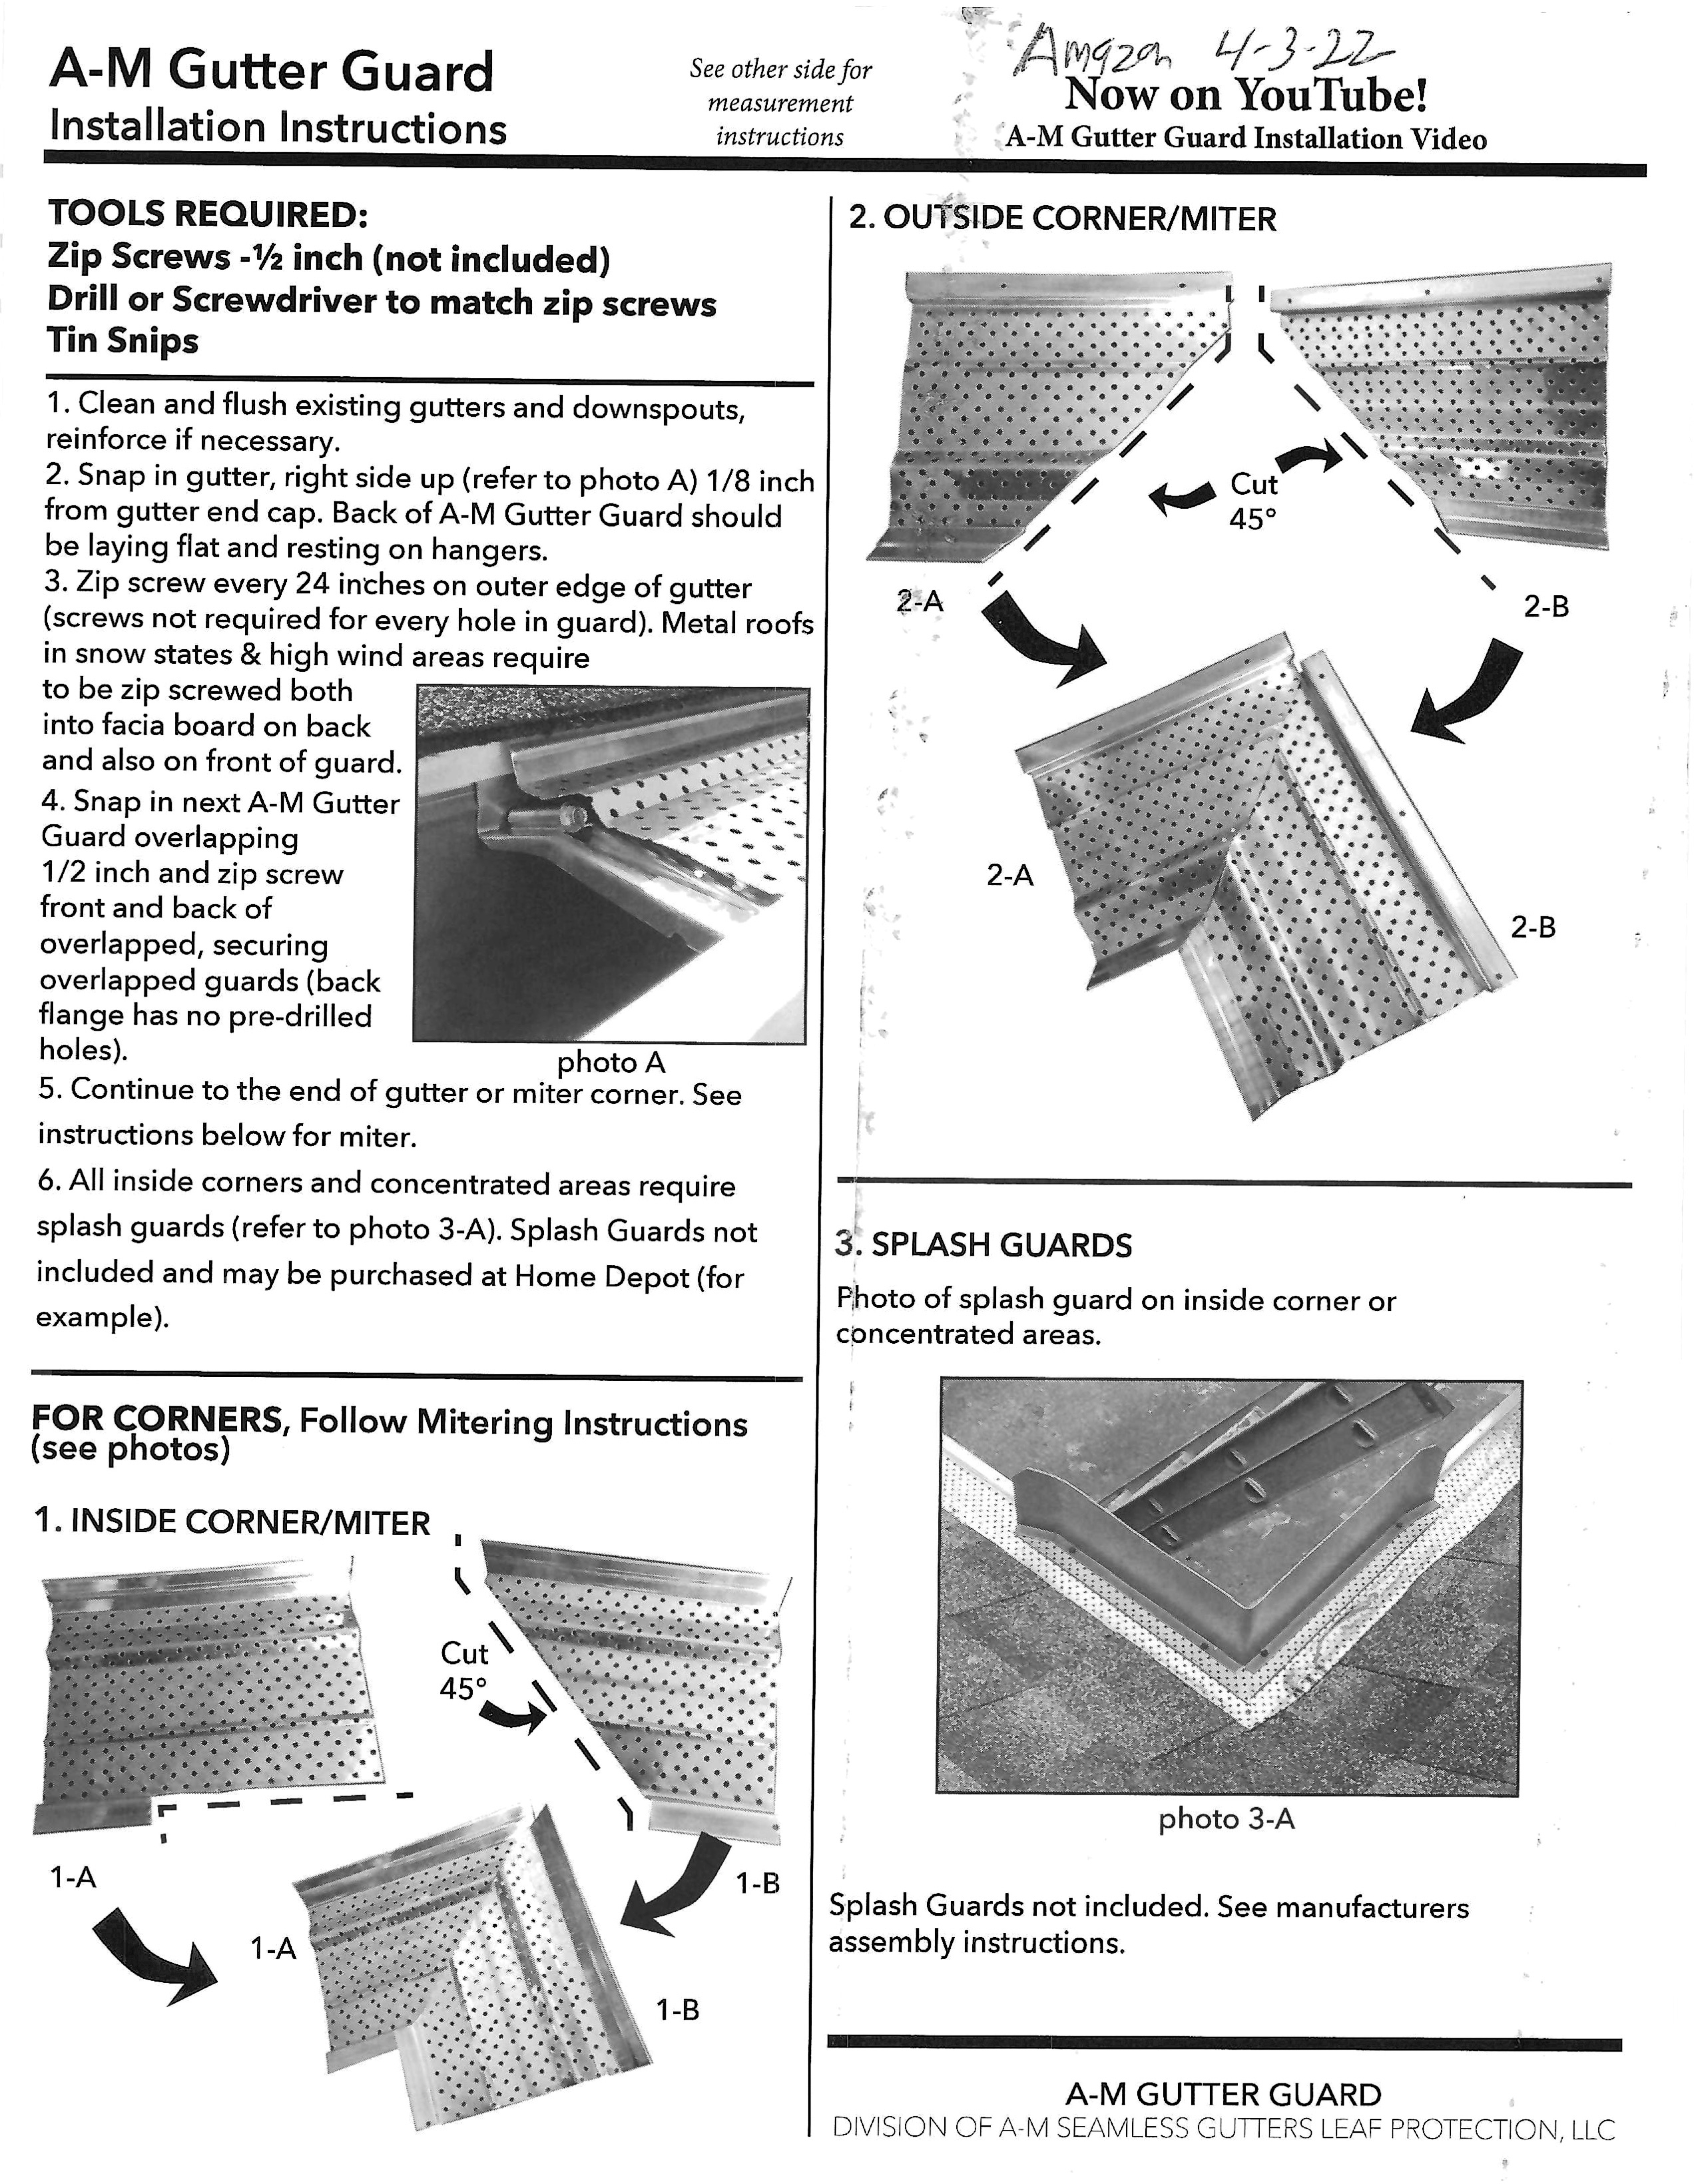
After reviewing several types of gutter guards online, we purchased the 5" A-M Aluminum Gutter Guard from Amazon and installed 100' on our home. From the manufacturer - This design creates and promotes more airflow from the top and bottom to remove debris. The design also allows this product to be installed on all types of hangers including hidden hangers but also the older style spike and farrow. Lifetime warranty.
We found the installation instructions included in the box and online were accurate. The video on Amazon was helpful. We had tried the plastic/PVC gutter covers in the past but they deteriorated after a few years even though they said there were UV tolerant. They plugged up and sagged at the lap joints letting debris in the gutter.
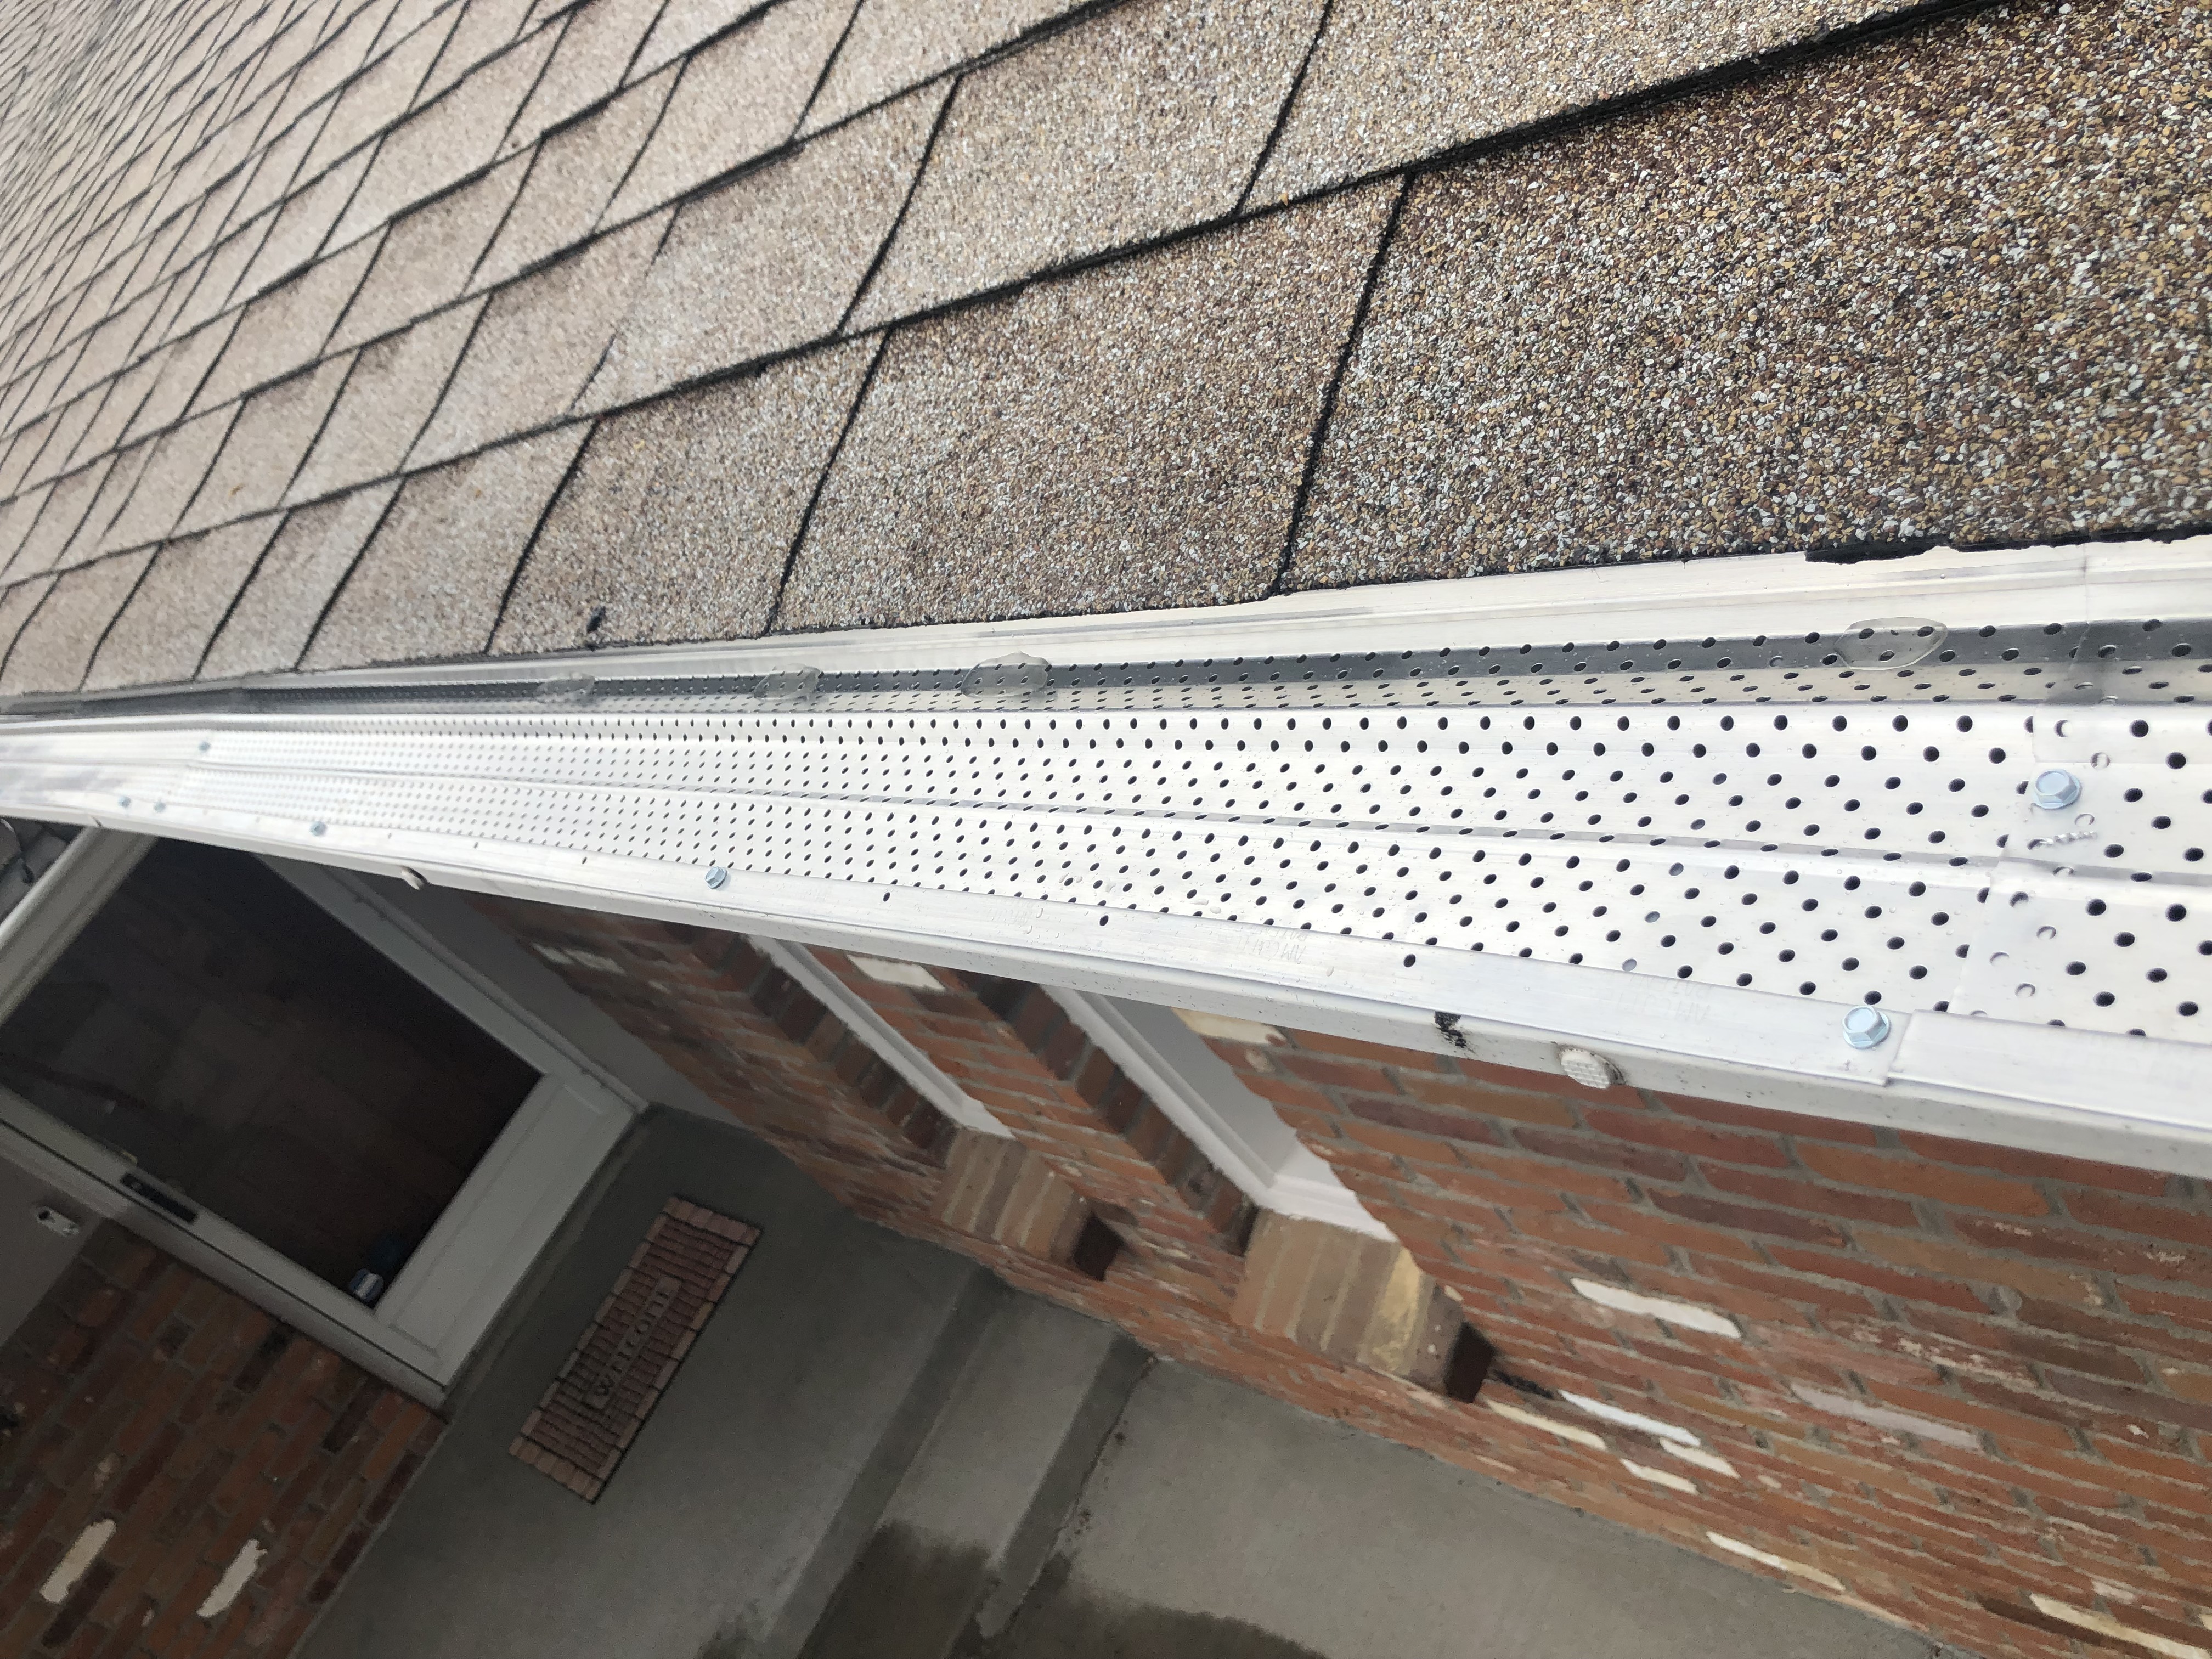
Gutter Guard Installation
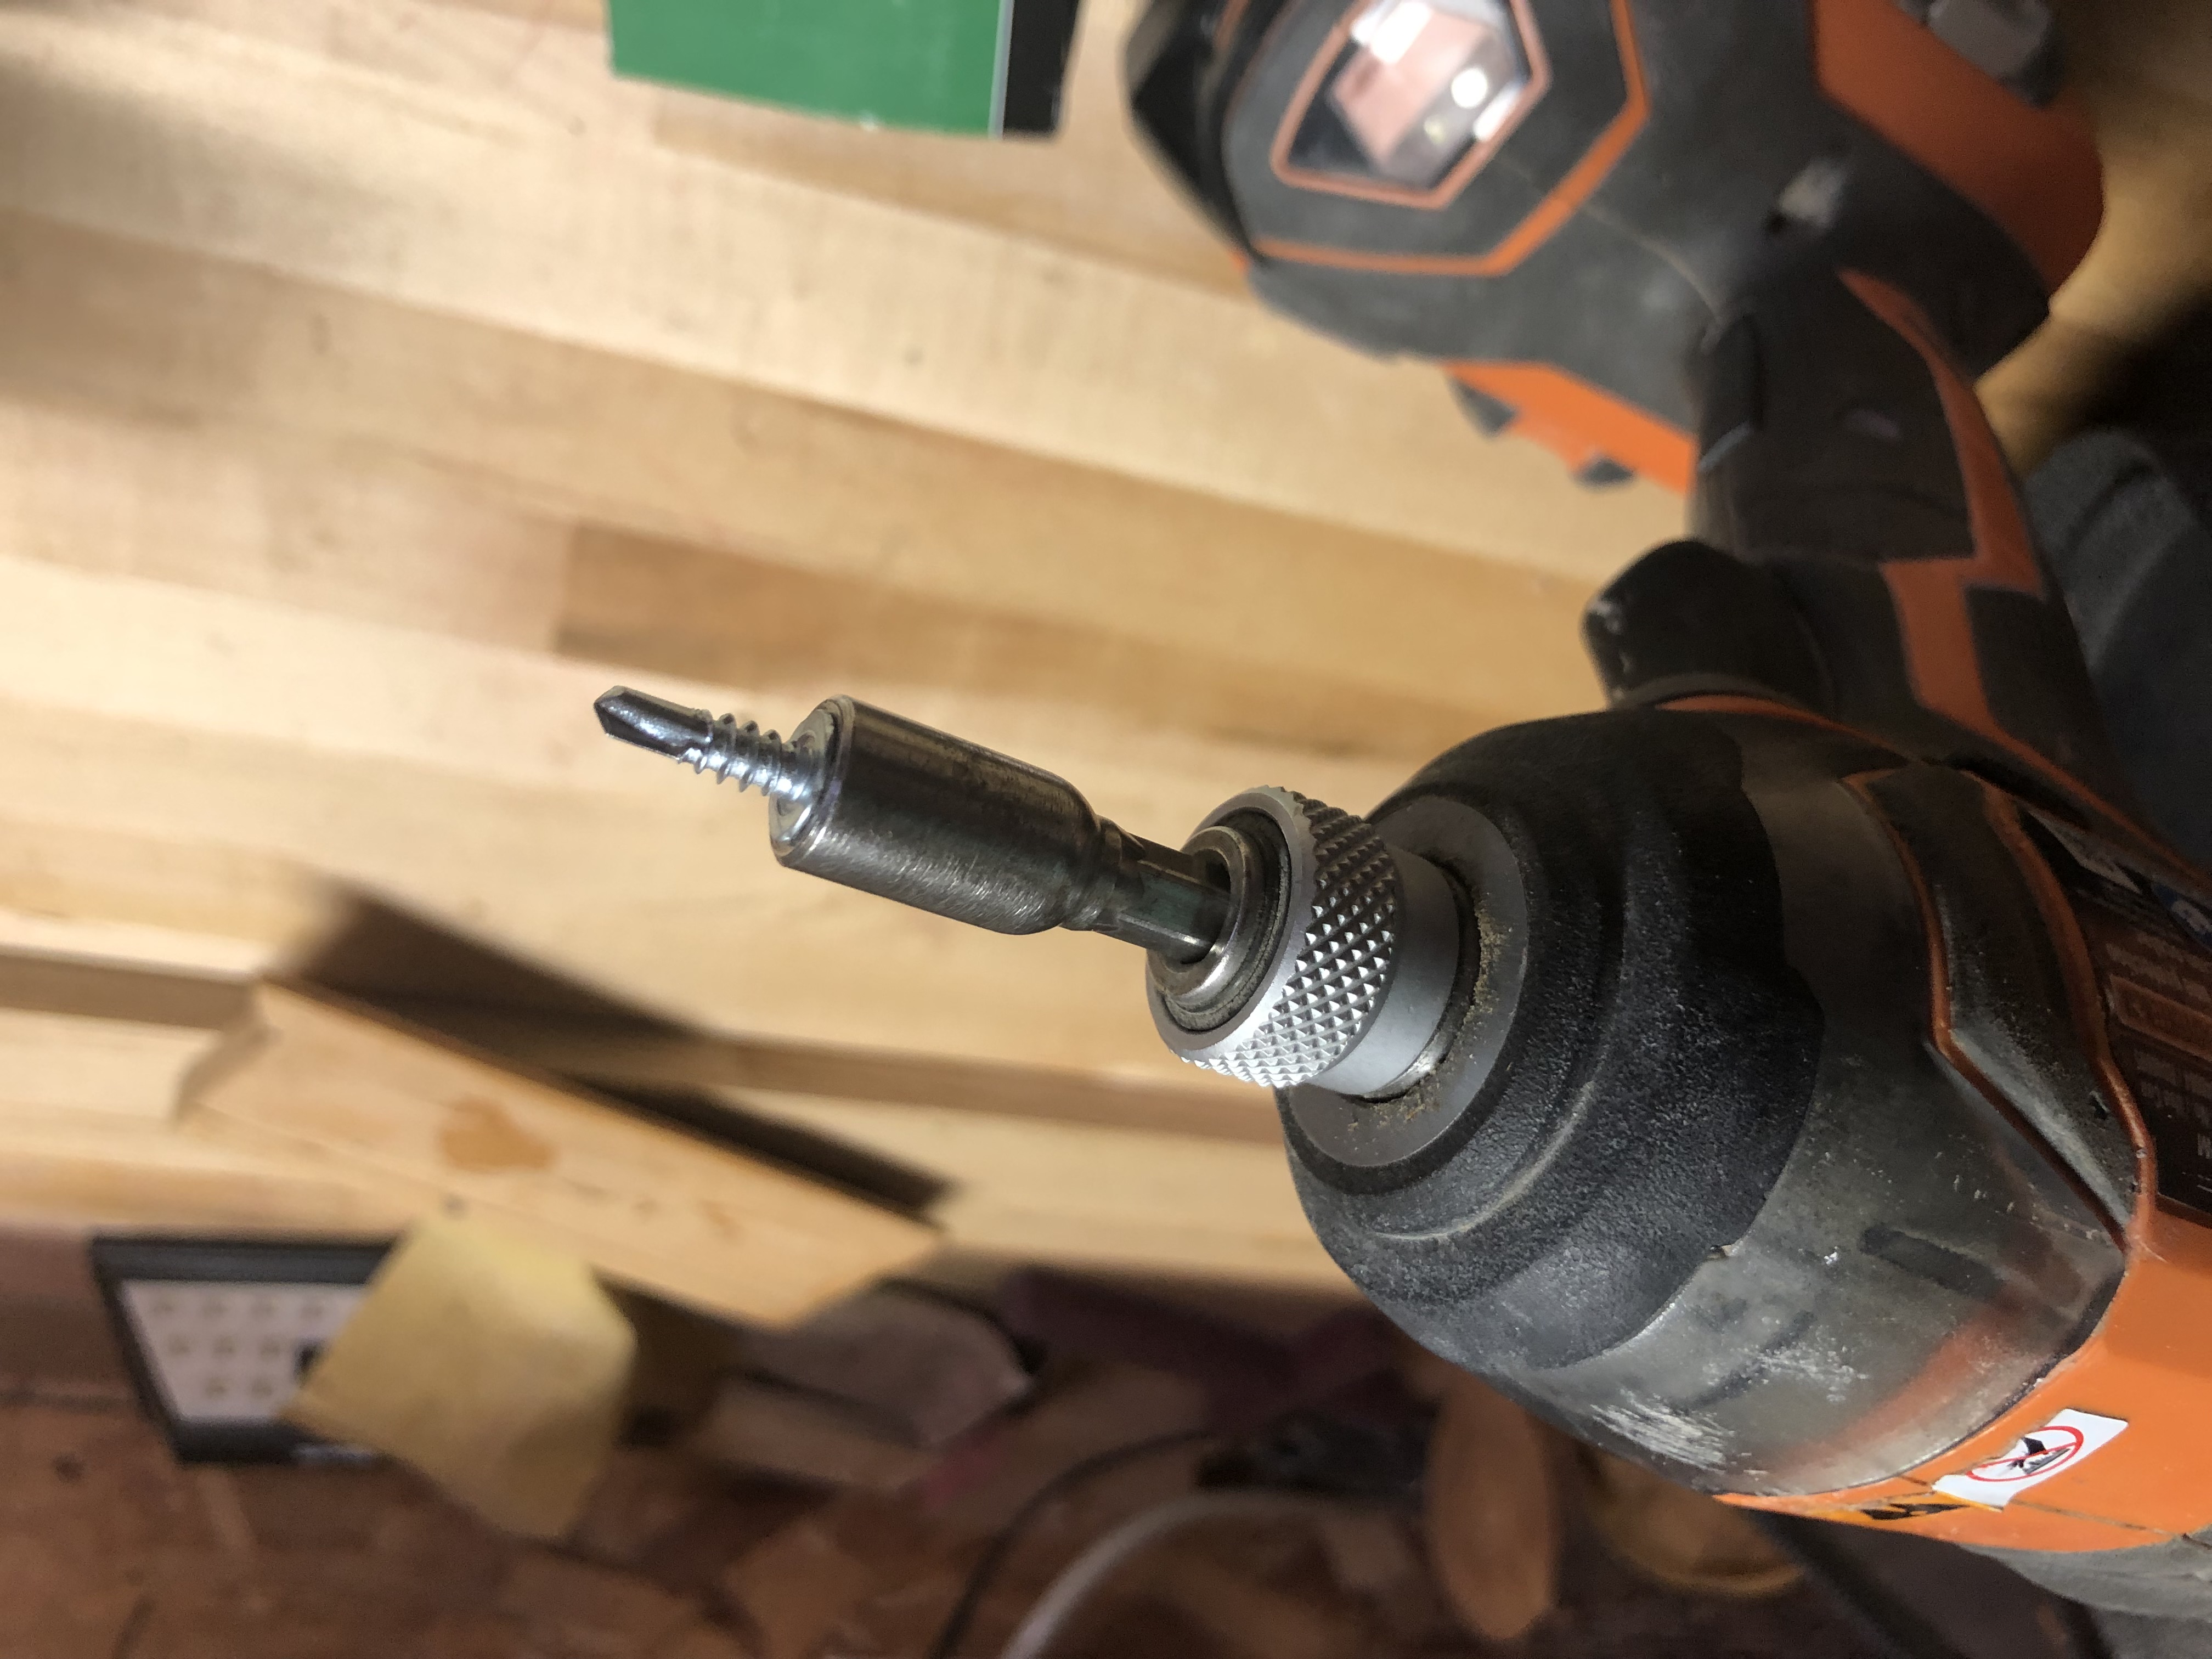
1/4" hex head magnetic bit in a 1/4" battery-powered driver
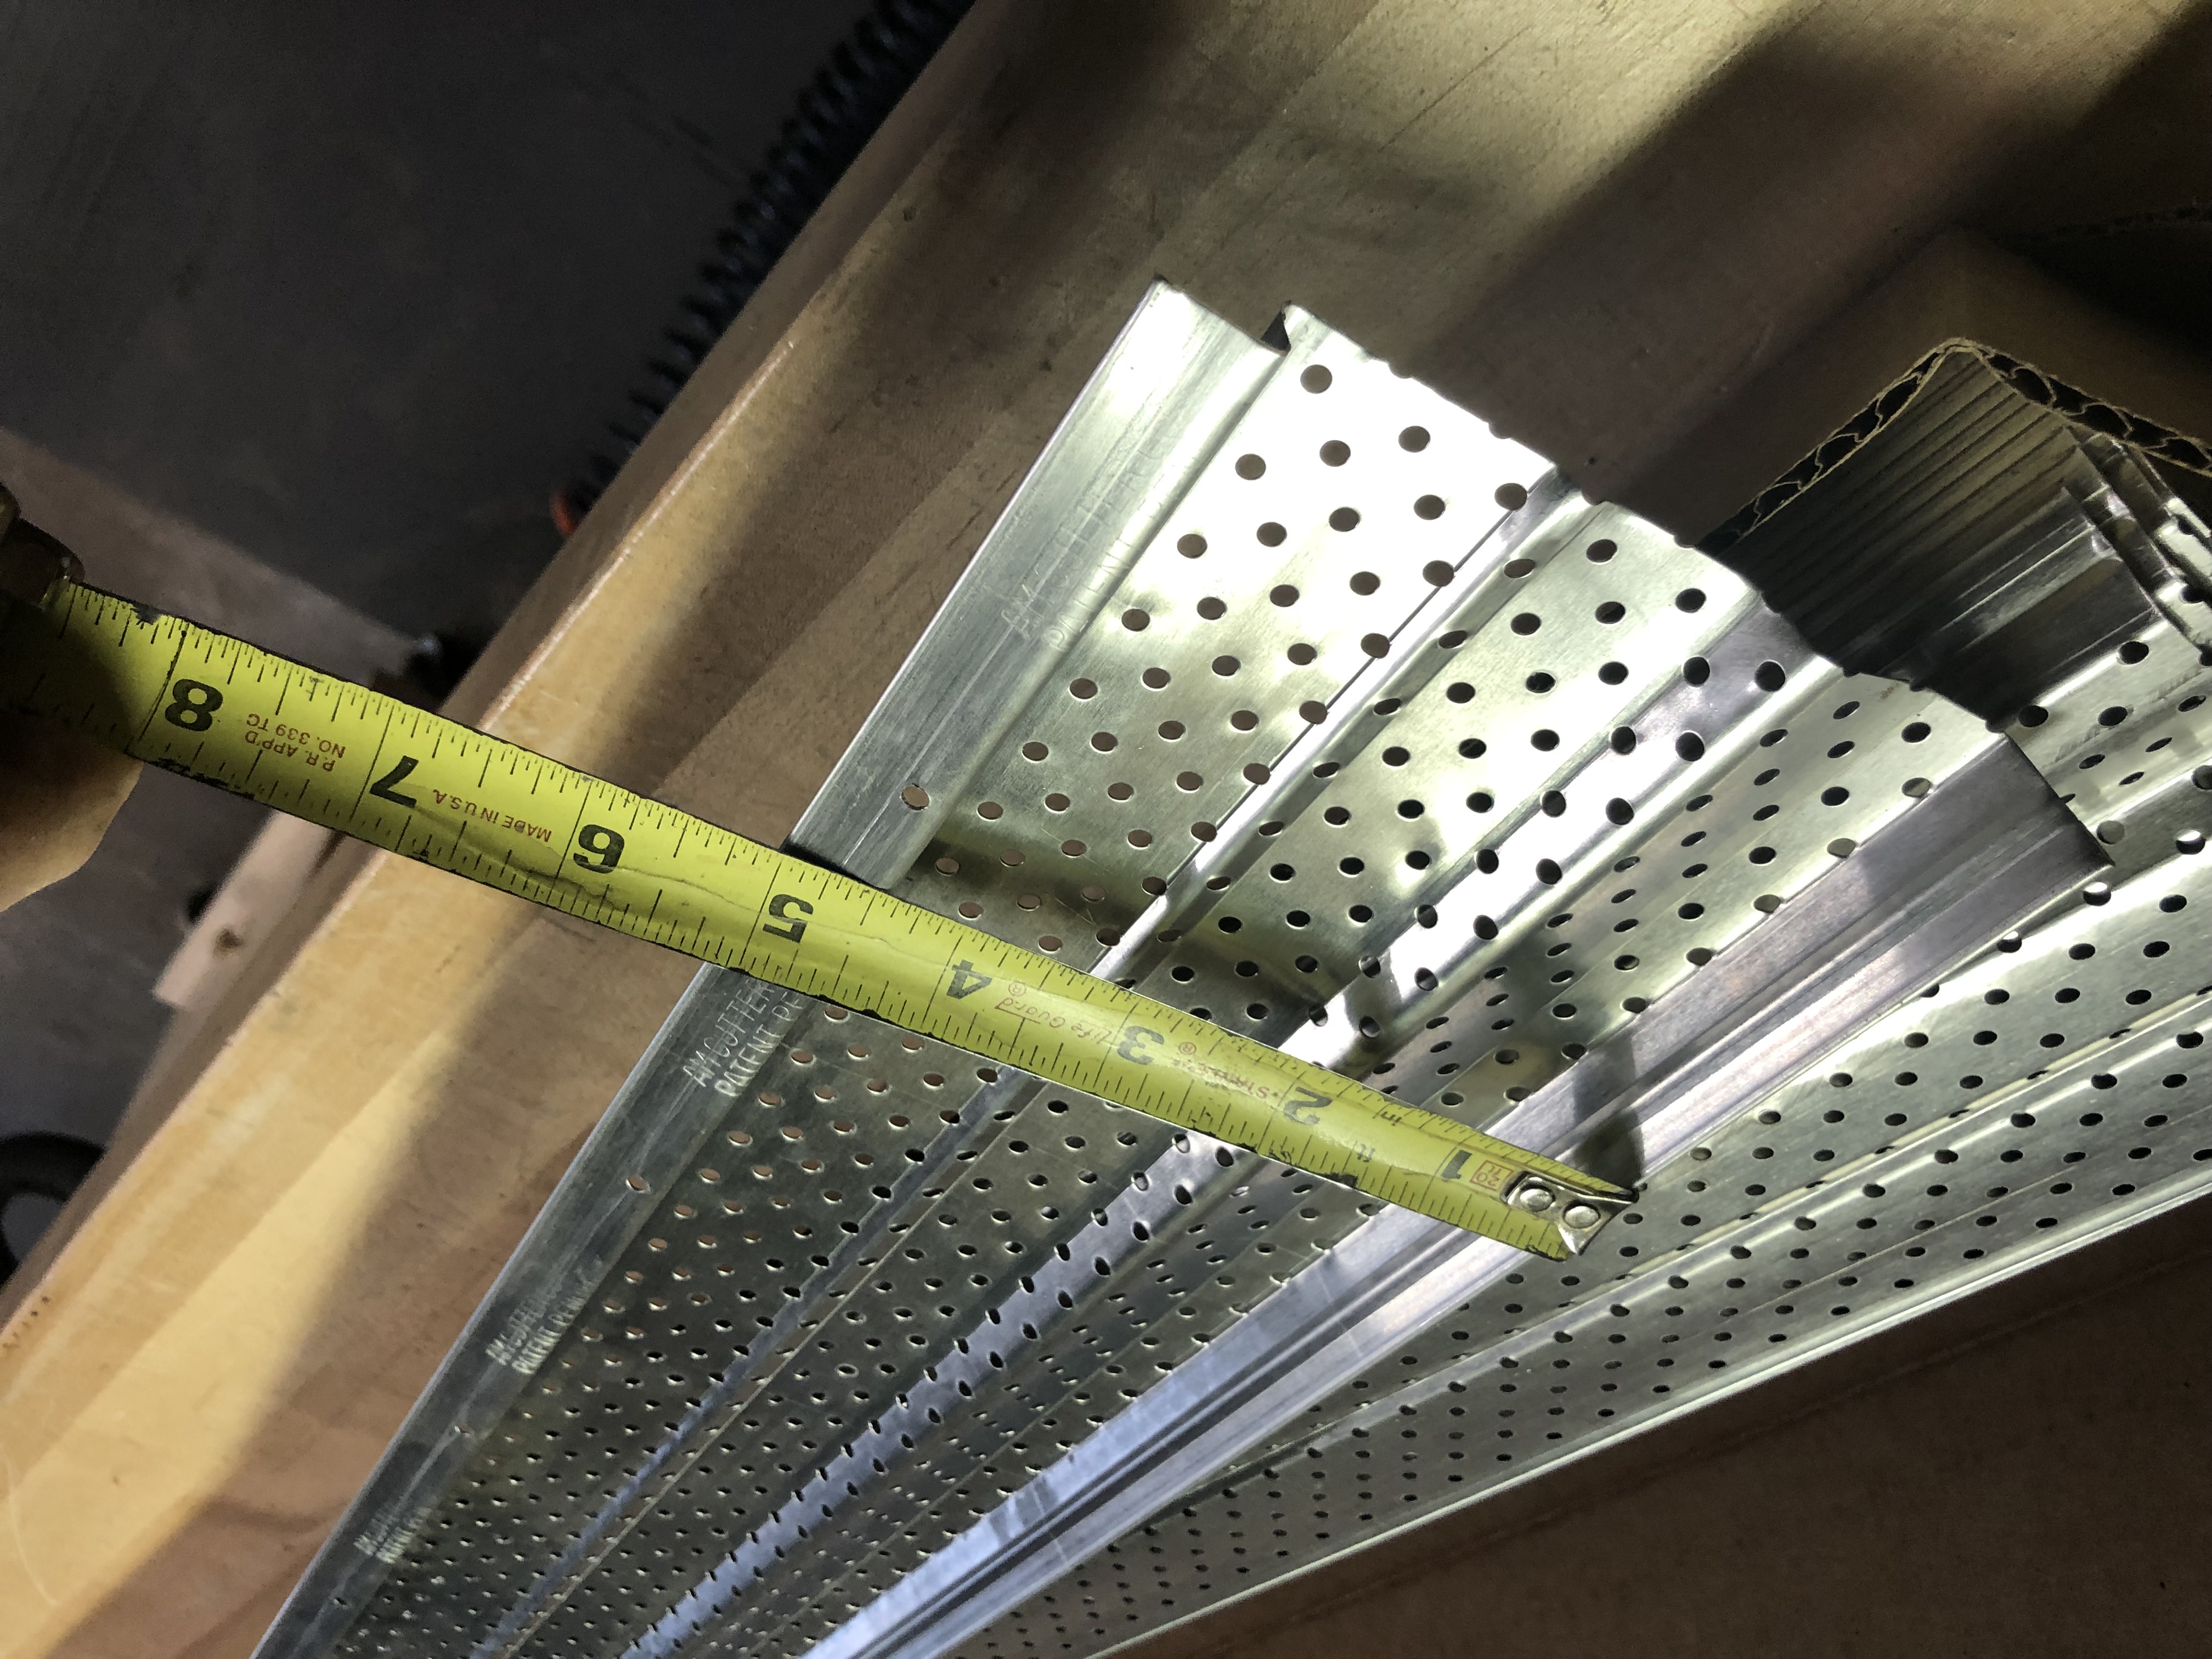
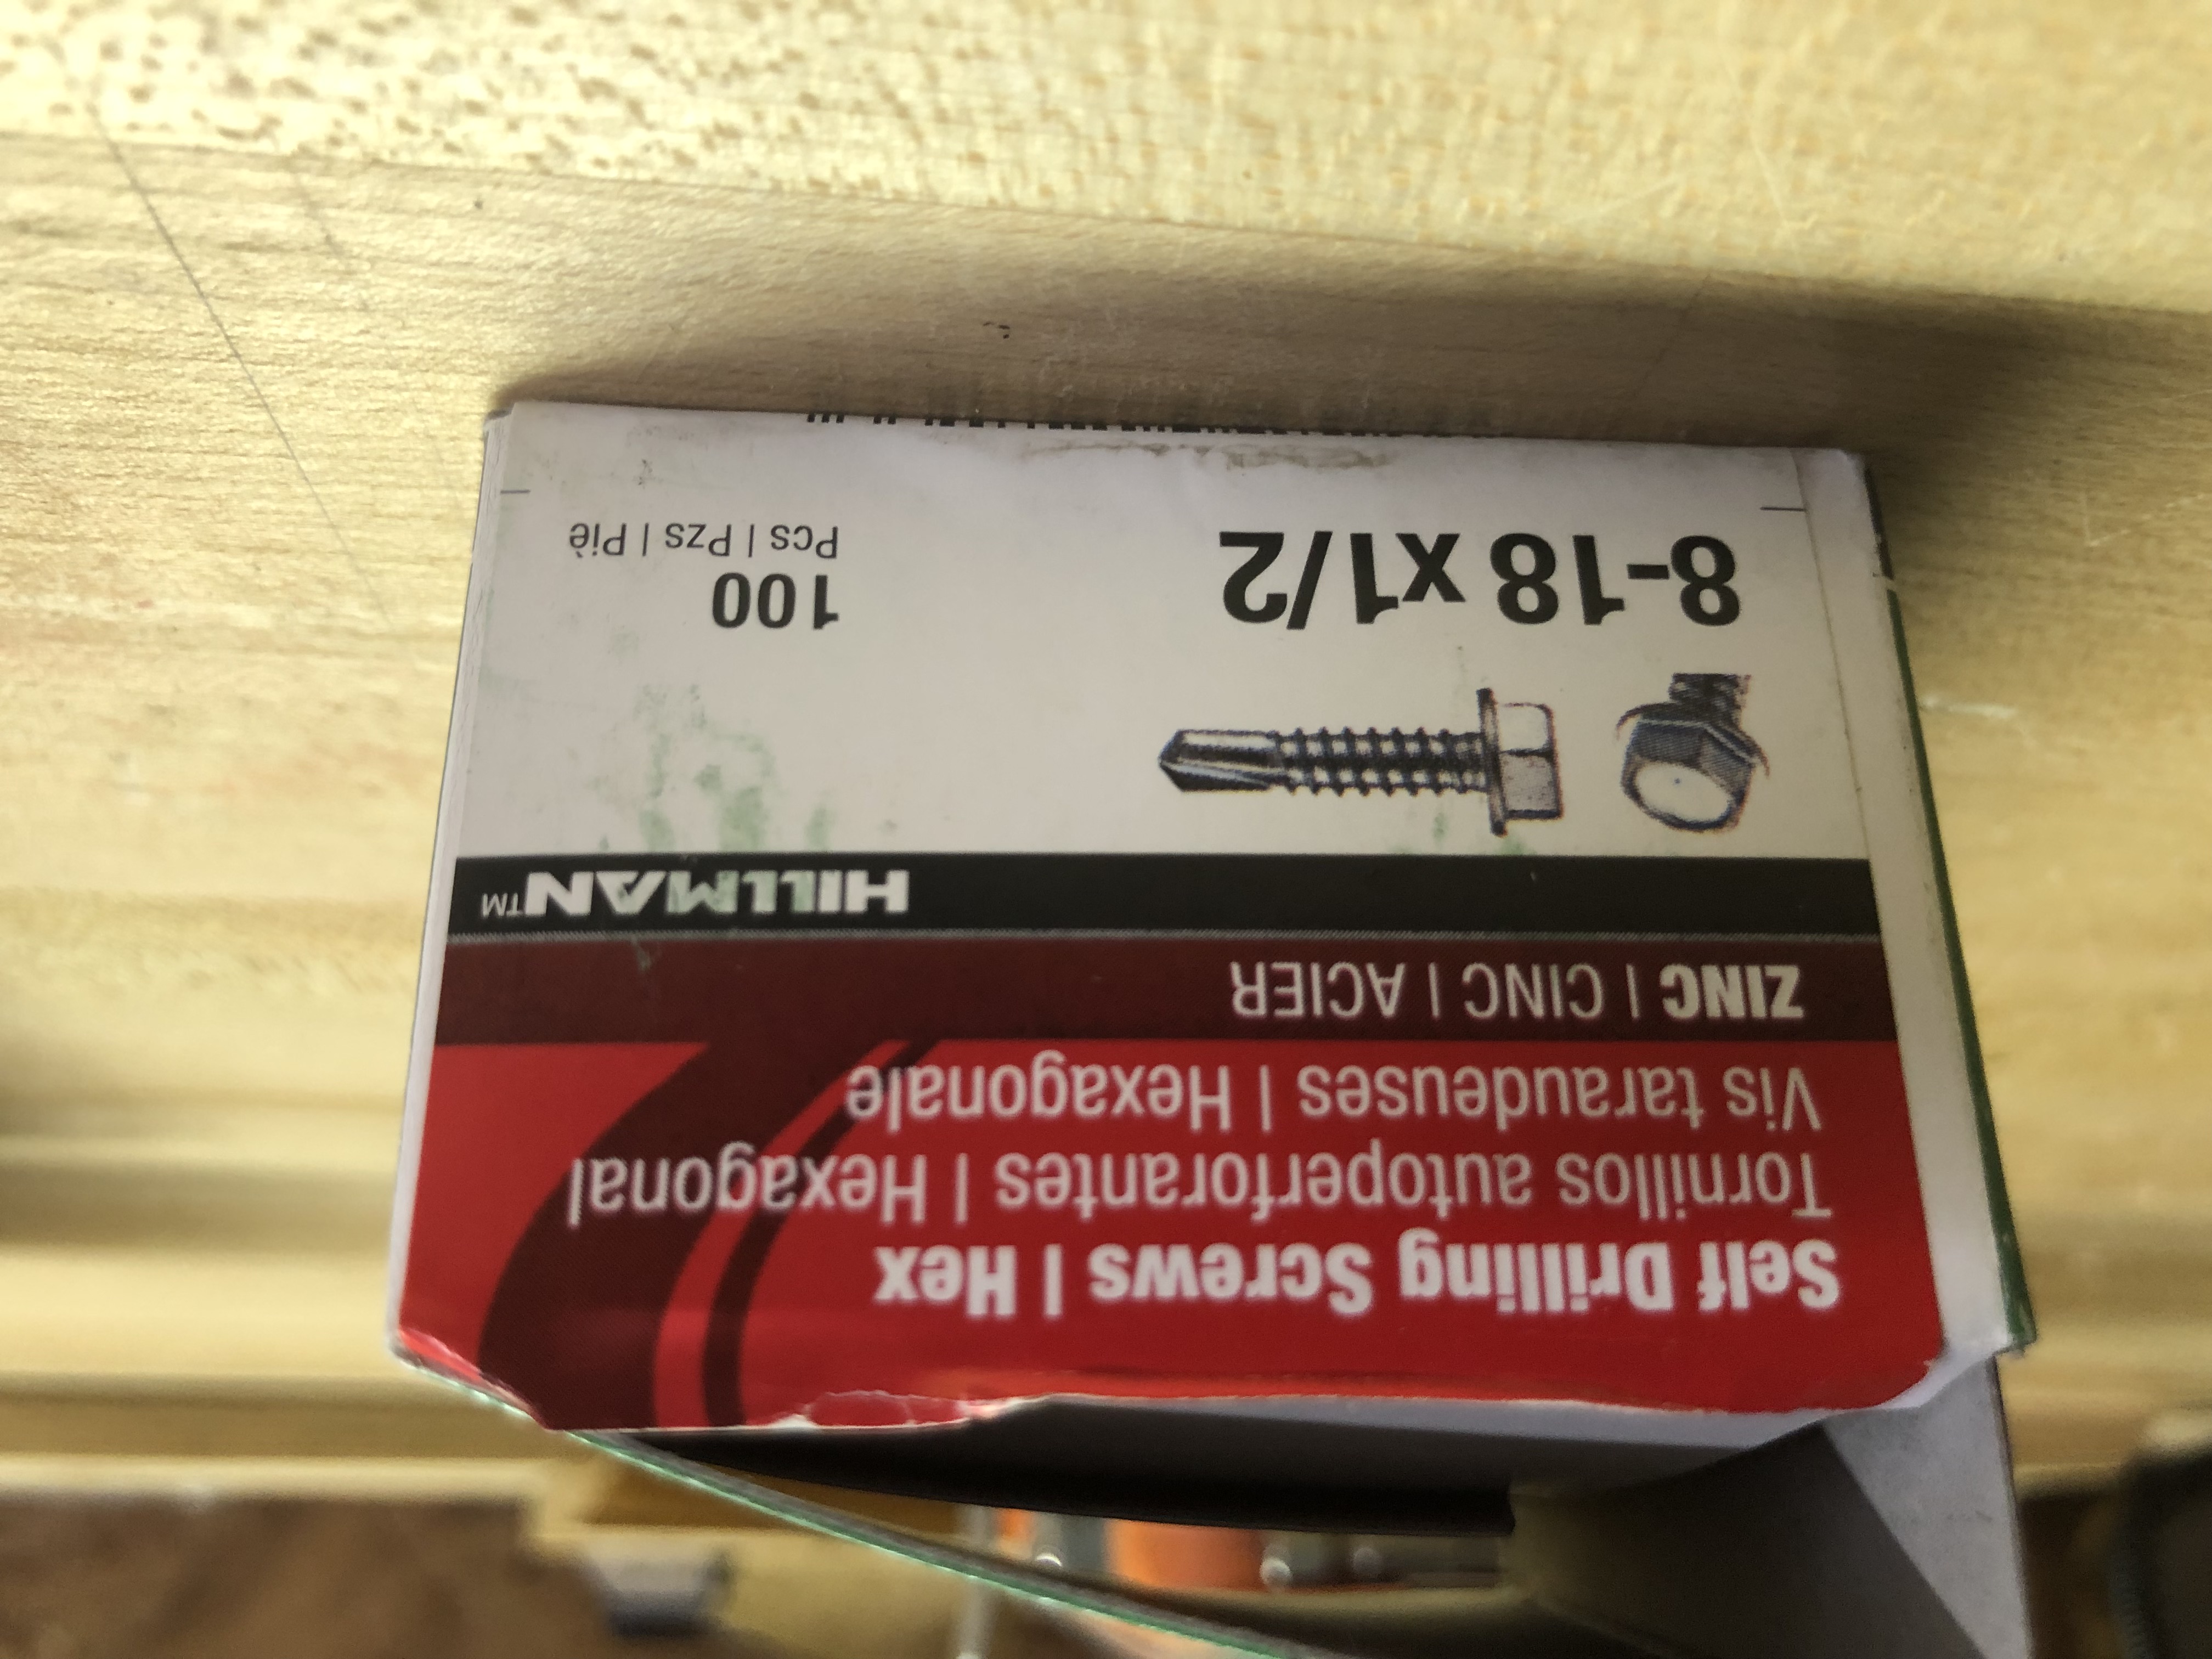
The product does not come with screws so plan on buying your own. #8-18 x 1/2" self-tapping hex head are what we used and those or zip screws are recommended by the manufacturer. We installed four screws in the front holes, one in each end and two spaced out between, and then one in the middle of the lap joints. Since the gutters had spikes and farrows and the joints never landed at a spike, we wanted the extra support at the joints due to the snow we have in Colorado. We may need to add screws to the back flange at the fascia as mentioned in the instructions for areas with snow.
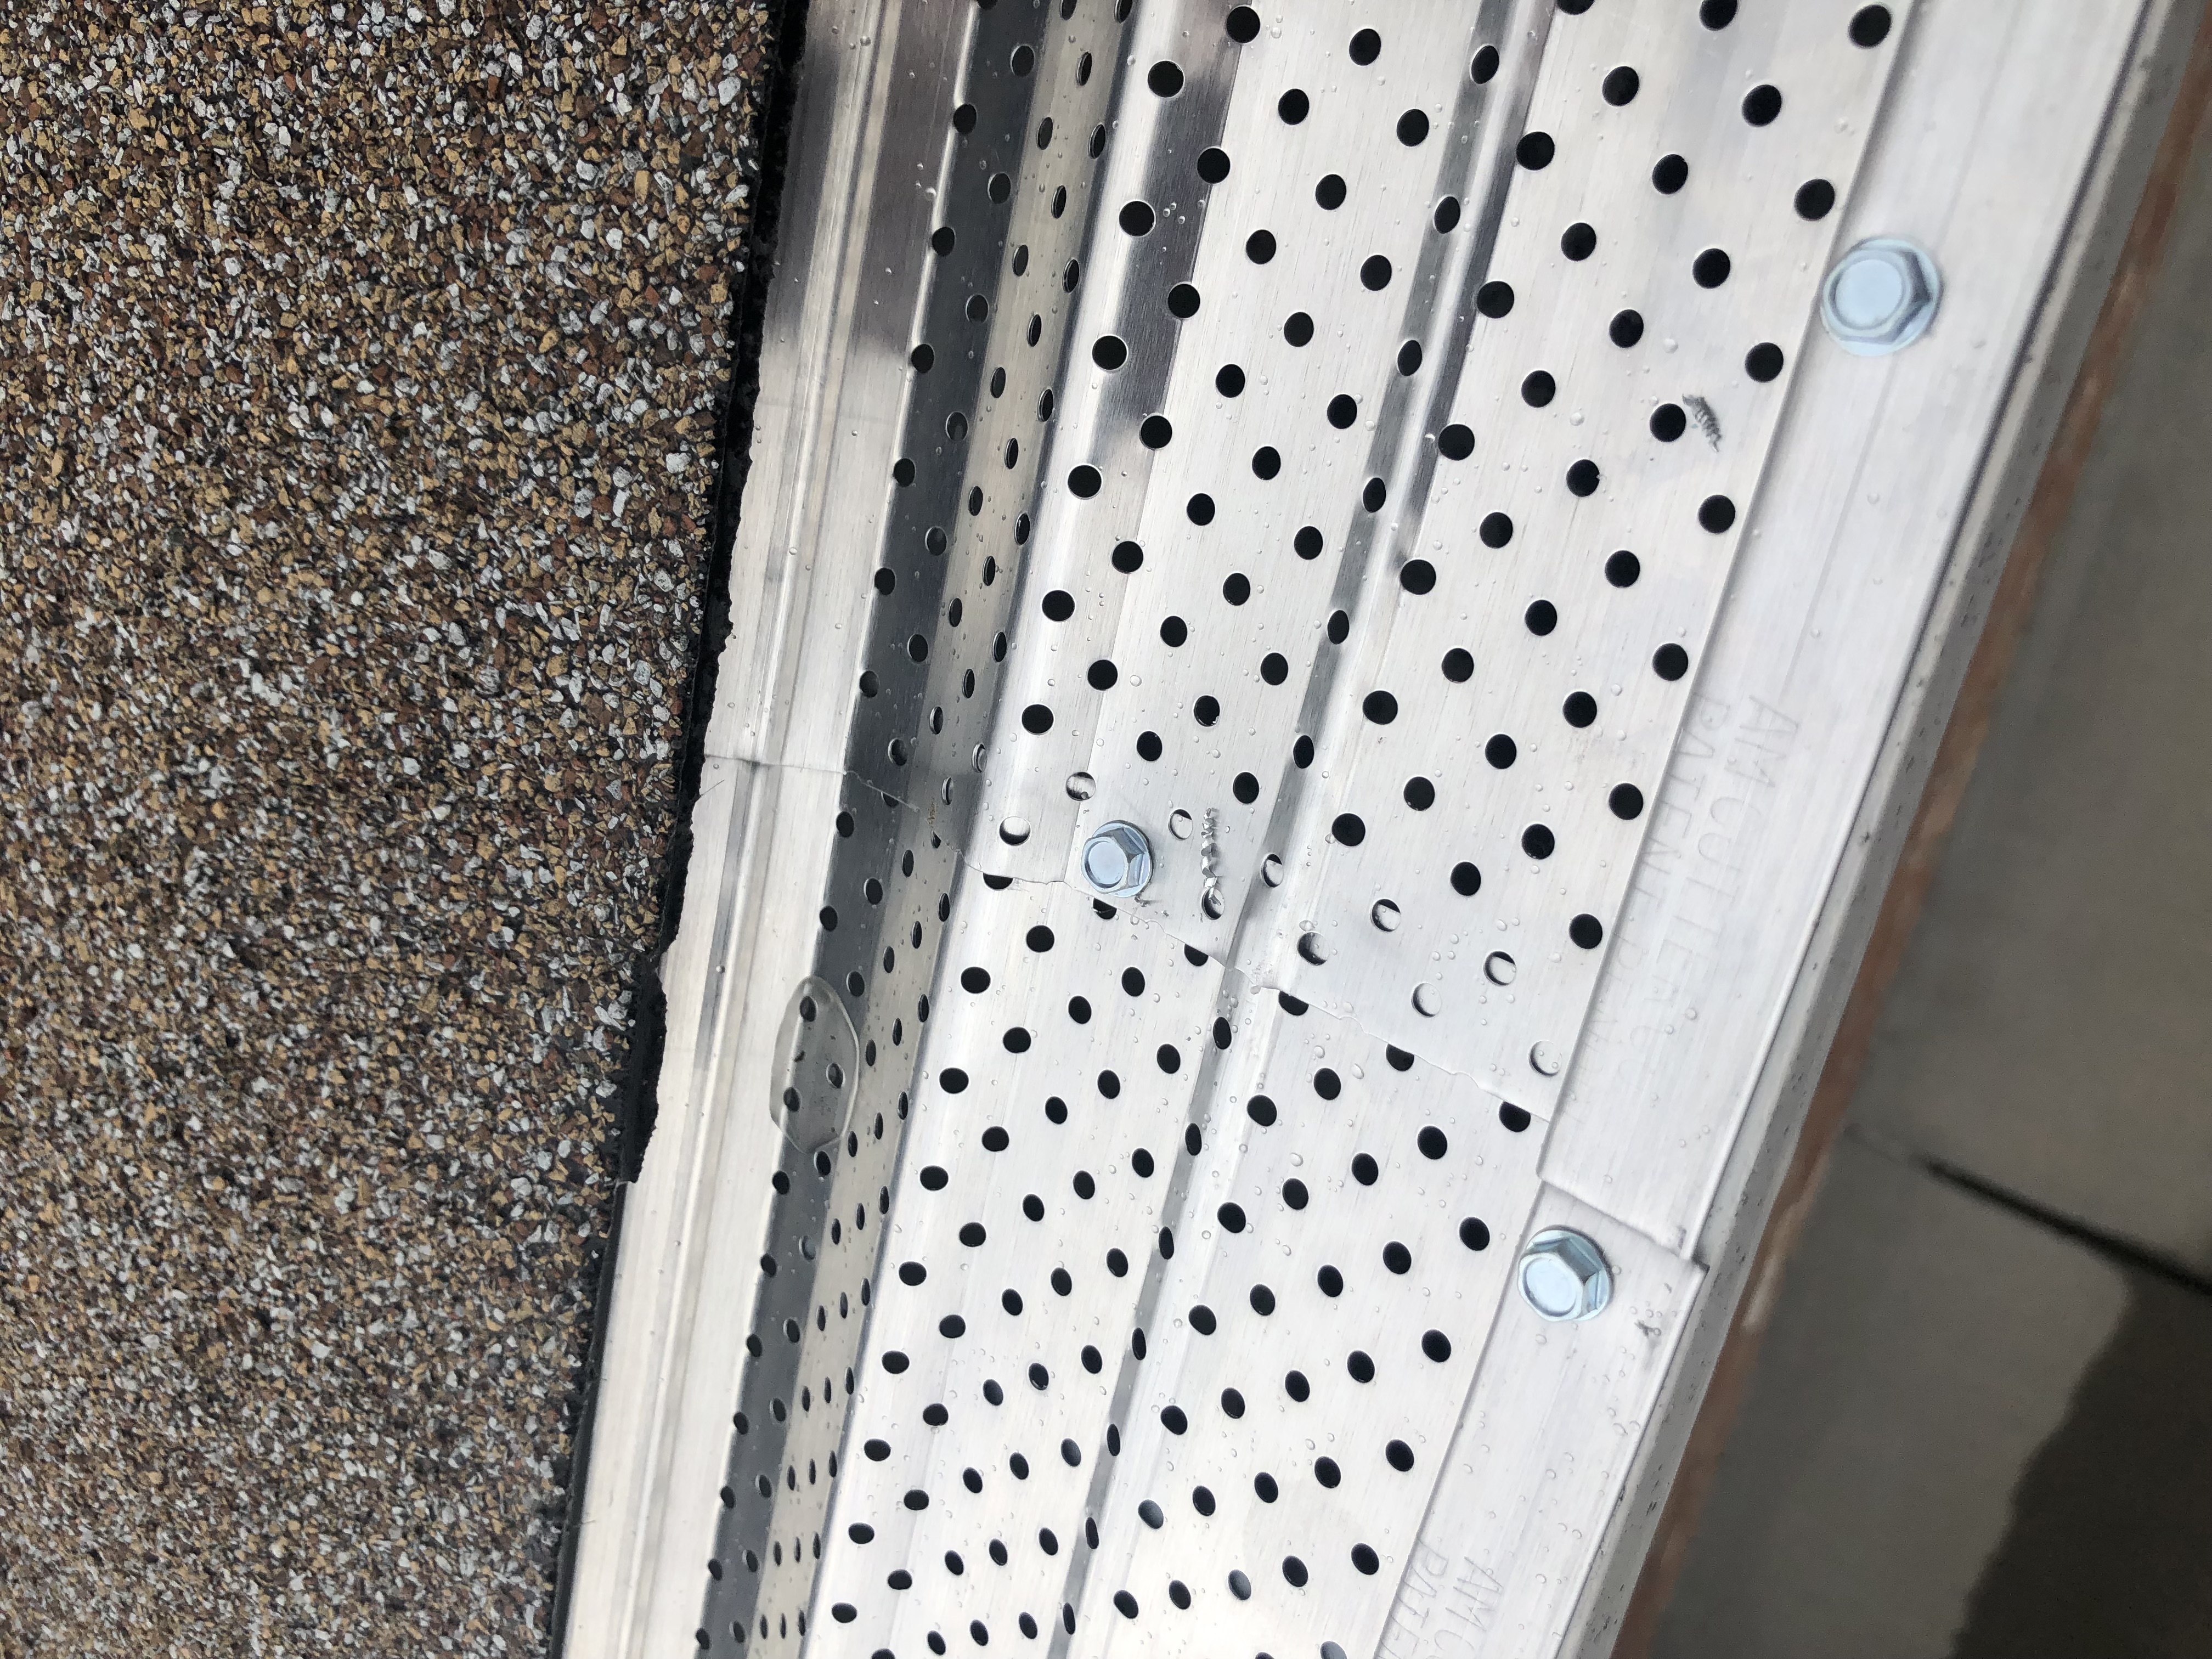
Lap joint
The installation took less than 2 hours. Most of it was done from a ladder. Some of the gutters were in a location that is difficult for ladder placement so those were installed from up on the roof. The roof was a 3/12 slope. Working from the roof is not recommended if you are not comfortable working that close to the edge or have issues with heights.
Opinion
A-M Gutter Guards were a good quality, made in the U.S.A. product and have an affordable price. Time will tell if they plug up or not. Reading some of the reviews on Amazon people commented debris was collected and did not blow or wash off and they had to physically remove or use a leaf blower to remove the debris; their comments seemed to be around the shape/design of the guards that caused the holding of the debris. The guards did seem to lay flat or sometimes sloped down towards the roof edge depending on the orientation of the spikes. We do have small tree buds that fall from the maple trees and those buds appear to be small enough to lodge in the holes. Time will tell!
UPDATE - October 2022. The guards worked great over the summer and now leaves are falling and the gutters are staying clear.
Tools Needed For Gutter Guard Installation
- Tin Snips for cutting the aluminum
- Drill or impact driver
- 1/4" hex head bit (magnetic)
- 1/2" long, 1/4" hex head screws
- Step ladder
- Extension ladder