What is an Aerator and Why Do I Need One?
Aerators are small parts placed on the end of faucets. Some people may call them a faucet spout or a faucet nozzle. They are small mesh screens that break up the flow of water into multiple small streams, adding air in the water flow.
By diluting the water stream with air, aerators significantly reduce the volume of water flowing from your faucet. Therefore, it may feel as though your water pressure is reduced, but it is not. Aerators do this while maintaining the feeling of a high-pressure flow. Aerators also reduce splashing in sinks.
People use aerators in their plumbing fixtures for two reasons: to save water and to save money. They are one of the most environmentally friendly plumbing parts you can have in your home. According to the EPA, installing faucet aerators is one of the most effective water-saving plumbing changes you can make! Saving water is not only great for the environment it is also great for your wallet. By reducing your monthly water usage, aerators can and will lower your utility bills.
Male/Female Threads: Aerators come in two type; “male” and “female” version. The one you need depends on your faucet. If your faucet has threads on the outside (looking after removal of the aerator) then it is “male” and you should use a “female” aerator. If your faucet has threads on the inside, it is “female”, and you should use a “male” aerator.
Cleaning, Maintenance and Repair
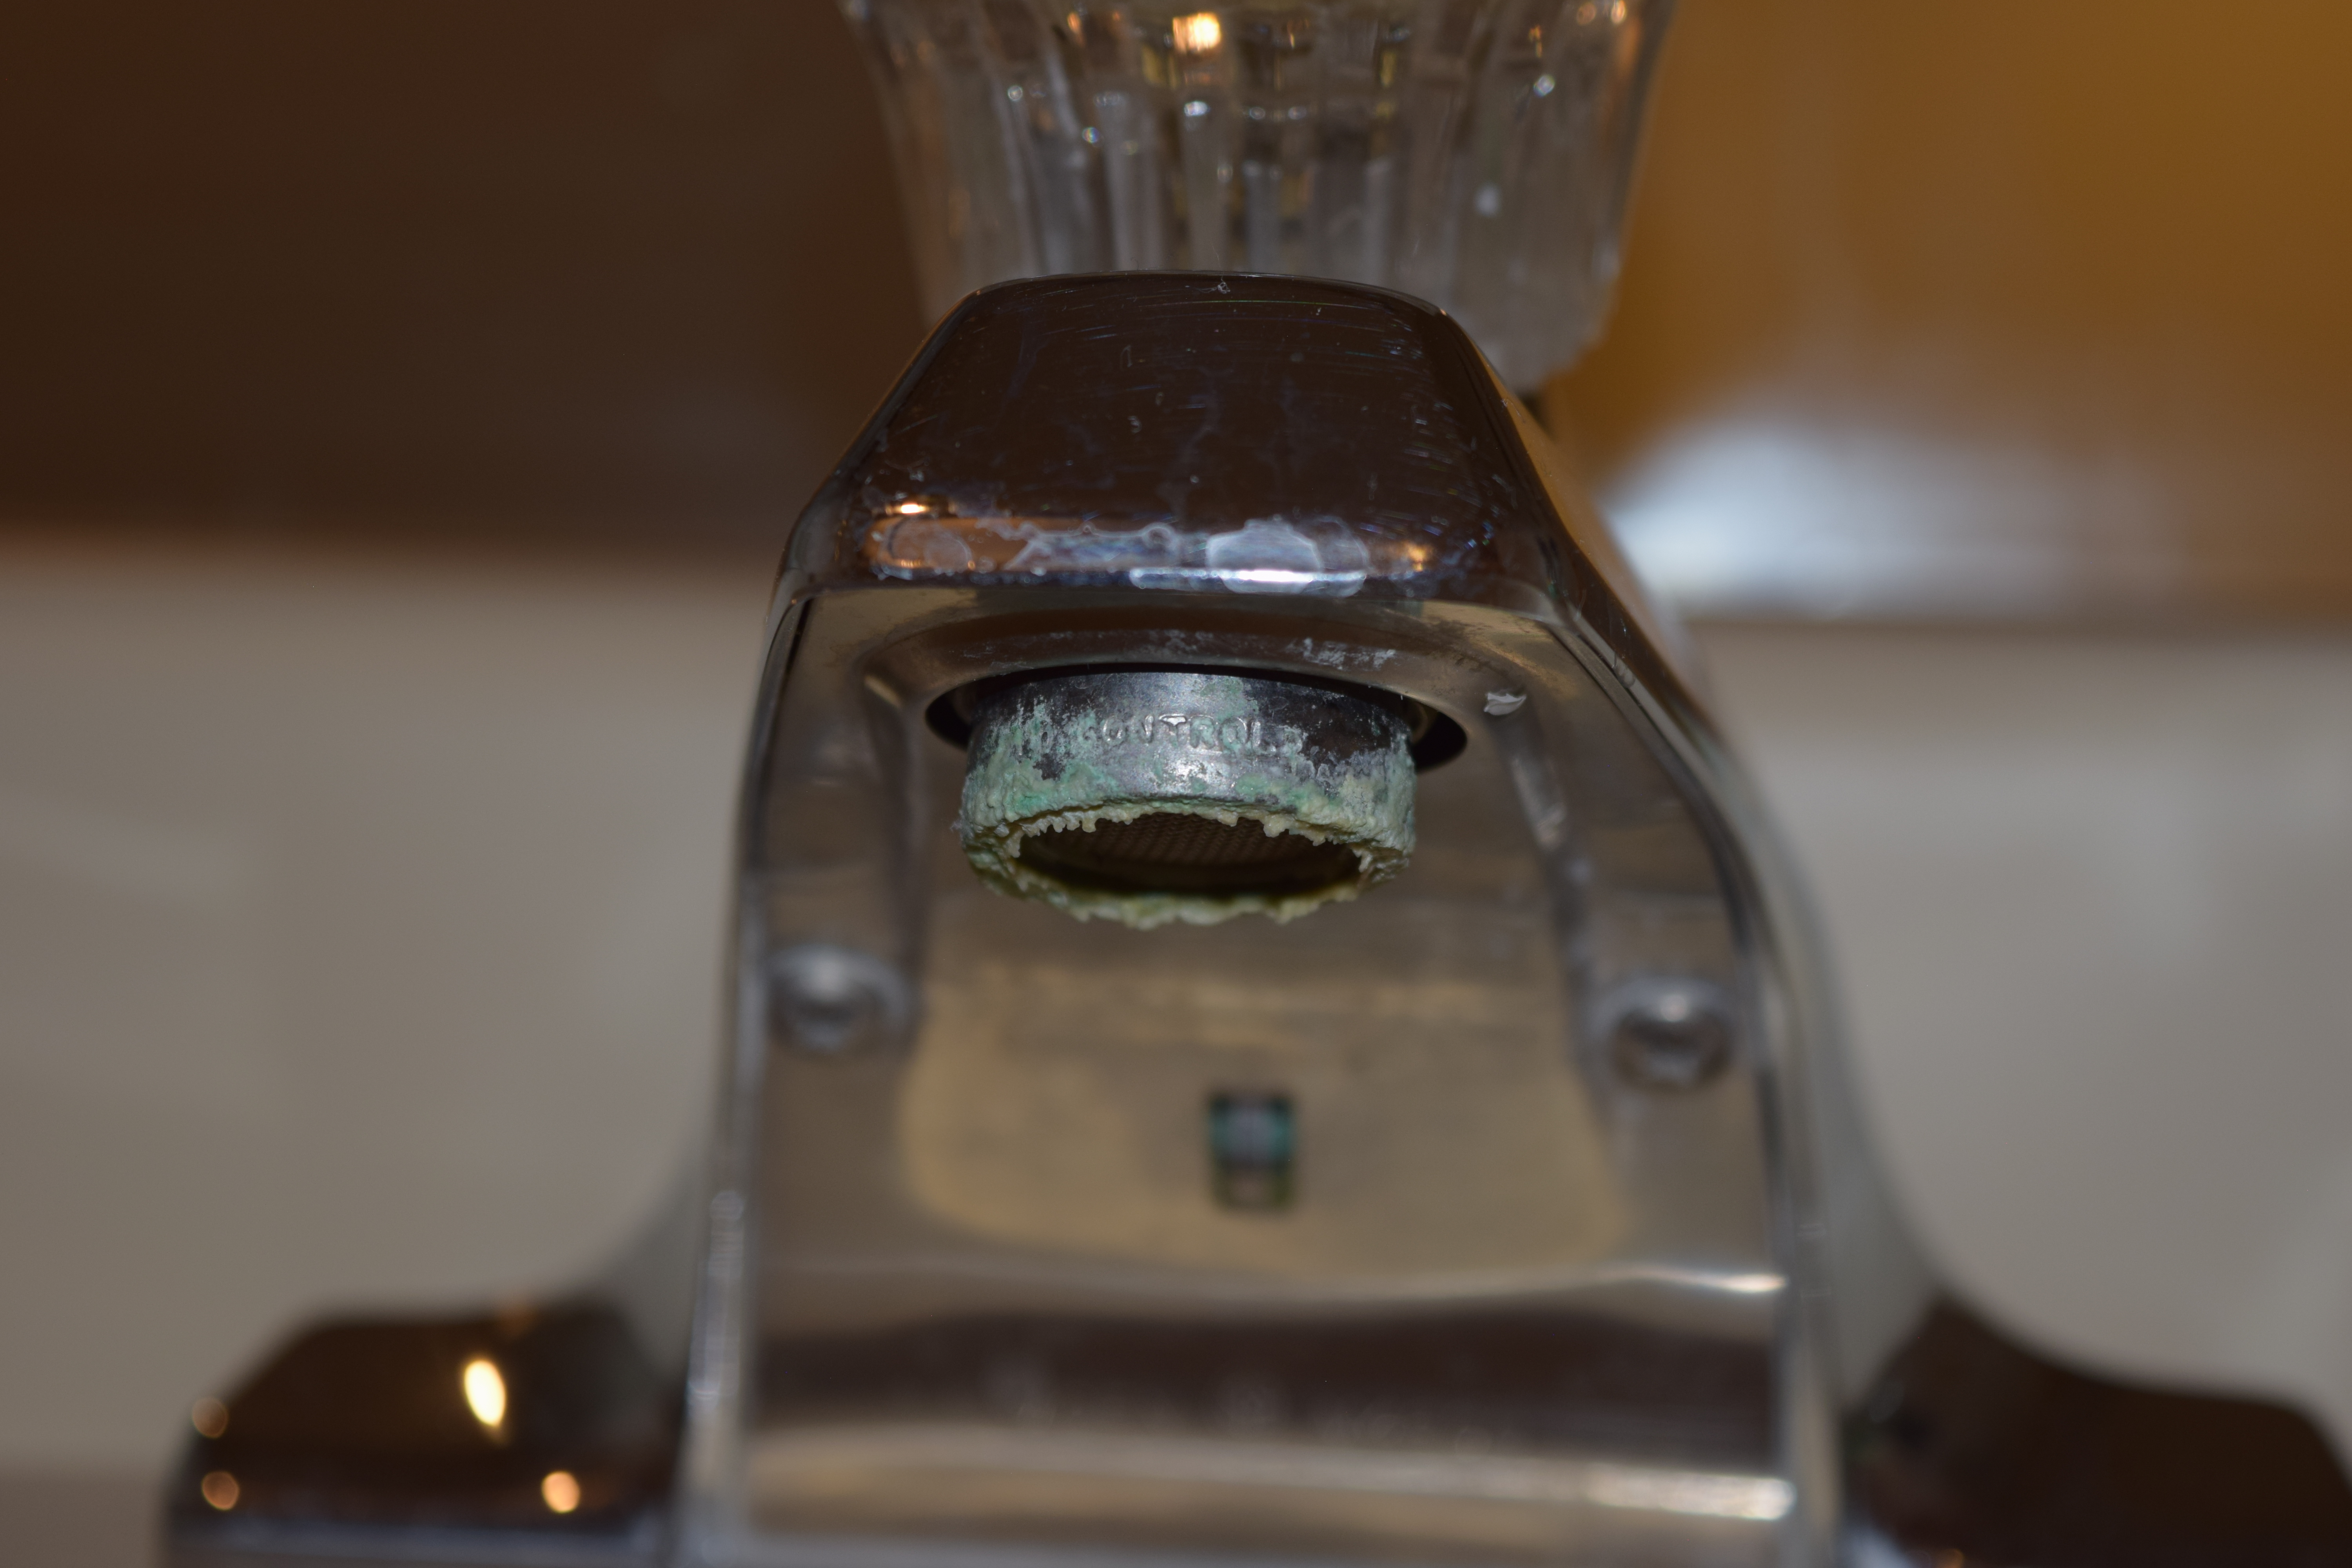
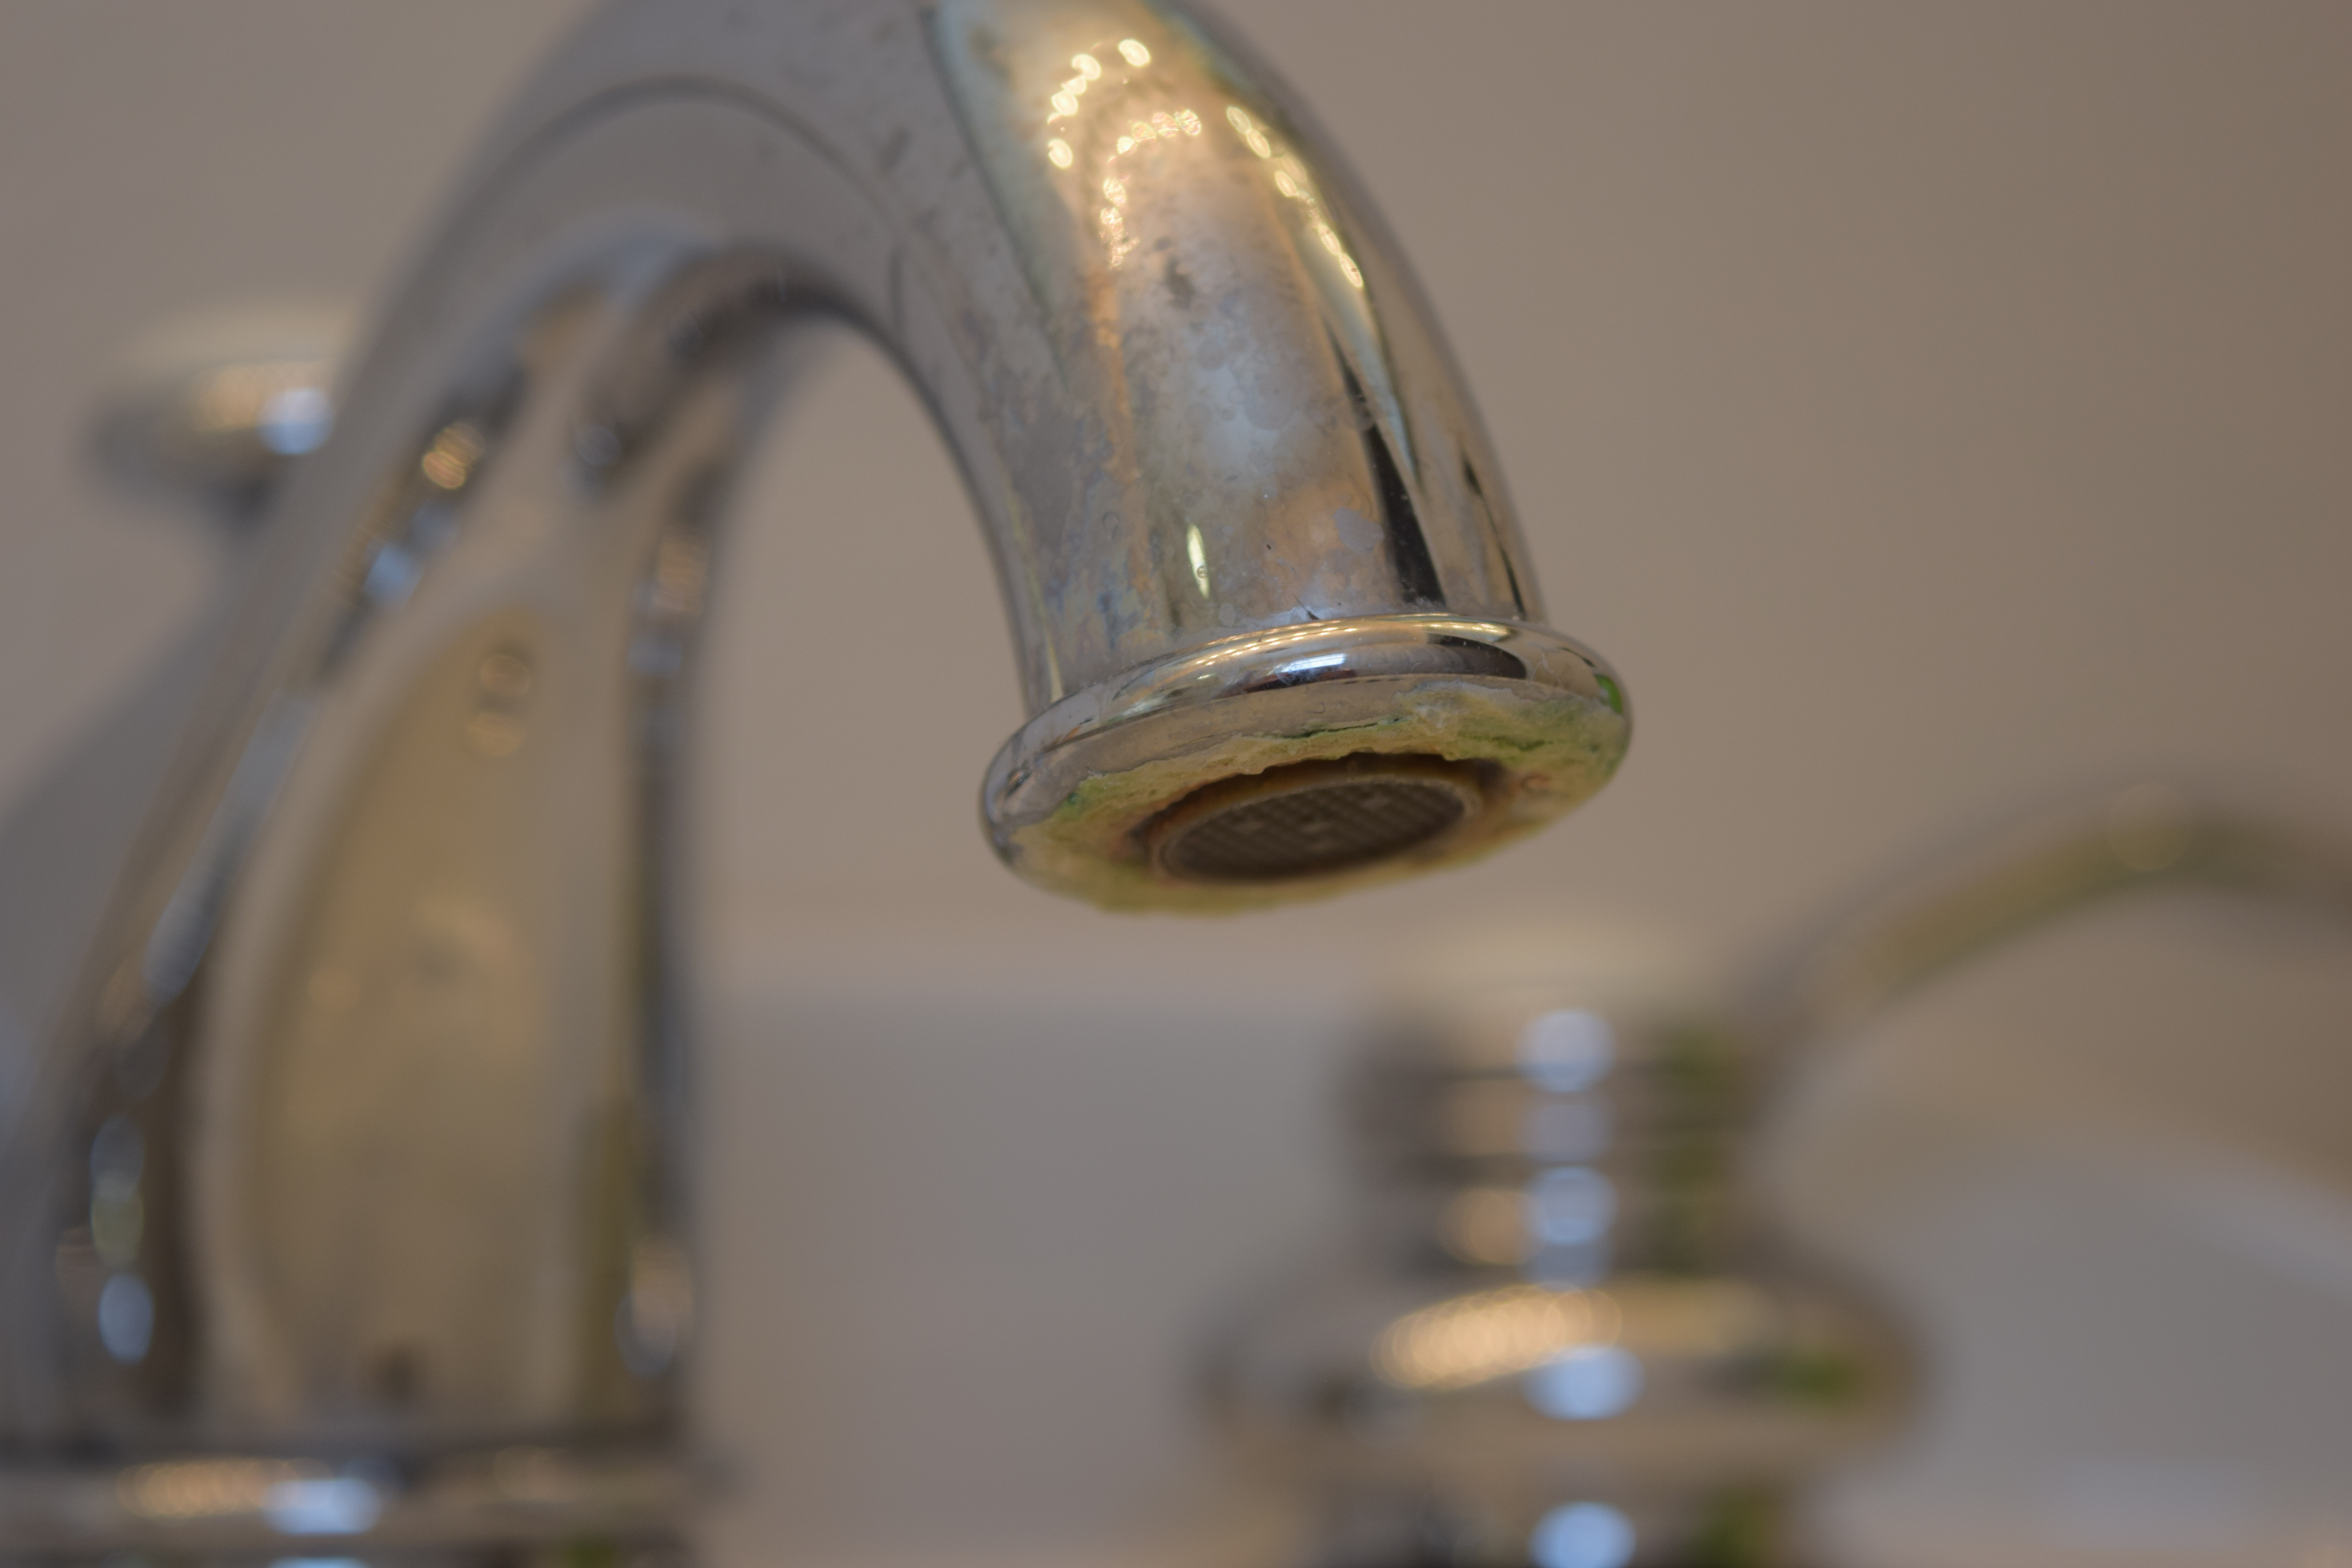
Inspect your bathroom faucet, kitchen faucet, and laundry faucet. All should have aerators attached to the faucet spout or nozzle of each. At least annually, remove the aerator and make sure the debris screen is not clogged. Depending on your water quality, calcium and lime buildup (scale) occurs over time in the screen and the exterior of the aerator. Additionally, flushing the aerator will help to reduce the reduction of water flow. The following information will help you avoid problems with low water flow.
Before you begin removal of the aerator, close the sink drain so small parts do not fall down the drain. Be careful not to damage the aerator when you're taking it off. Make notes (or take photos) of the order of the pieces inside the aerator before you take it apart; they must go back in exactly the same order.
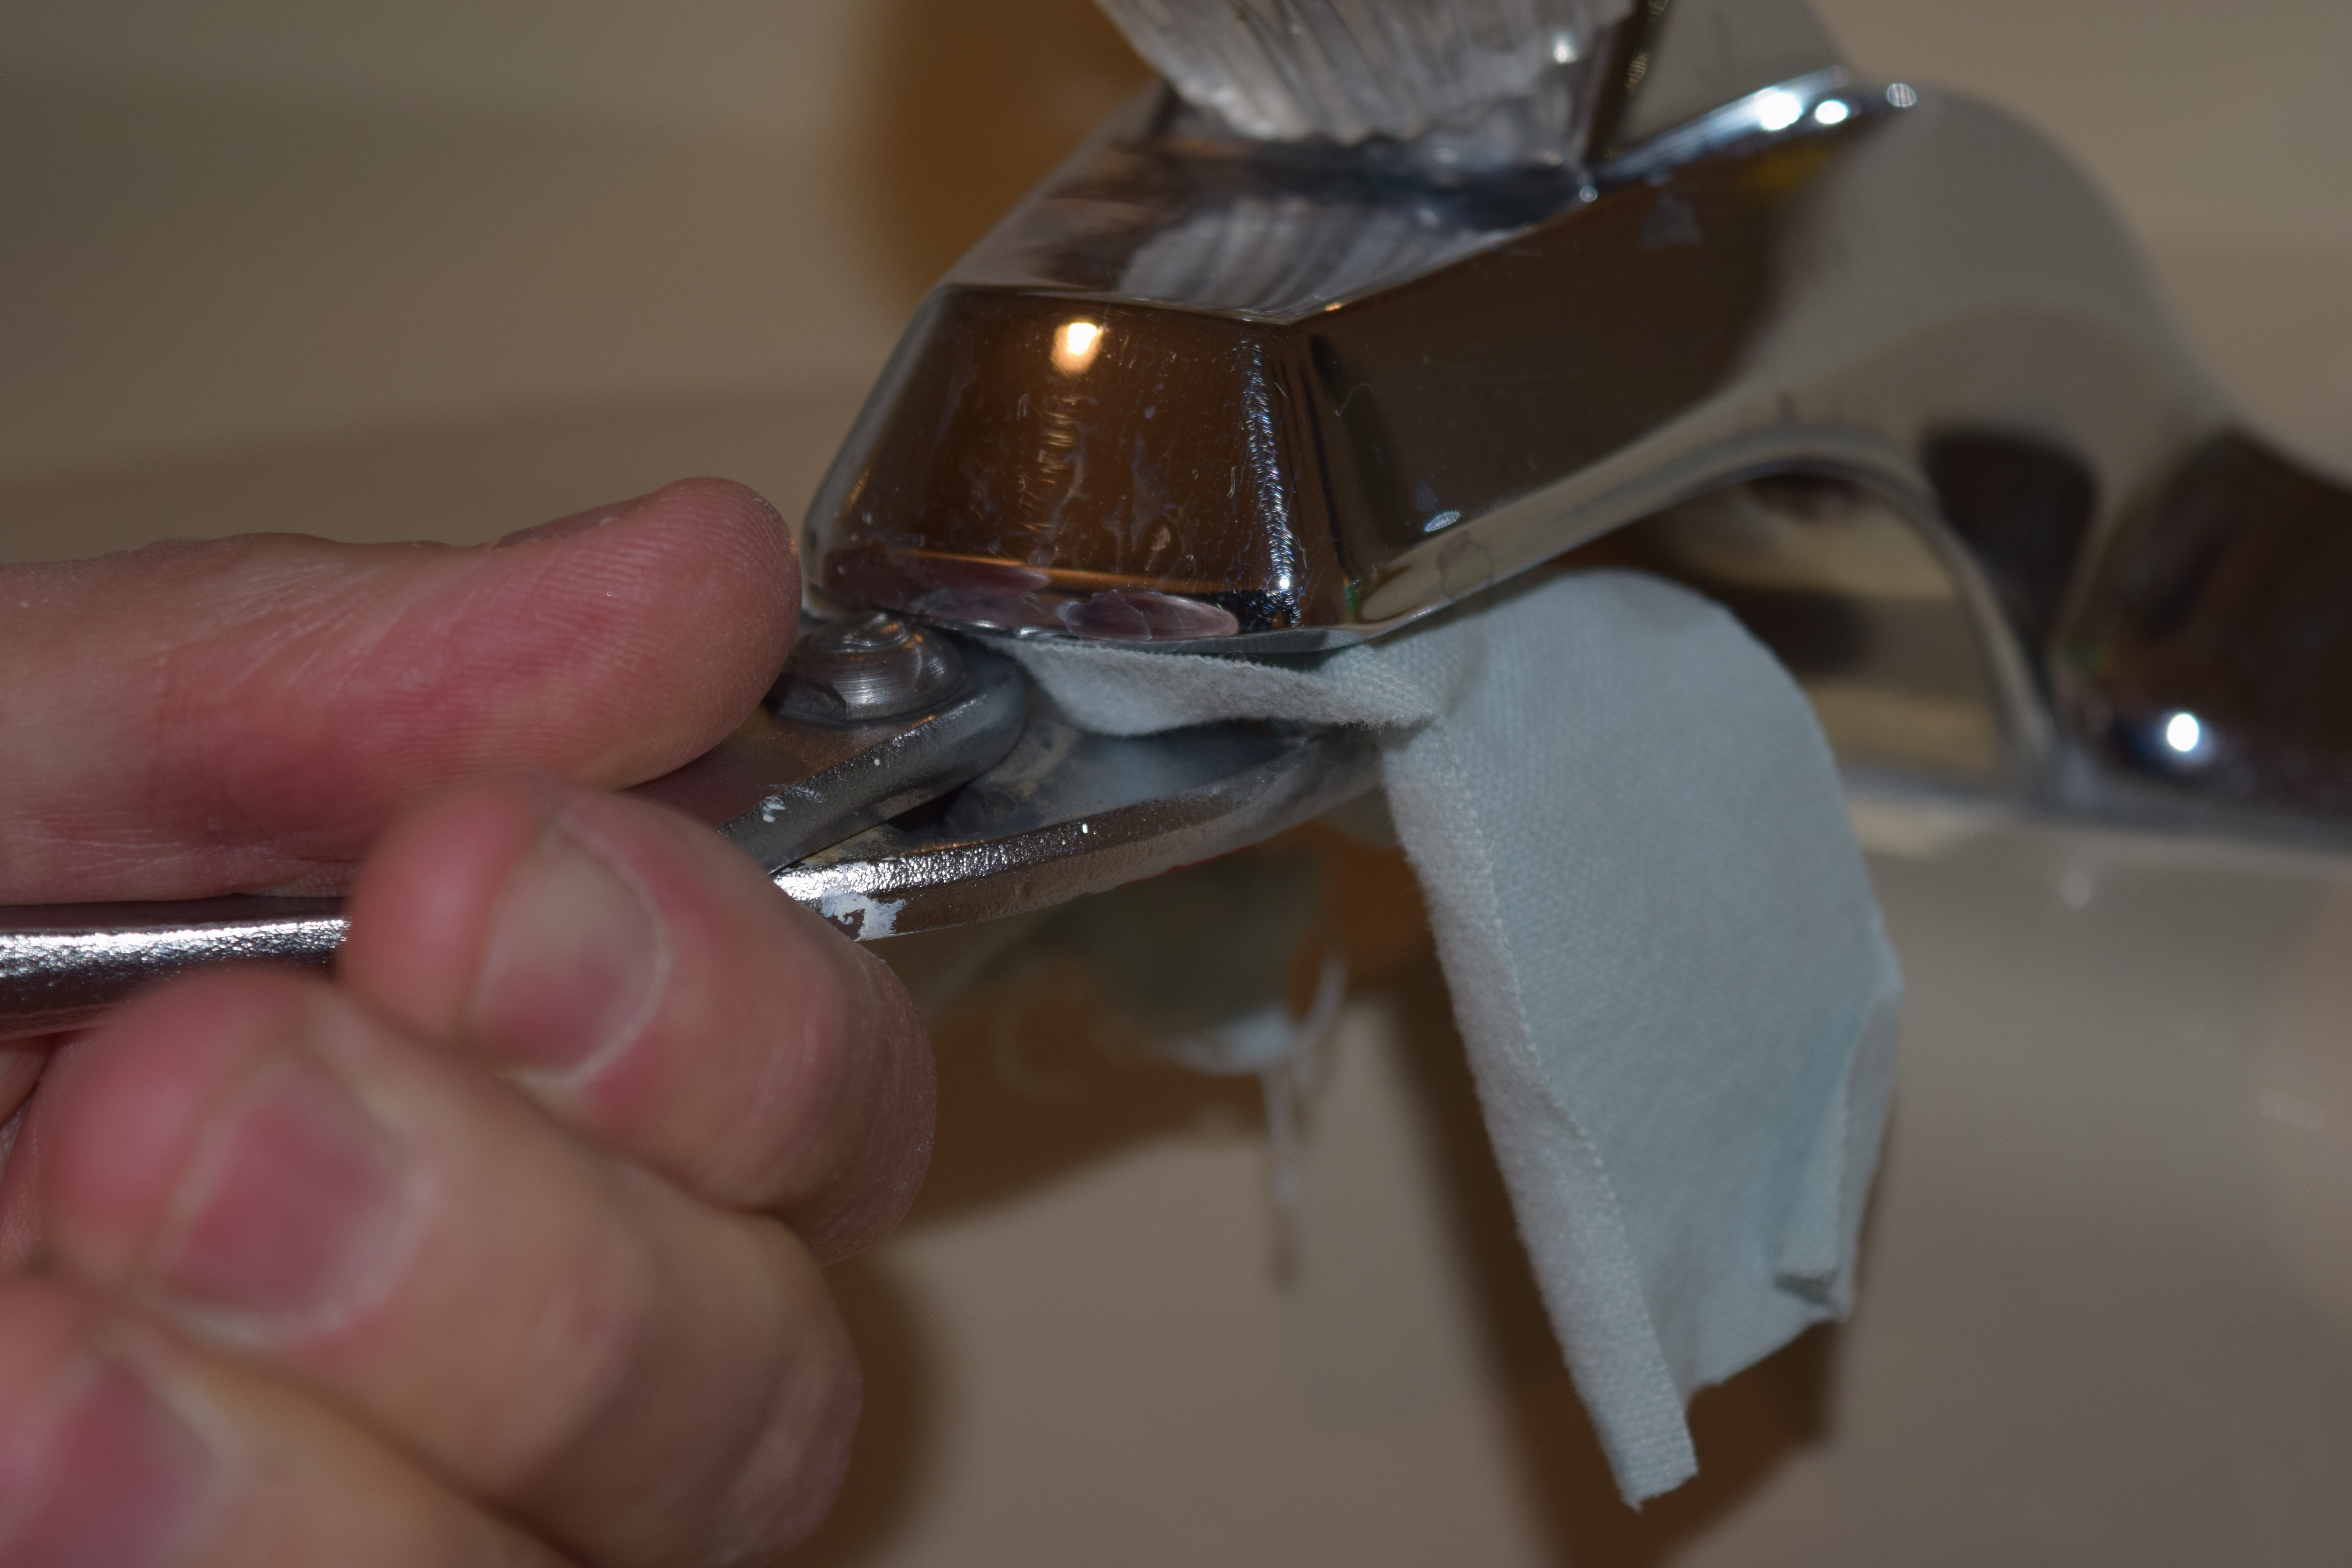
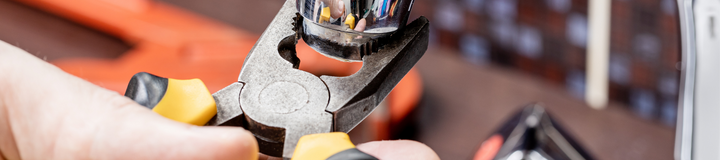
Grip the aerator with your hand and unthread it clockwise (when viewed downward from above) to remove it from the end of the faucet spout. If the aerator is stuck and won't turn, use a pair of pliers wrapped with a rag, preferably channel-lock or slip-joint pliers, to carefully loosen it. Do not squeeze the pliers too hard or you may crush and damage the aerator. Some aerators are made of plastic and can be easily damaged.
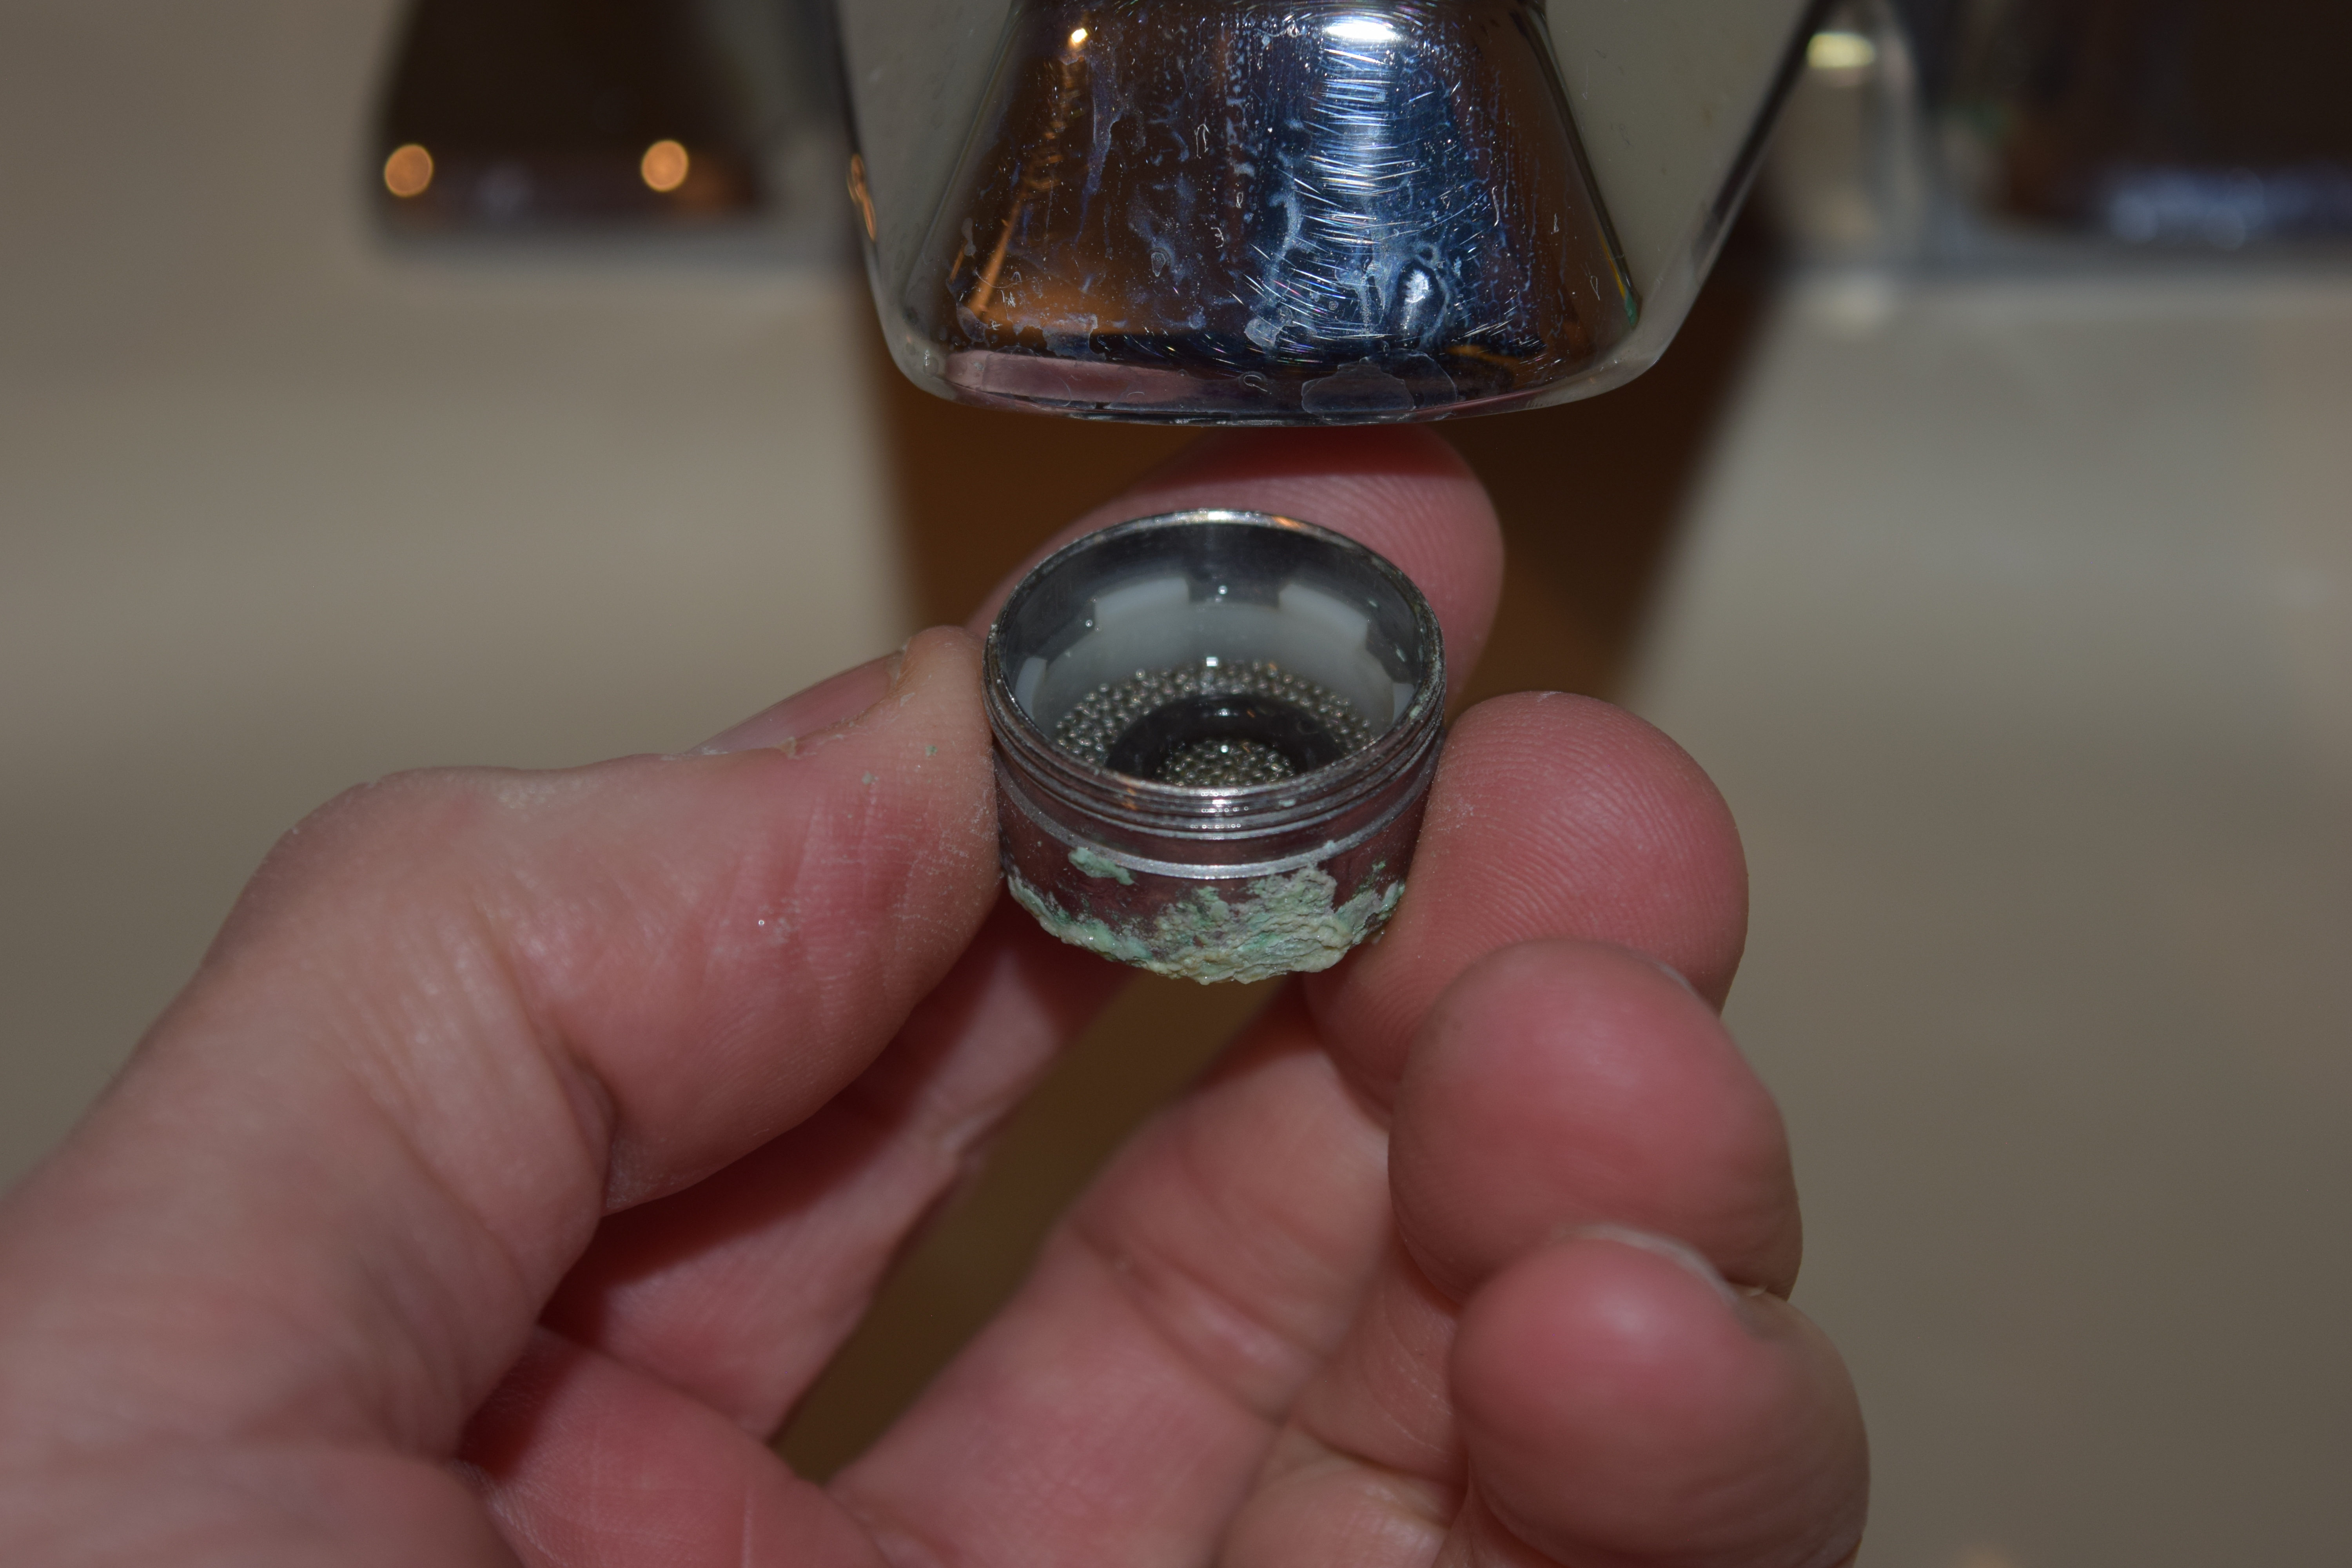
After removal, take a photo of the interior orientation of the aerator. Check the bottom of the faucet spout/nozzle for any additional parts that need to come out. Disassemble the aerator, using a toothpick or paperclip if any are stuck, taking note of how the parts go together. Another photo may be in order! Rinse off any large pieces of sediment. If you see blocked holes in the screen or other parts, clean them out with a liquid product, paper clip or a sewing needle.
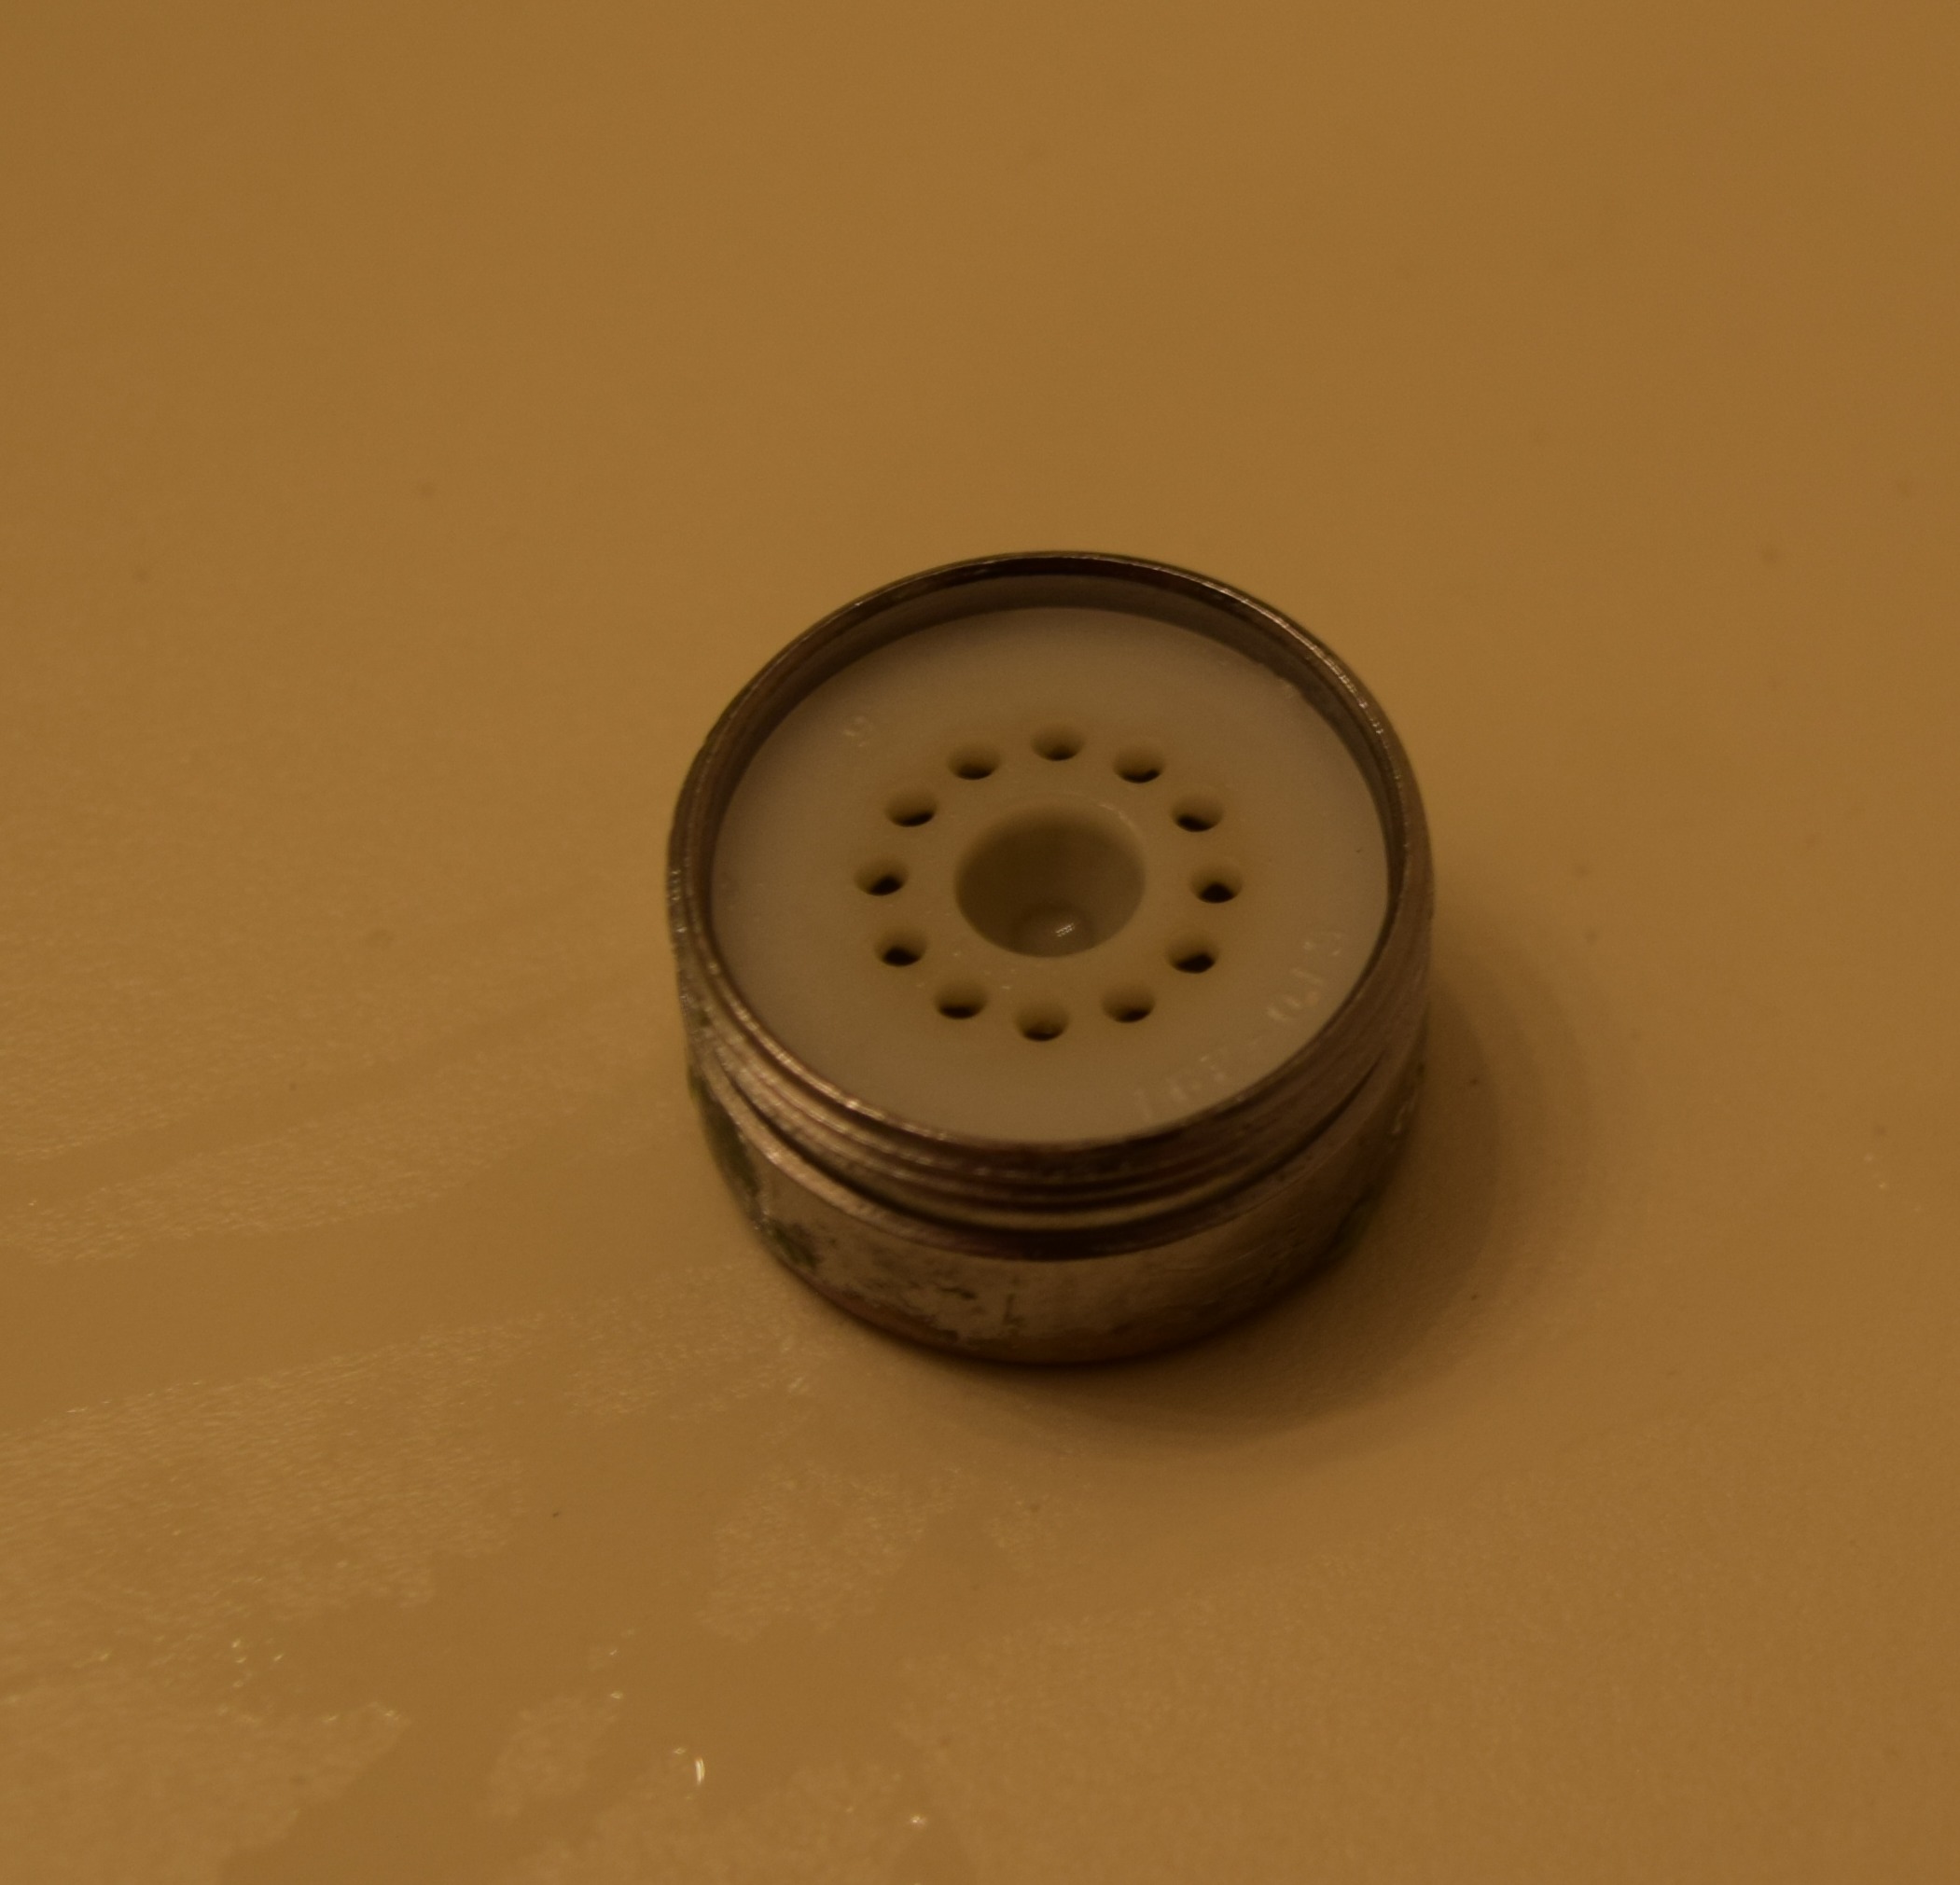
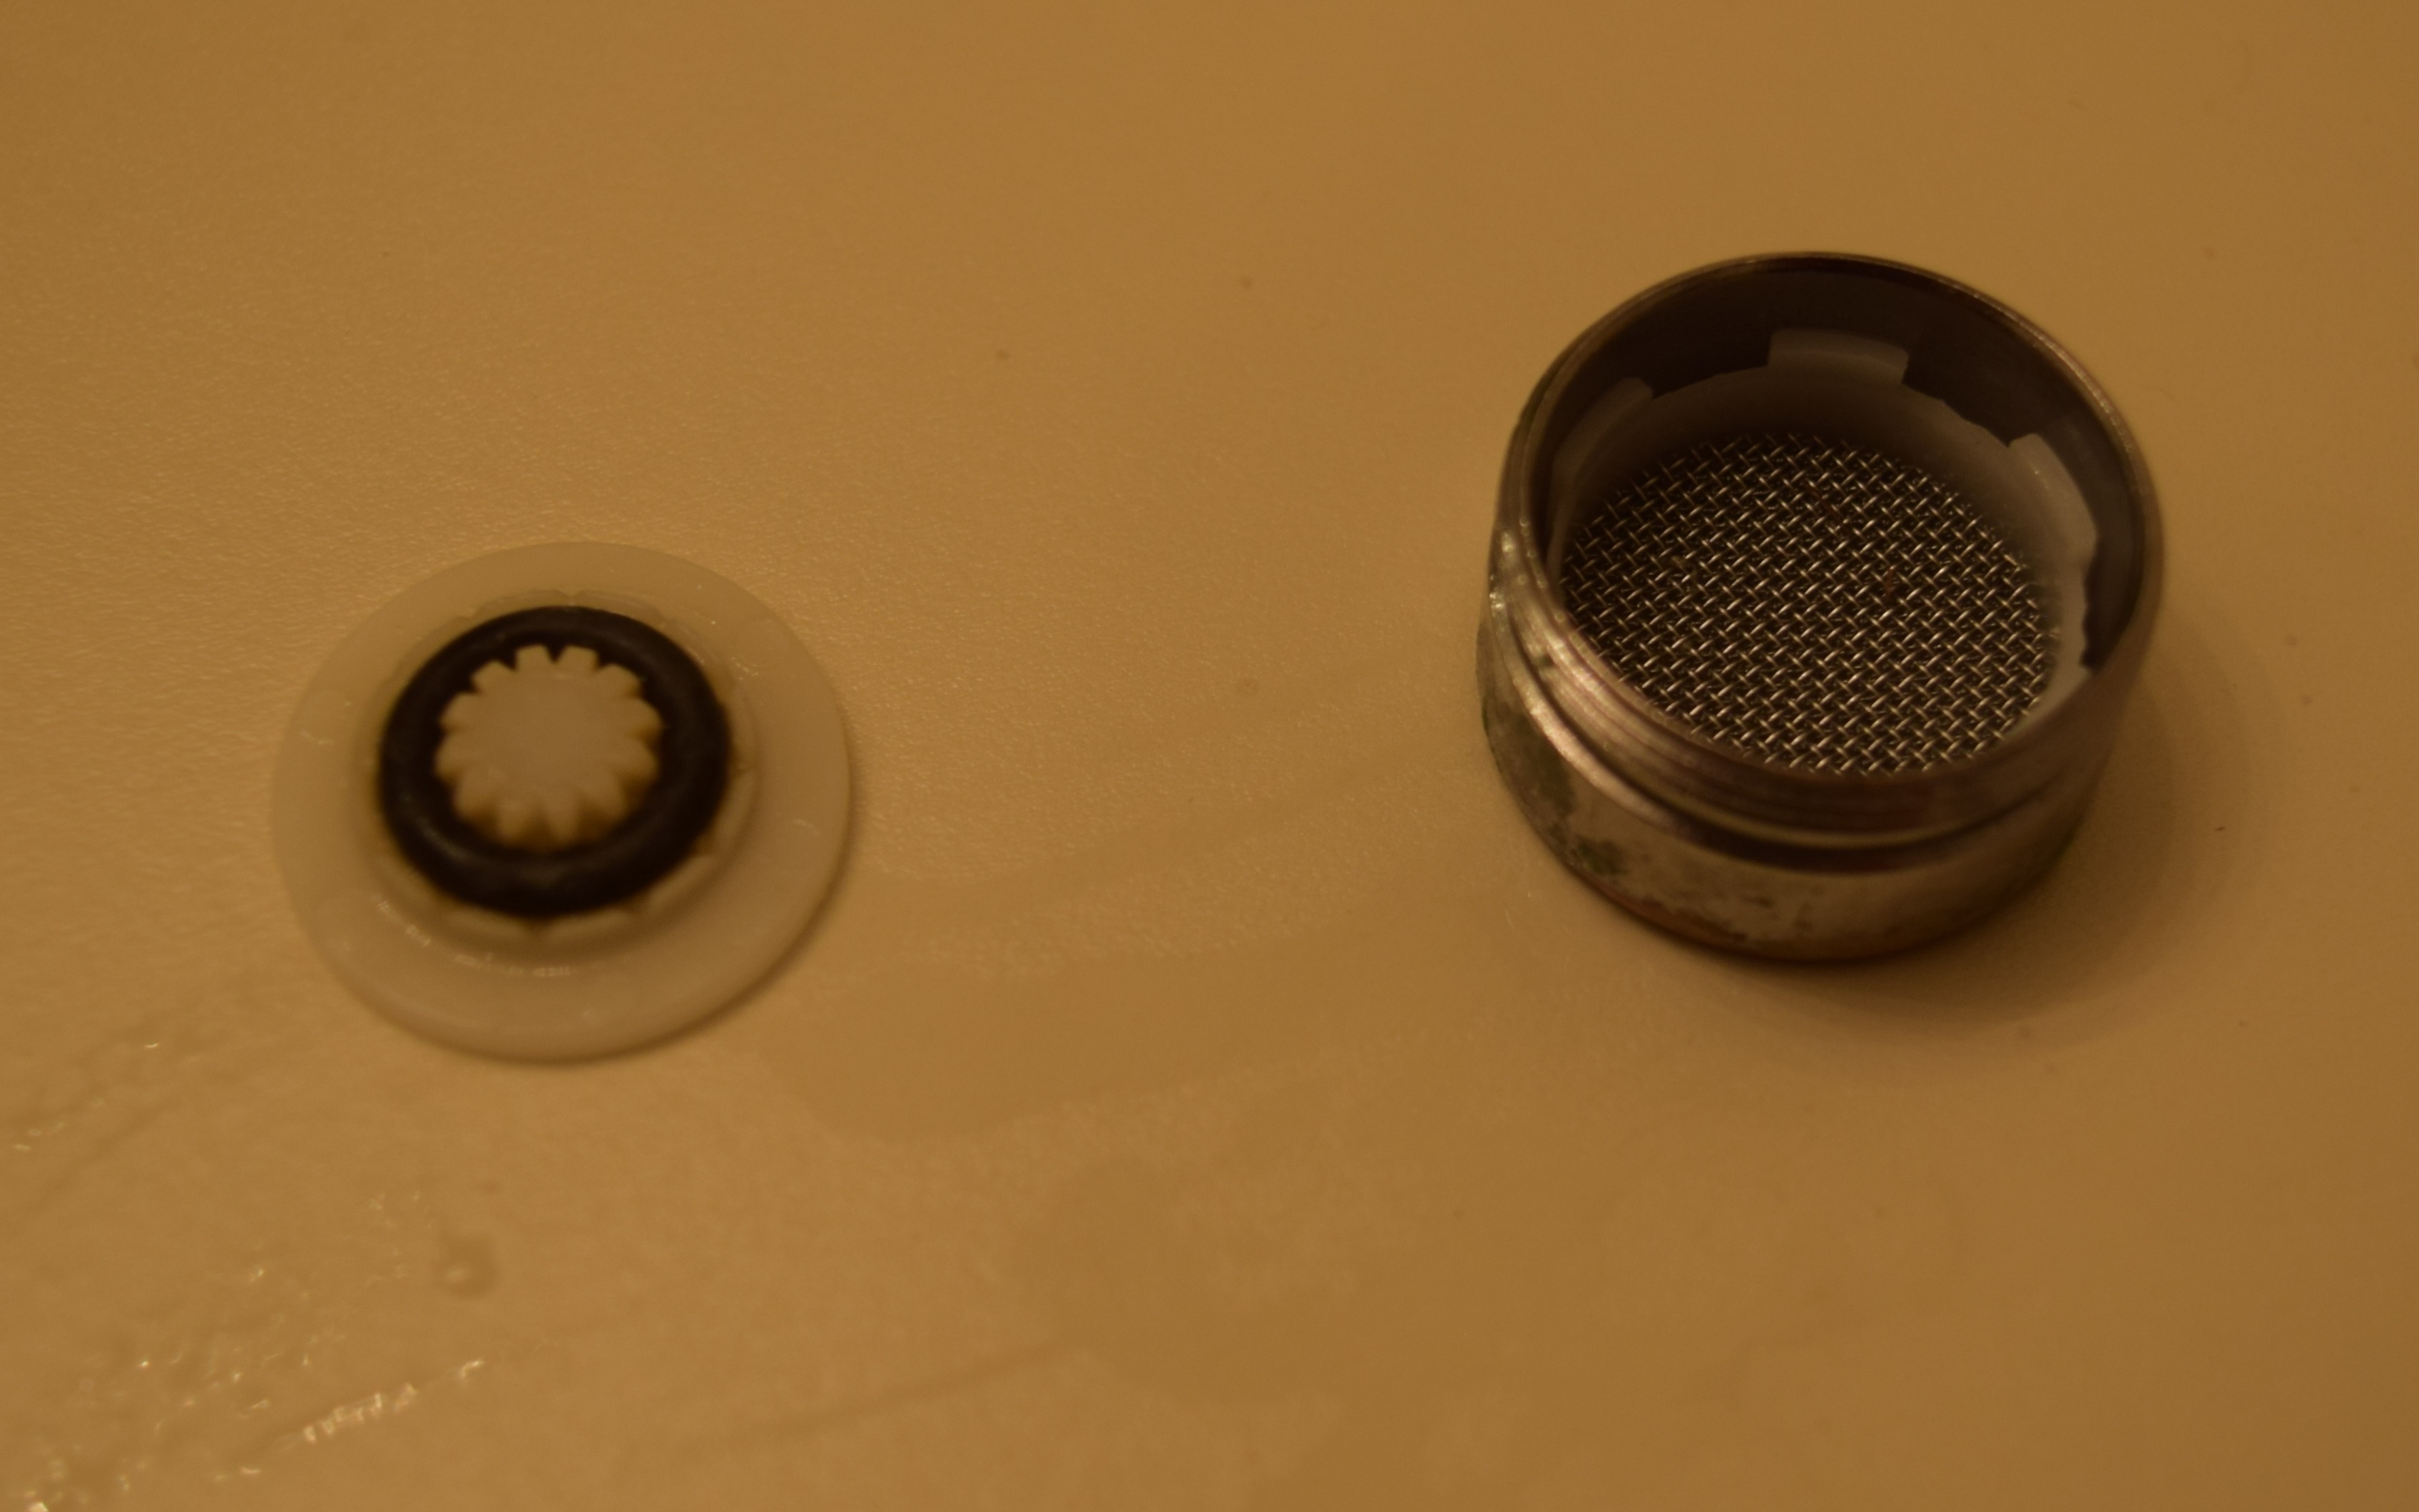
Aerator Parts after Removal
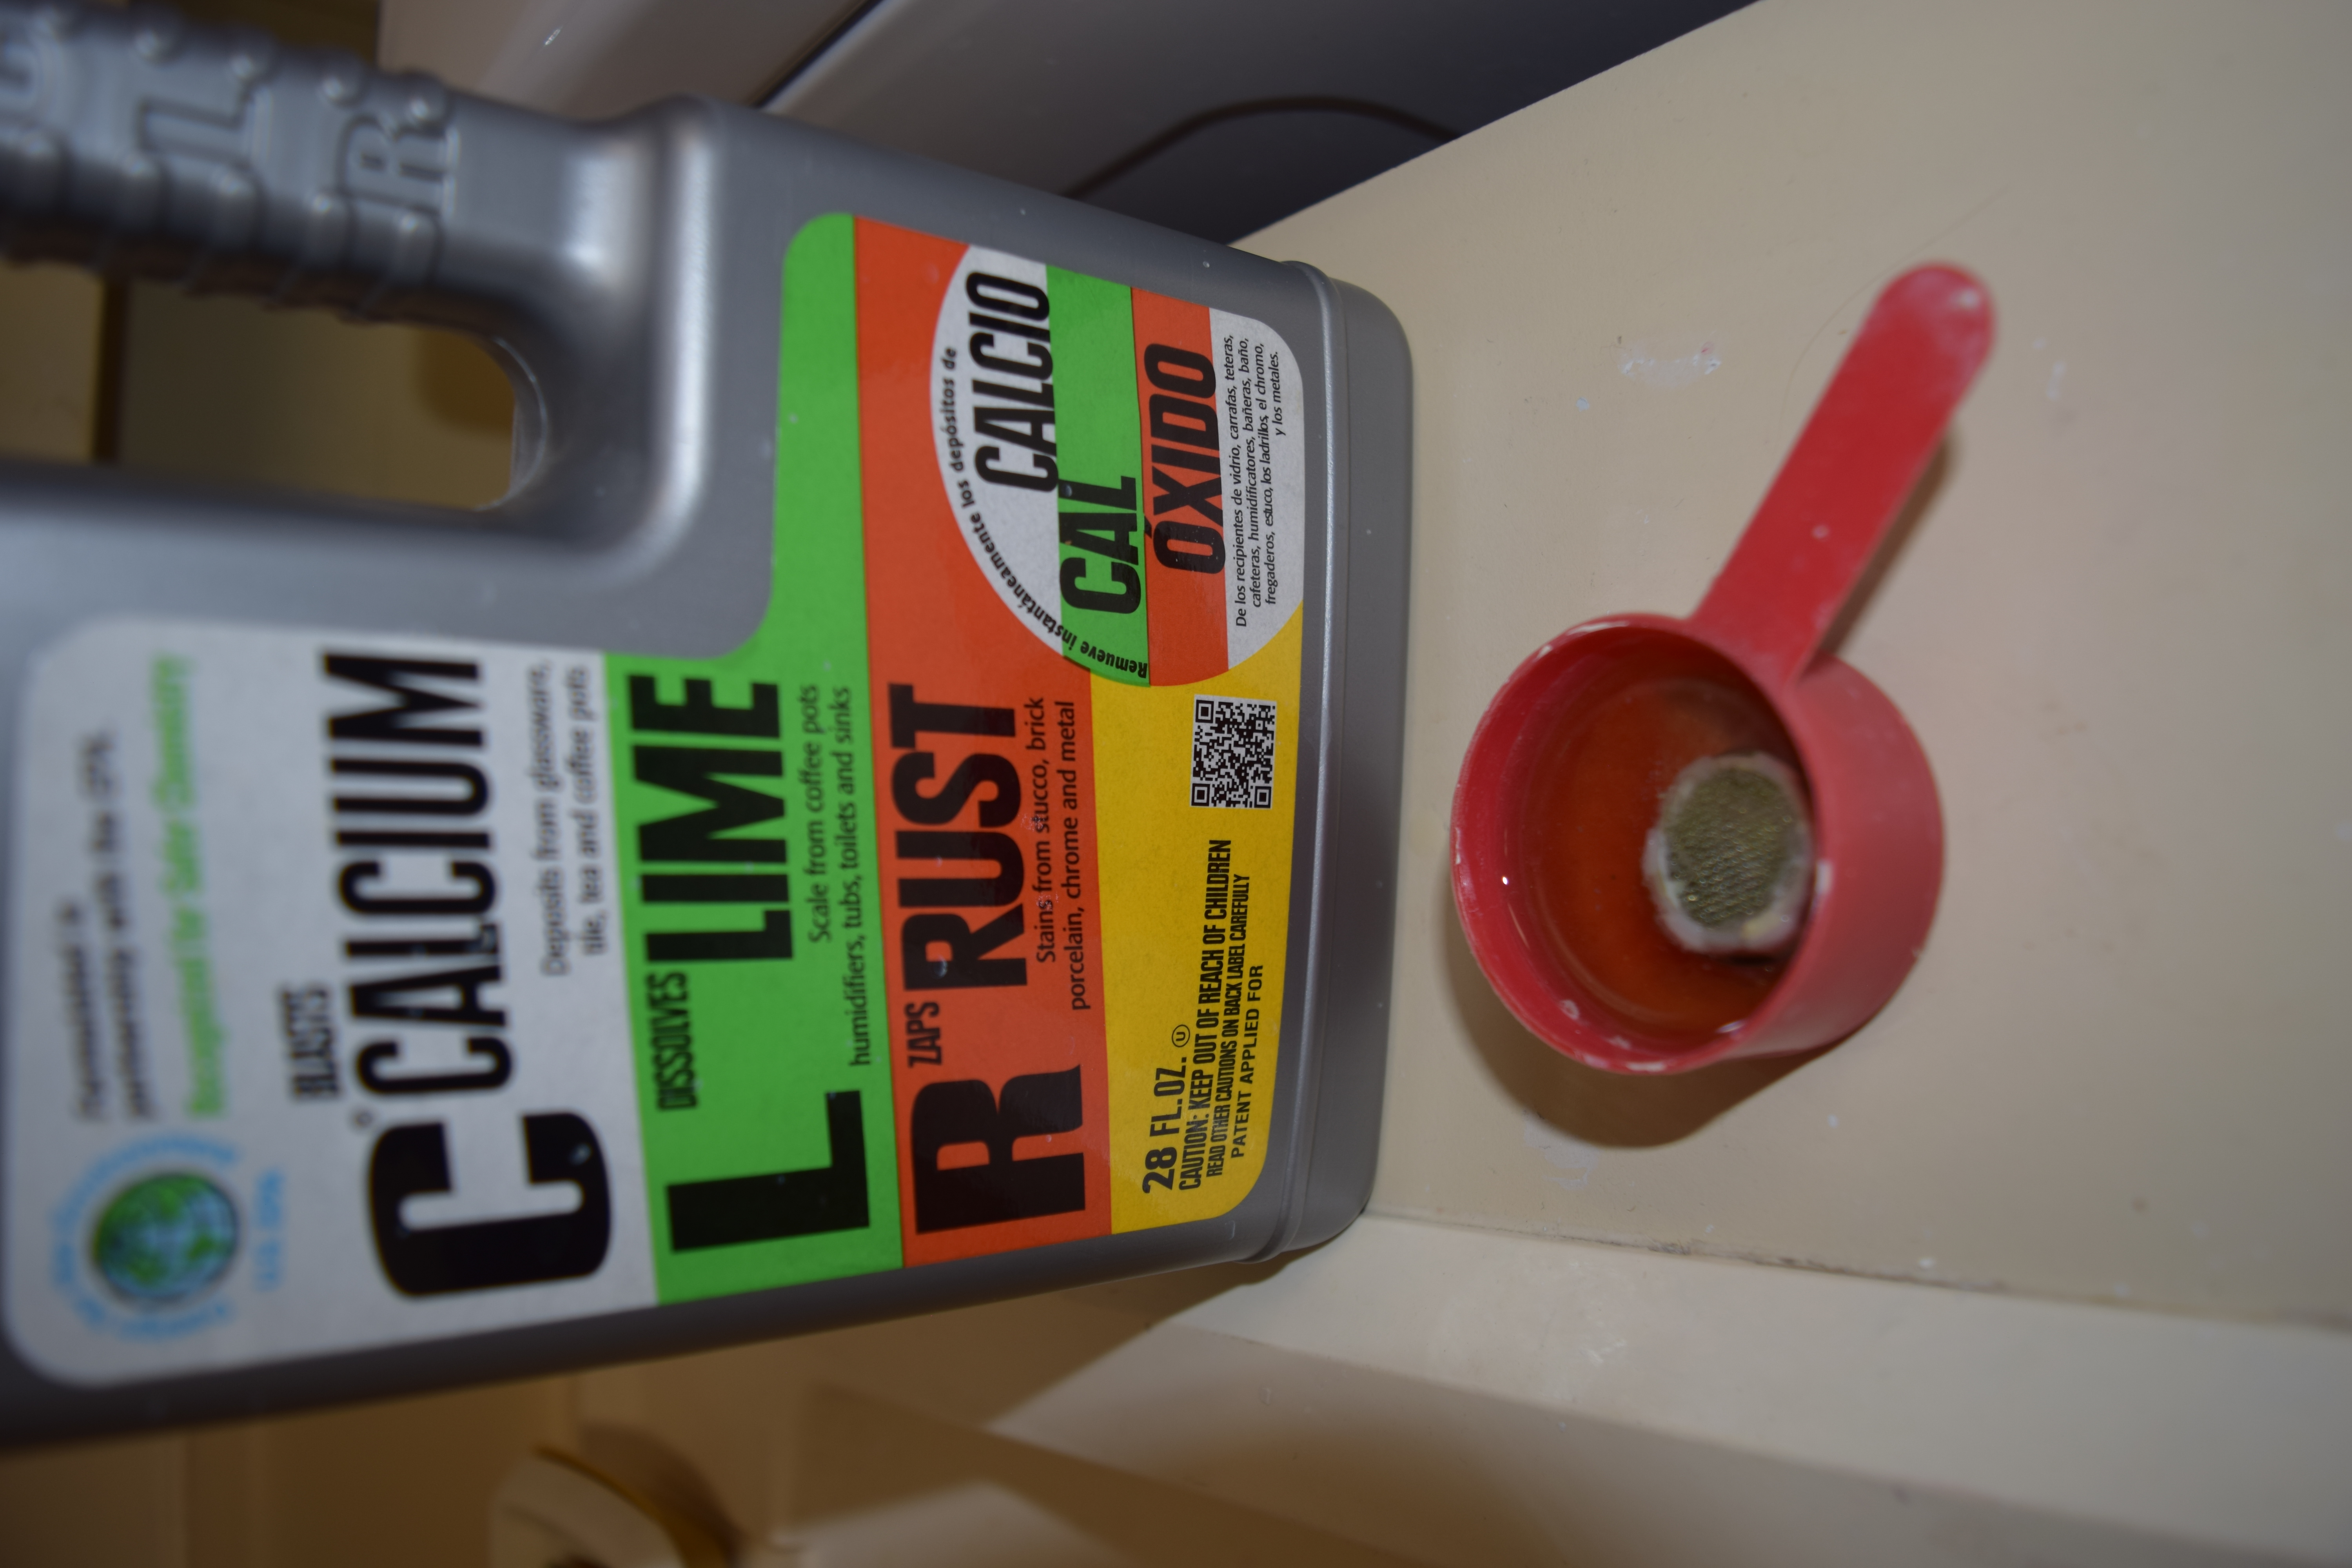
Soak the screen and other aerator parts in vinegar or a calcium-lime-rust removal liquid available at home center and hardware stores, to dissolve mineral deposits (scale). It's best if you can leave the parts submerged in the vinegar overnight, but at the very least, soak them until the deposits are soft enough to be removed with a toothbrush or toothpick. Follow the direction if you purchase a removal liquid like CLR.
If any of the aerator parts are so caked with scale, it may be impossible to remove and maintain the appearance. Over time, the scale can eat through and damage the finish on the exterior of the aerator assembly, leaving dull rough marks. In this case, the aerator assembly should be replaced. Most home centers and hardware stores carry these parts. Take yours to the store to match it up, making sure the thread orientation and size is correct.
If an aerator does not hang below the faucet (unable to twist loose), it is a recessed aerator typical on newer Delta Faucets or it is a non-removable aerator, both of these can still be cleaned. The first thing to try is to pour some vinegar or a calcium-lime-rust removal liquid in a small bowl or container and try to soak the aerator in the liquid to help reduce or soften the scale buildup. You can stand there holding the container or try suspending the container of liquid or placing some items in the sink to set the container on. After soaking for 15-20 minutes try to remove the aerator. For a non-removable aerator, leave the item to soak overnight if possible.
If it is a recessed aerator (Delta), Delta makes a specific tool for their faucets to remove it. Amazon A Third-party tool also available. Barring the special tool, a small pair of needle nose pliers can be used to insert the tips on either side in the notches and turn the aerator to remove it. If there is a lot of scale buildup, it may turn but will not come out. In this case try soaking it as mentioned above.
After cleaning, rinse with clean water and reinstall all the parts, using your photos as reference. Only hand tighten the aerator; this will make it easier to remove next time.
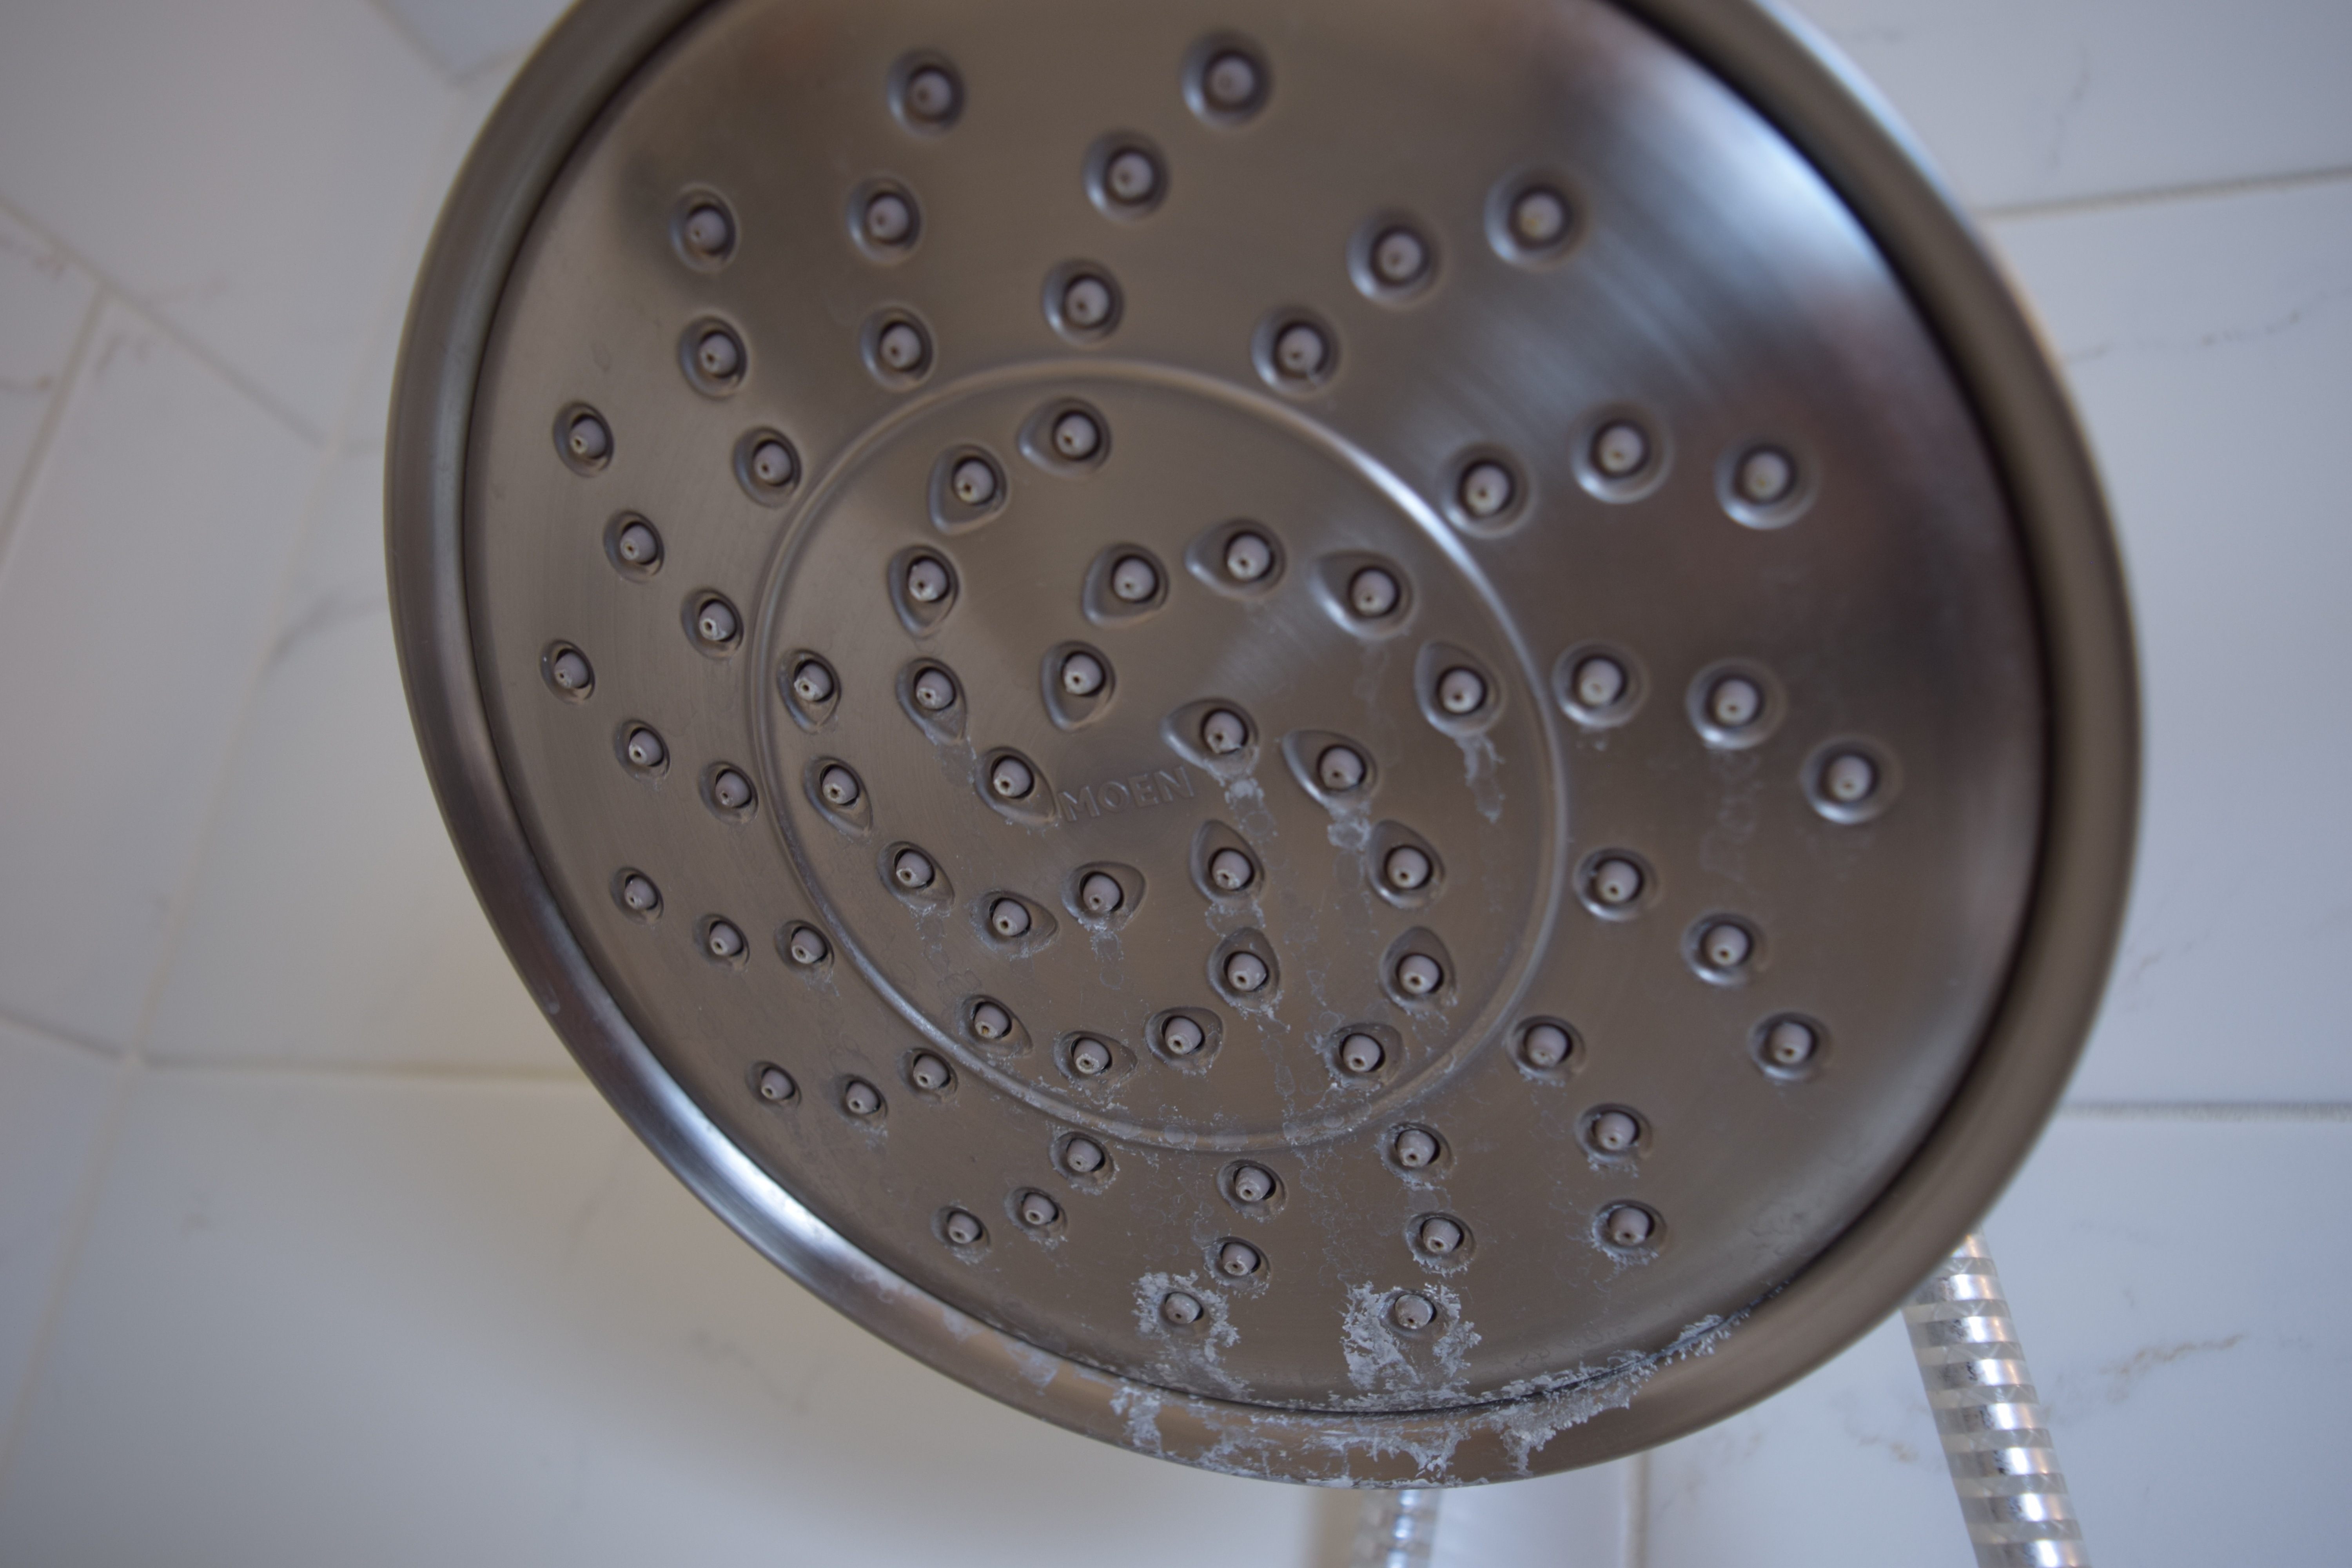
Showerheads
Showerhead maintenance is similar to aerators. They can develop mineral deposits of calcium and lime build up as well. Remove the head from the spout/pipe that comes out of the wall. Wrap a rag around the spout/pipe and using slip-joint pliers on the rag, place an adjustable wrench on the shower head nut and unscrew the head counterclockwise from the pipe.
Look in the back of the head inside the nut. Is there a rubber washer and/or a screen? If so, remove it for cleaning. To clean the shower head, soak it in vinegar or a calcium-lime-rust remover liquid. After soaking, use a soft brush to clean the scale off of the head. Be careful not to scratch or damage the surface or any of the rubber nozzles in the head. After cleaning, rinse with clear water.
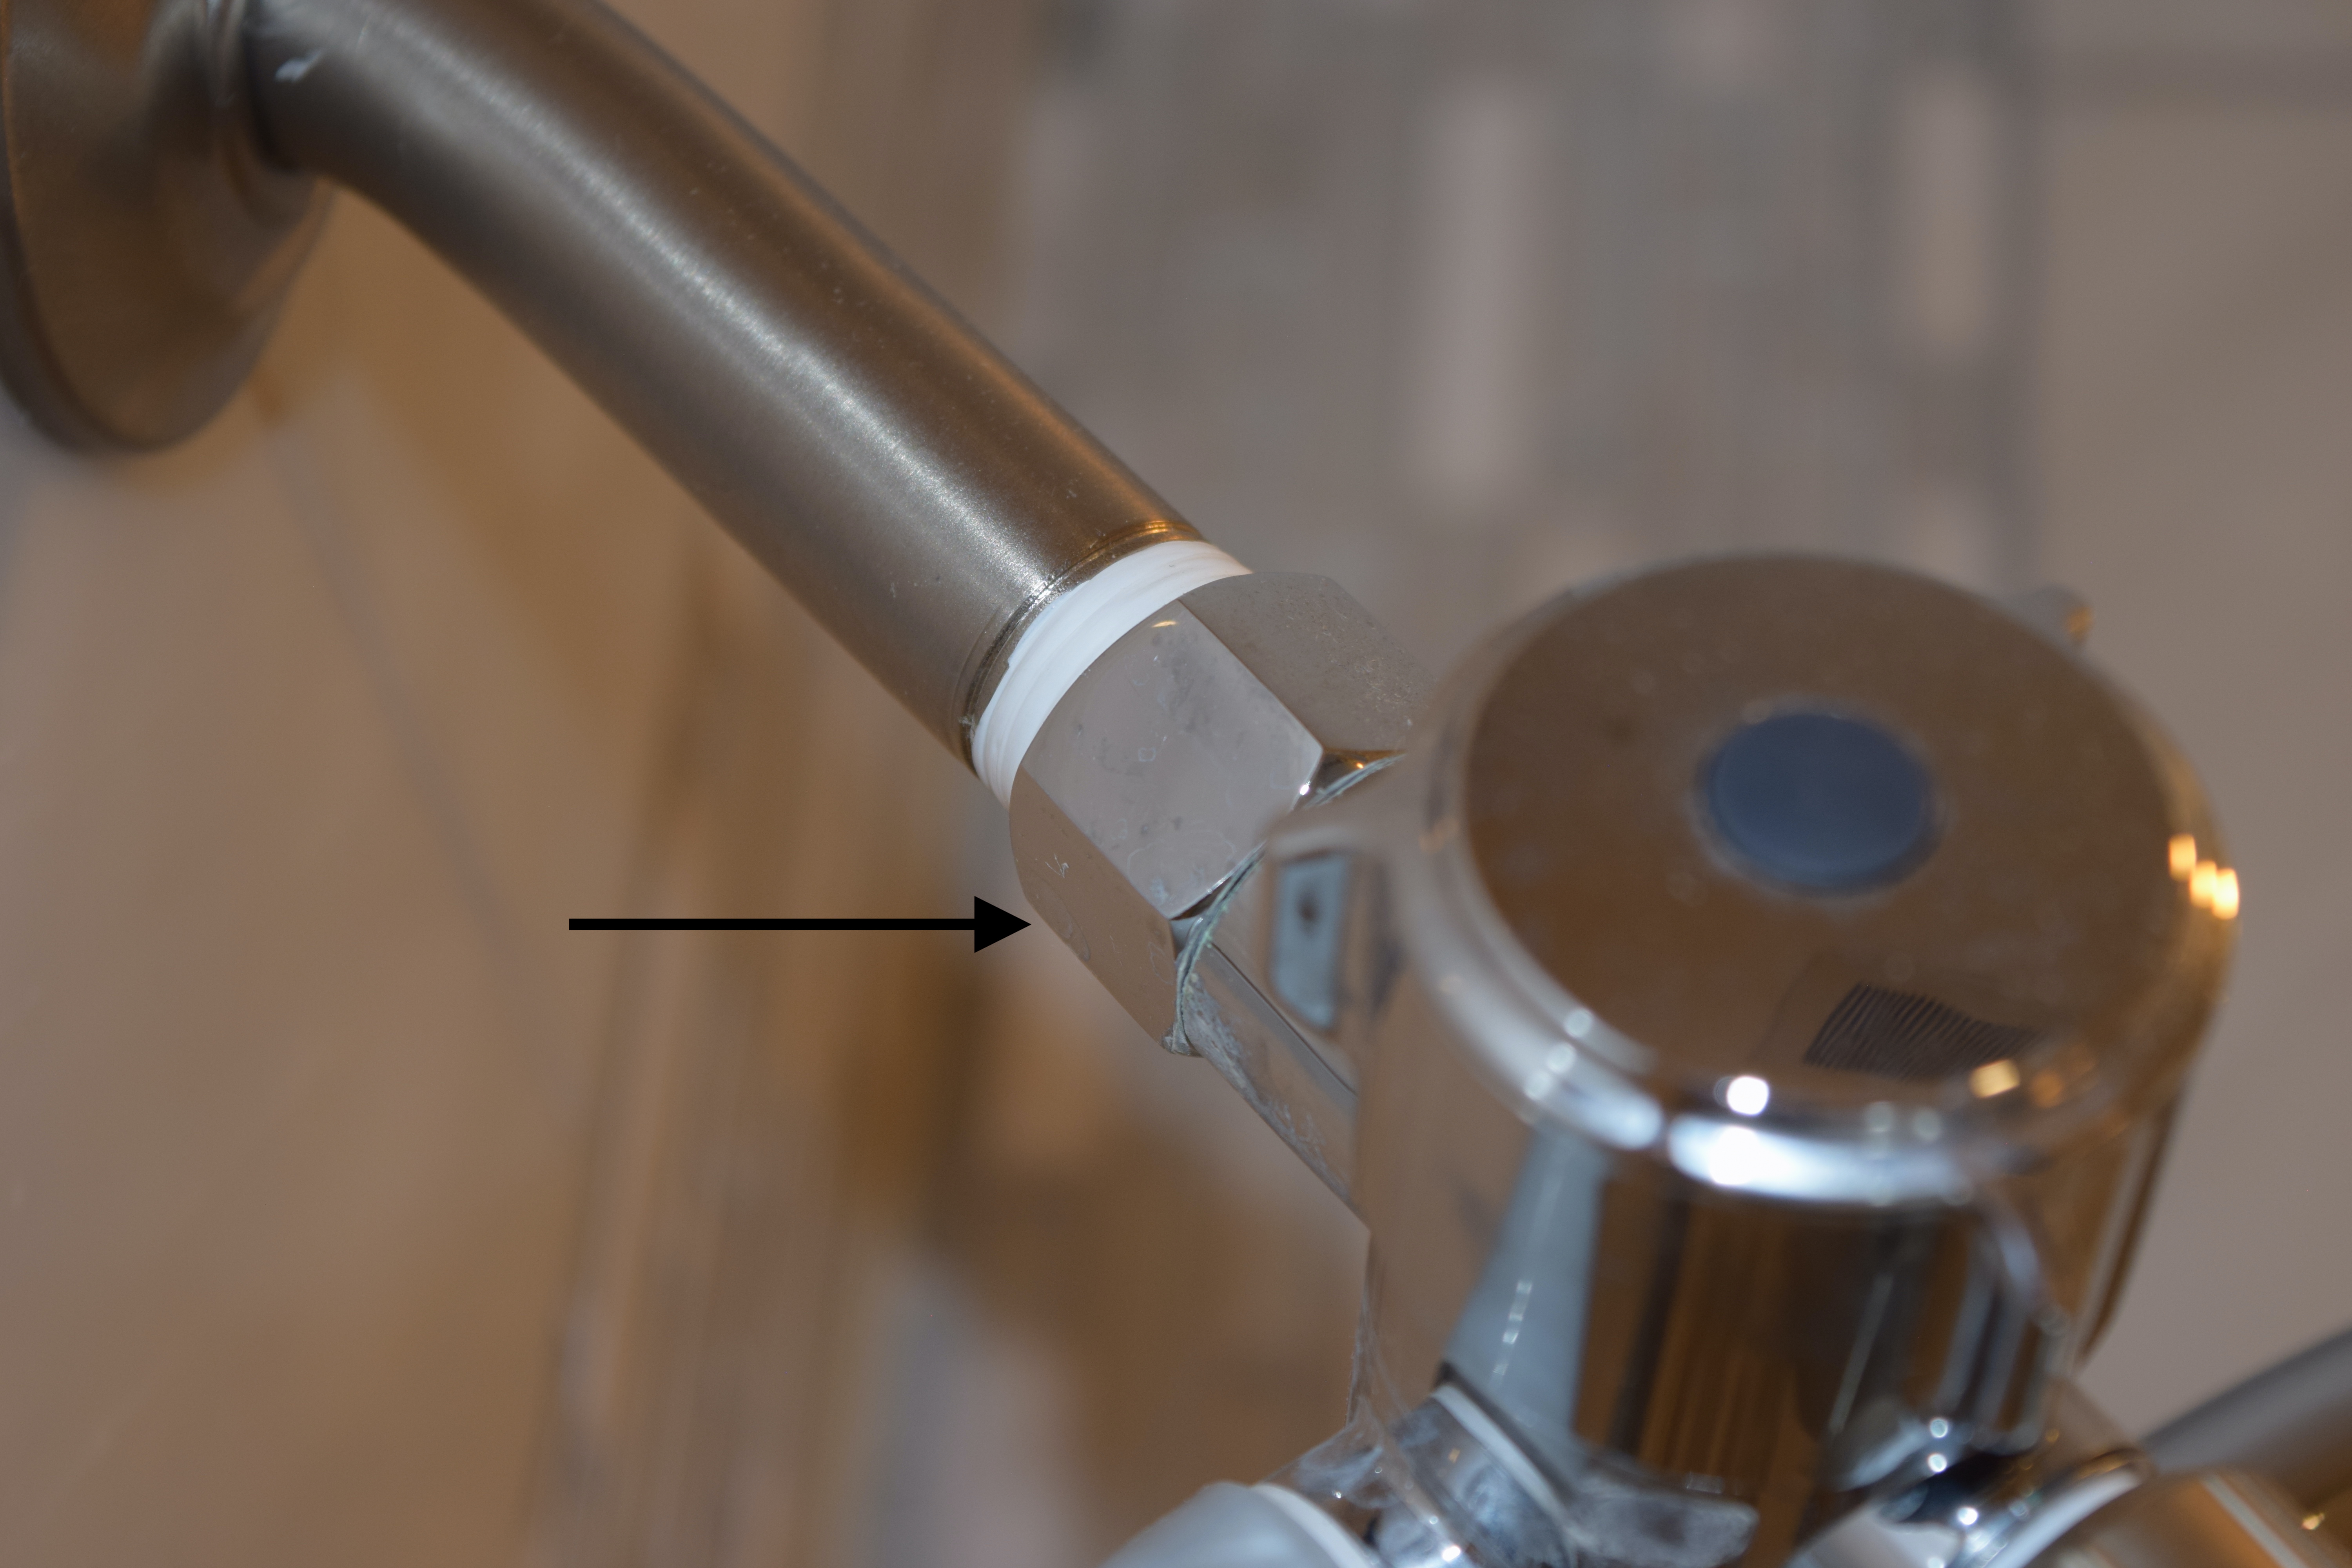
To reinstall, wrap the pipe thread that comes out of the wall with Thread Sealing PTFE Plumber's Tape (Teflon tape) Amazon; wrap clockwise (tape also available at home centers and hardware stores). Two or three wraps of tape are sufficient. Reinstall the rubber washer in the back of the showerhead and screw the head on clockwise to the pipe, hand tight. Then, using the pliers (with the rag) and wrench as before, tighten the head...snug. Turn on the water to flush the head of the liquid you used to remove the scale.
Hopefully you were able to remove the showerhead from the pipe. If you have to remove the pipe coming out of the wall, reinstall thread sealing tape on both threaded ends, and reinstall the pipe first, then thread on the showerhead.
Summary
Any plumbing fixture can develop scale deposits from the water. If you have a soft water system installed, the buildup will be less over time and maintenance will not be as frequent. If you have hard water in your area, more frequent cleaning may be needed.
Tools and Products needed
Channel-lock or slip-joint pliers
Sewing needle
Toothbrush
Rag
Vinegar or Calcium-Lime-Rust remover
Thread Sealing PTFE Plumber's Tape, aka Teflon tape
Neater Nest is a participant in the Amazon Services LLC Associates Program, an affiliate advertising program designed to provide a means for sites to earn advertising fees by advertising and linking to amazon.com